
Crystal Skull Part 2 – Treasure Level 3: Mirror Mayhem
True Adventurer: 16,000 studs
Character types needed: Crystal Skull (Oxley), Explosives
Unlocks: Nothing
LEVEL ENTRANCE: Once you've unlocked either the Russian Officer or Russian Grenadier, have him team up with Oxley for this level. The entrance is in the same place as the Mac Attack Story Level: the tent with the white awning in Spalko's campsite. (See the Hub Maps and Treasure Level Intro for details.)
Clearing in the Rainforest
(Click any of the screenshots below to enlarge.)
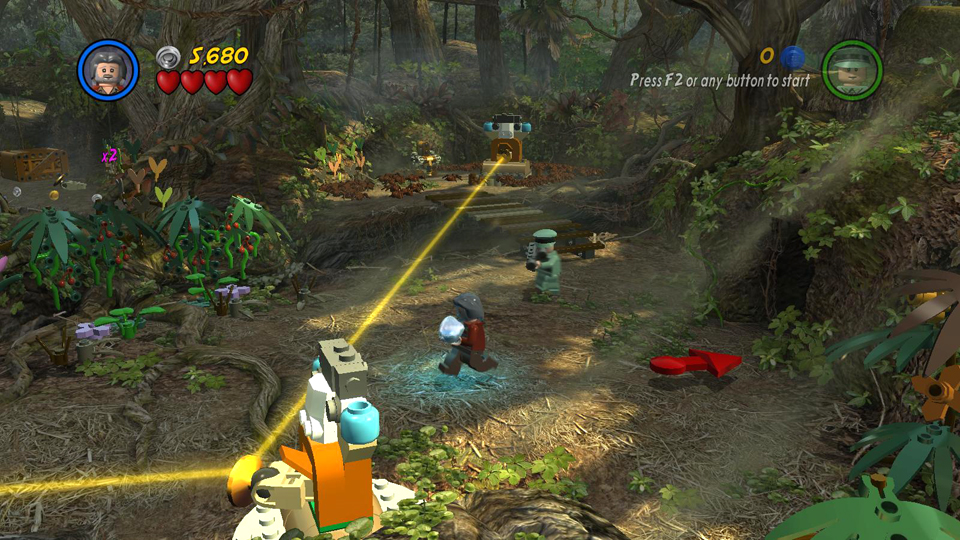
Use your soldier's explosives to blow up the silver container near the entrance. Take the mirror you find inside and attach it to the nearby LEGO statue. Now move into the background on the right. Watch out for the trench filled with quicksand. Again use explosives to destroy the chains holding up the bridge so it falls down across the quicksand.
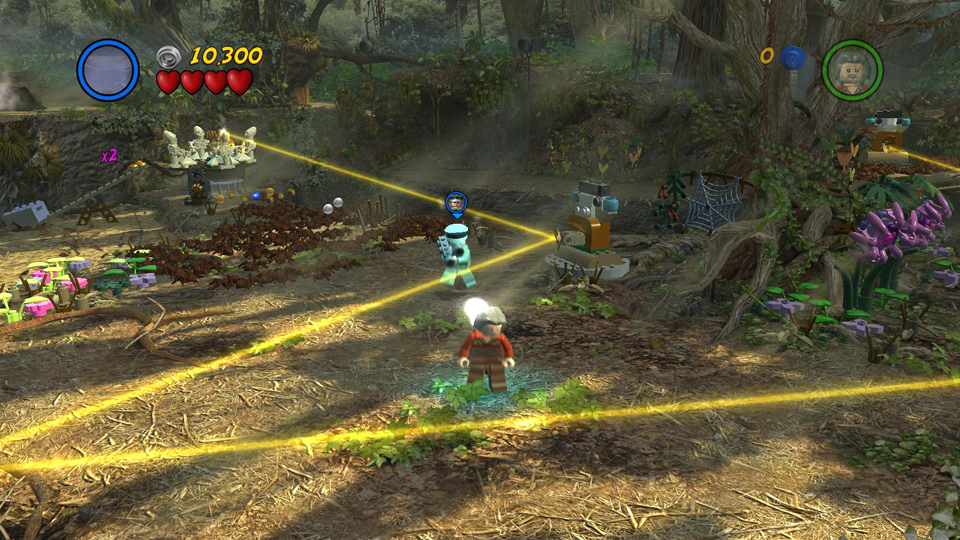
Switch to Oxley, since he carries the Crystal Skull to keep the bugs away. Cross the bridge and pull the lever to activate the nearby statue, which emits a beam of light. The beam hits the mirror on the first statue and is reflected off to the left.
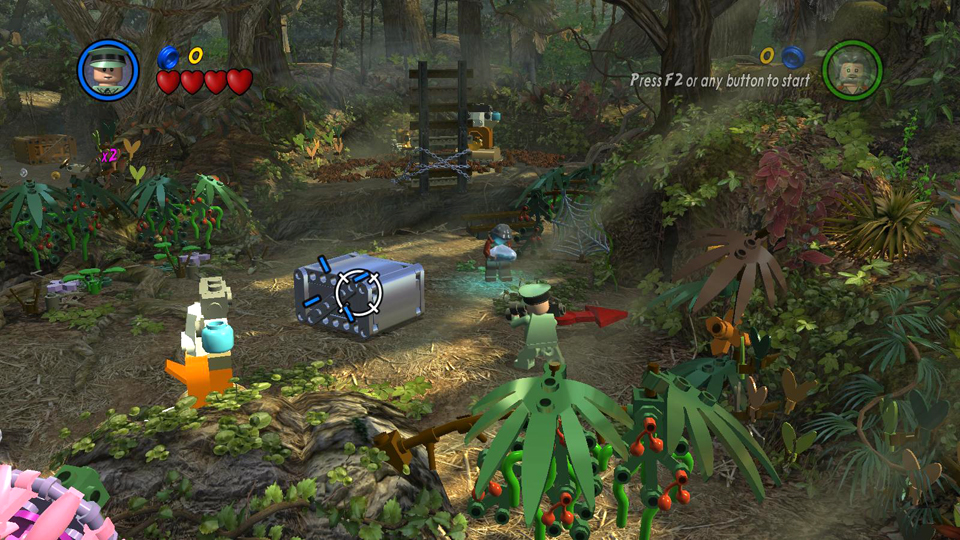 Blow up the silver container. |
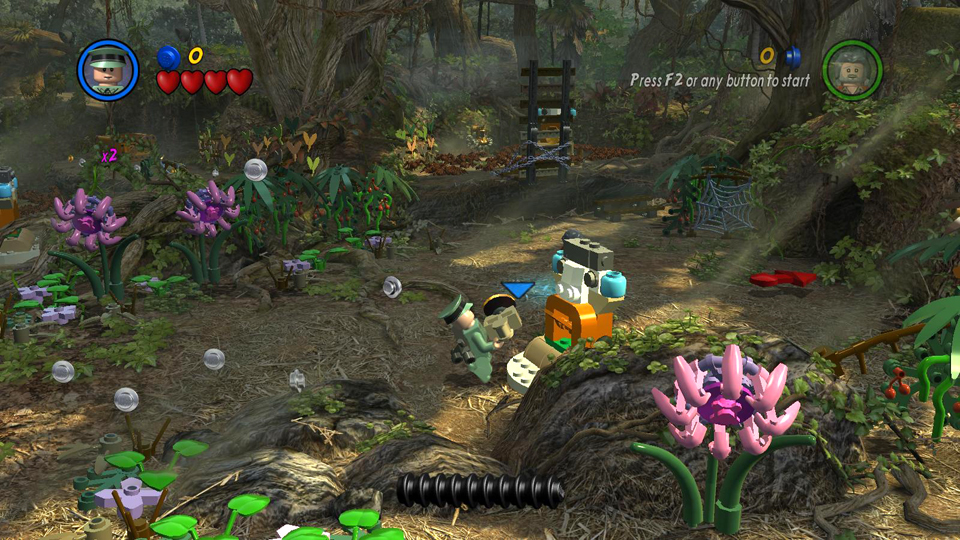 Attach the mirror to the statue head. |
|
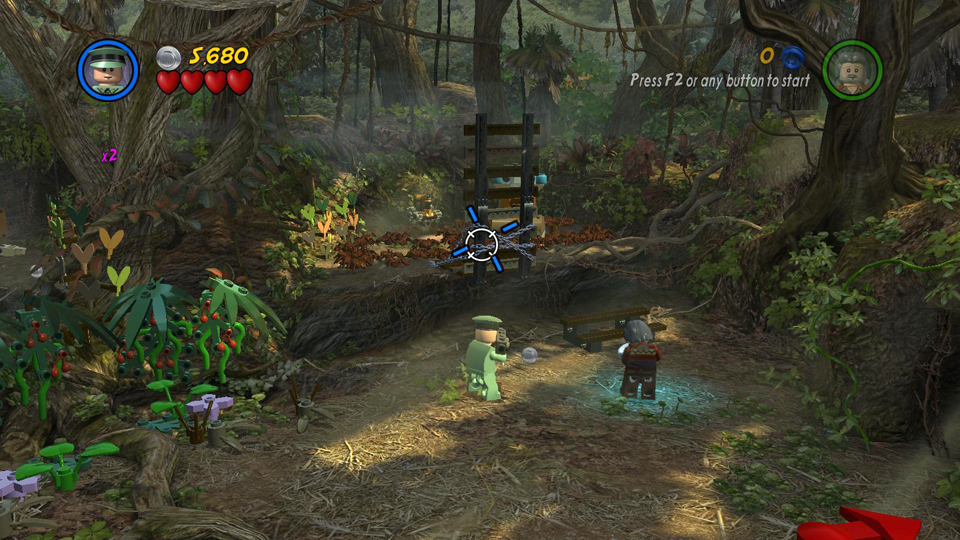 Explode the chains holding up the bridge. |
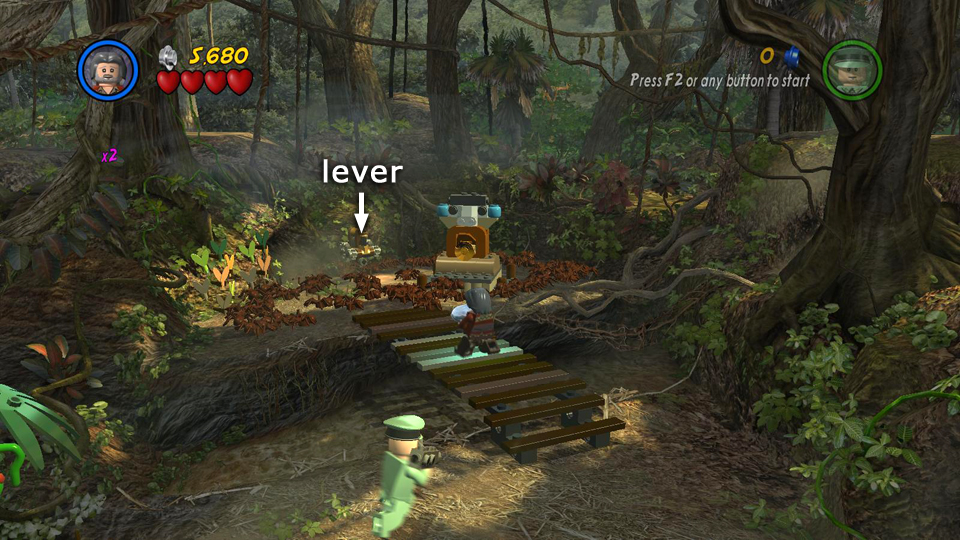 Cross over and pull the lever. |
|
 This turns on a beam of light, which bounces off the mirror you placed earlier. |
||
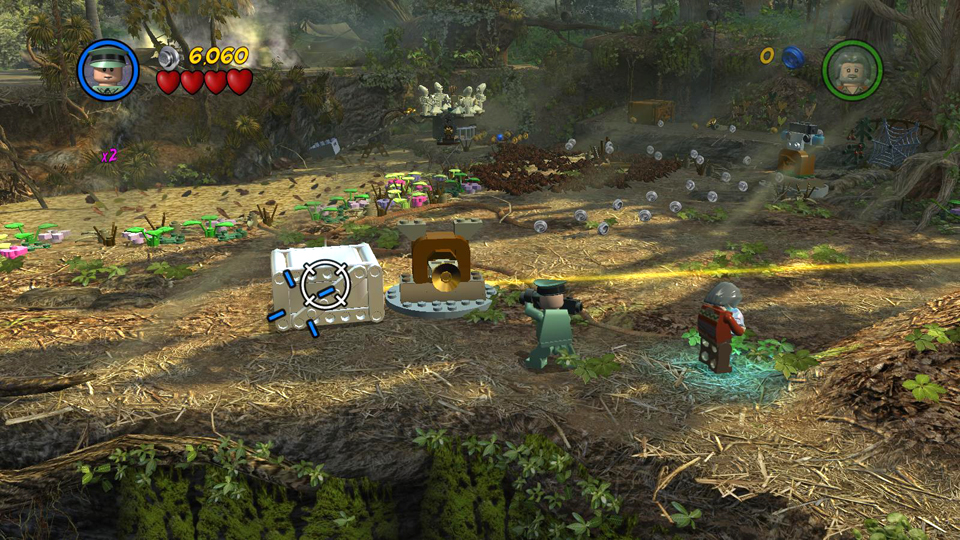
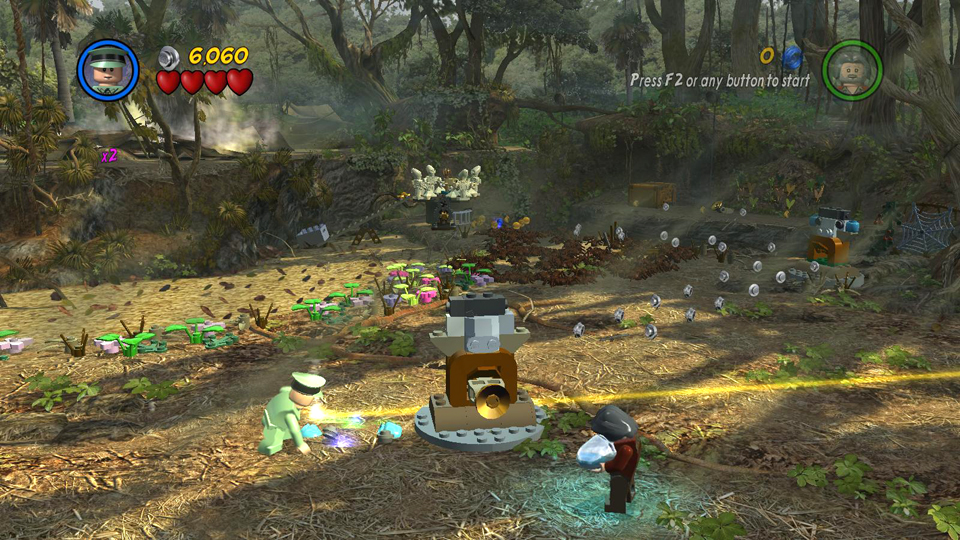
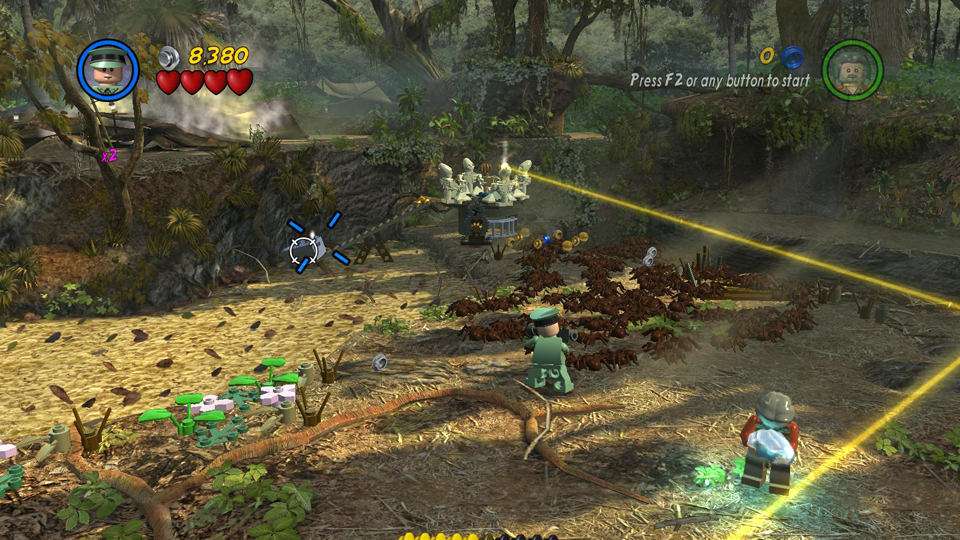
Follow the beam of light to a third statue with a silver container nearby. Switch to the soldier character, blow up the container and use the loose bits to build a statue around the nearby mirror. It then rotates to reflect the beam of light off into the background.
 Blow up the second silver container. |
 Use the bits to build another statue. |
|
 The statue turns to reflect the beam of light toward the next statue. |
||
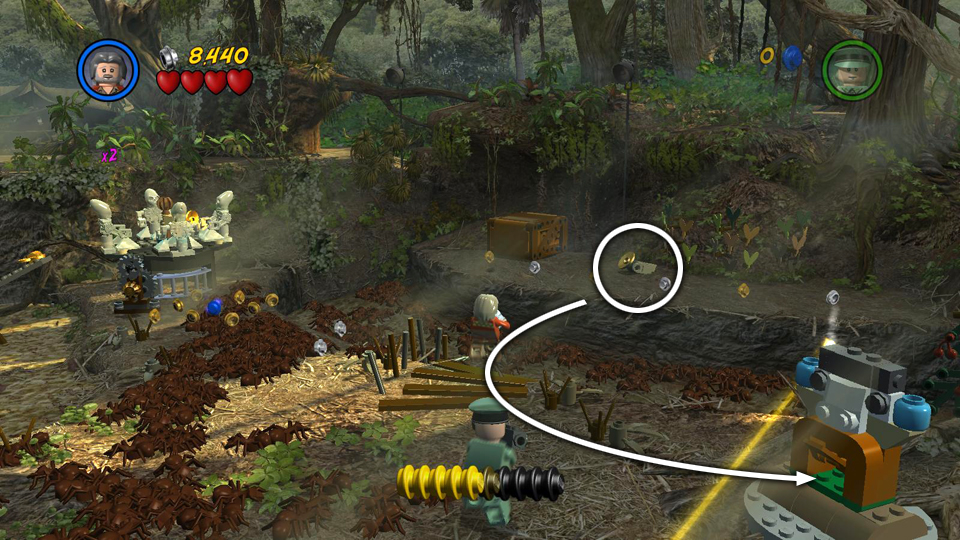
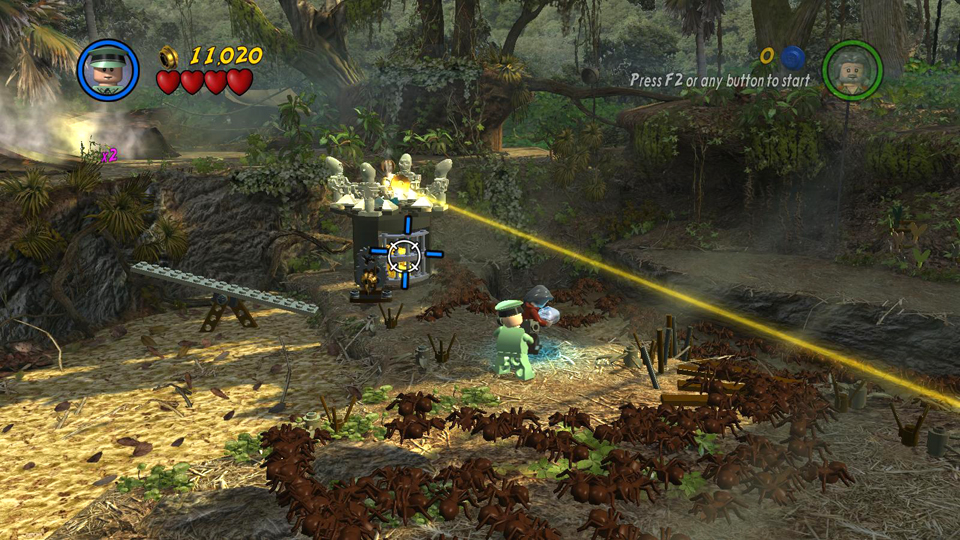
Switch back to Oxley and move through the insect swarm toward the pit where the light beam is pointing. Cross the pit—it's safe as long as you have the Crystal Skull—pick up the mirror and carry it back across the pit to the fourth statue. Now the beam of light should be reflected at the structure with the alien skeletons sitting on top.
Now use the soldier to explode the silver box sitting on the end of the plank to the left of the skeletons. When it is destroyed, the plank tilts and the gold key that was inside the box slides down. Use Oxley to move through the swarm, pick up the key and use it to turn the mechanism on the skeleton structure. This raises the structure up so you can see the Artifact inside. Switch back to the soldier, making sure he's standing close to Oxley first so the bugs don't get him. Then use explosives to destroy the bars in front of the Artifact.
Don't forget to smash all the lovely plants so you can collect enough studs to achieve "True Adventurer" before touching the Artifact and ending the level. ![]()
 Get the mirror on the other side of the pit and attach it to the fourth statue. |
 The light beam then reflects onto the structure with the alien skeletons. |
|
 Blow up the box at the end of the plank. |
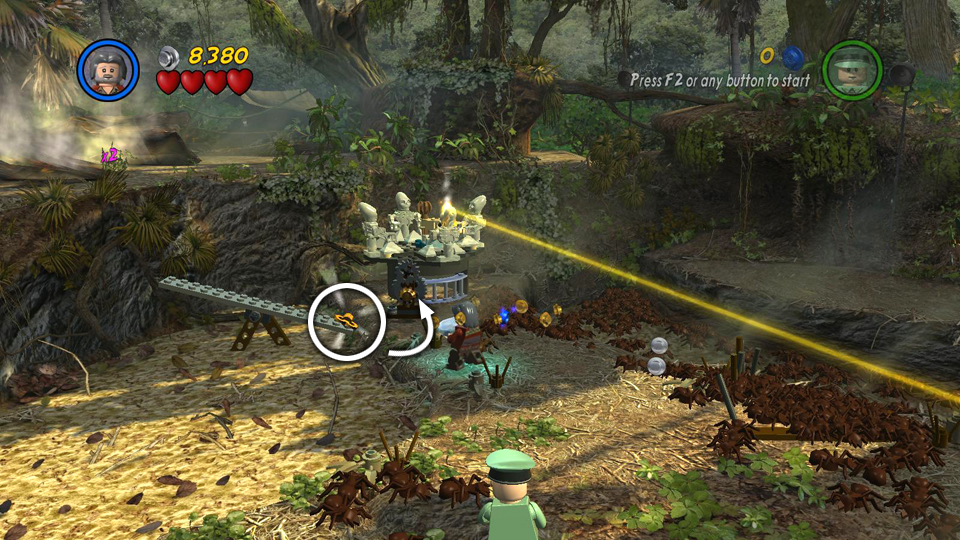 Use the gold key to turn the mechanism and raise the structure. |
|
 Blow up the bars to get the Artifact inside. |
||
| < < < Treasure Level 2 | Return to the Hub | Treasure Level 4 > > > |