Crystal Skull Part 2 – Bonus Level 2: Peruvian Market
True Adventurer: 20,000 studs
Bonus Level Characters: Indiana Jones, Mutt
Unlocks: Nothing
LEVEL ENTRANCE: The entrance to this bonus level is at the end of the street with the market stalls. To get inside, use Marion to jump onto the ledge on the right. Then jump up to grab the handle that opens the gate. (The Bonus Level and Hub Map introductions include screenshots.)
Concrete Bunker with Lava
(Click any of the screenshots below to enlarge.)
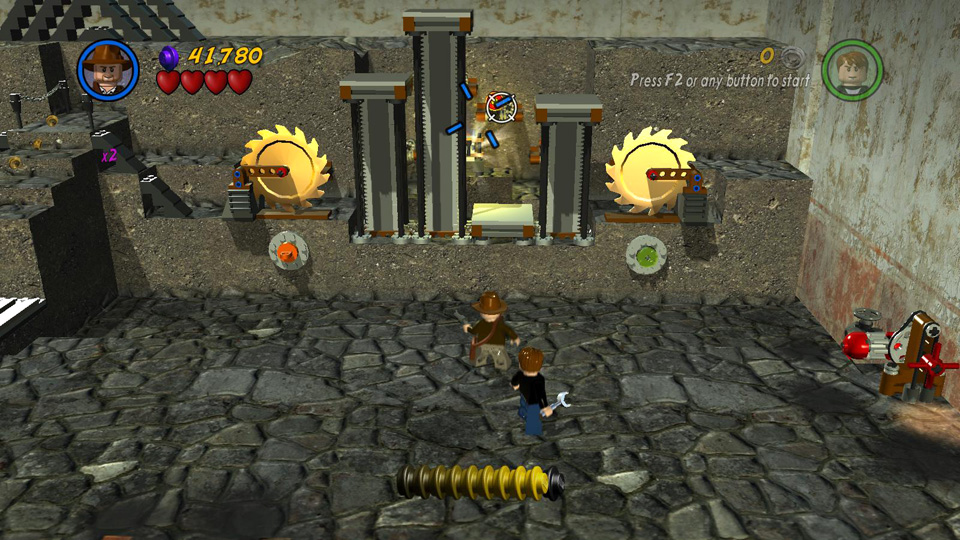
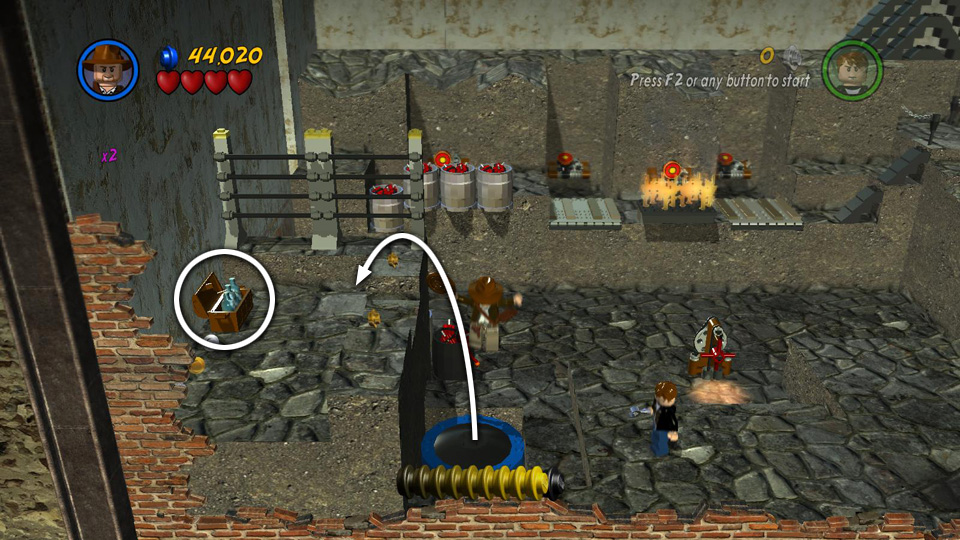
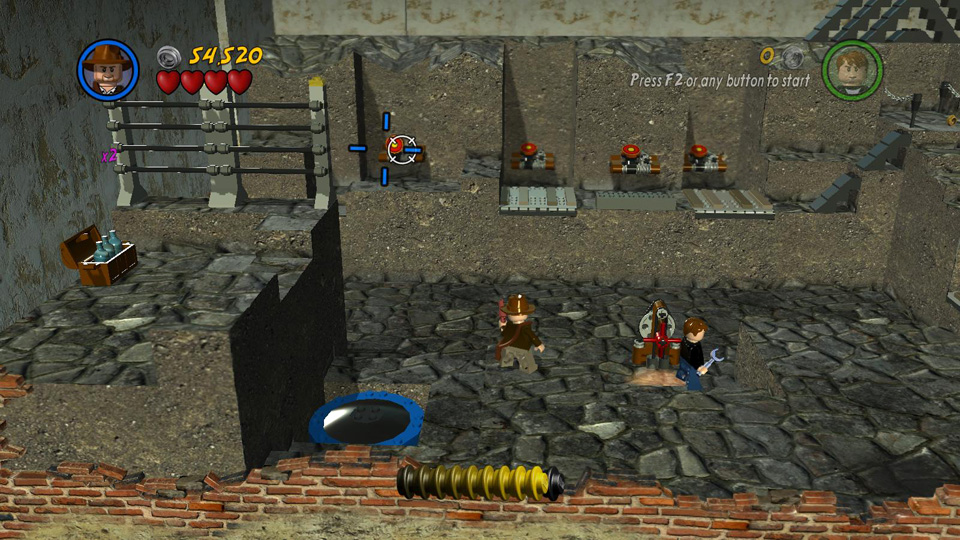
Smash the crates and collect the loose studs sitting on the ledge. Turn the turn crank on the right to drain the lava from the trench below wall with all the saws, targets, etc. If you're going for "True Adventurer" be sure to explore the trench after draining the lava, since there are some hidden studs there, including a purple stud in the near left corner.
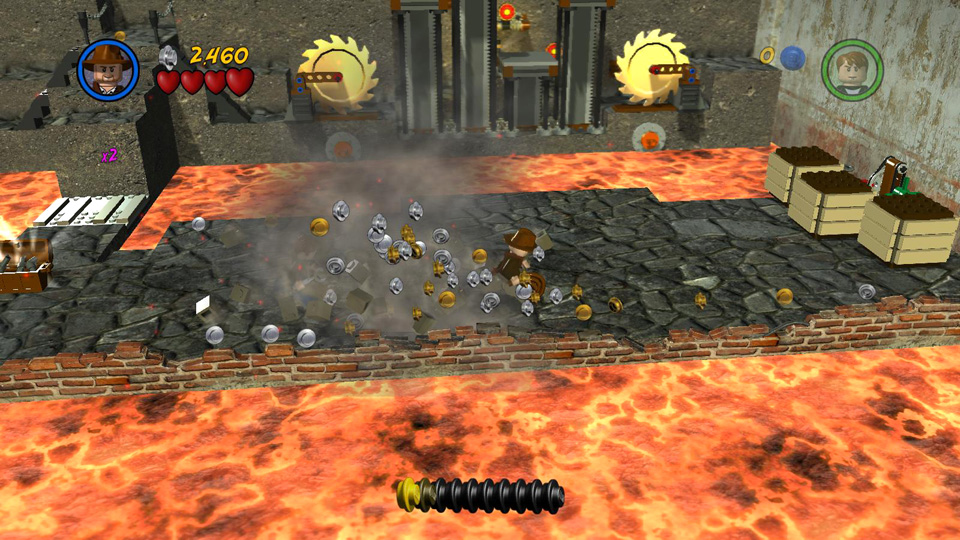 Smash the crates and gather studs. |
 Turn the crank to drain the lava from the trench. |
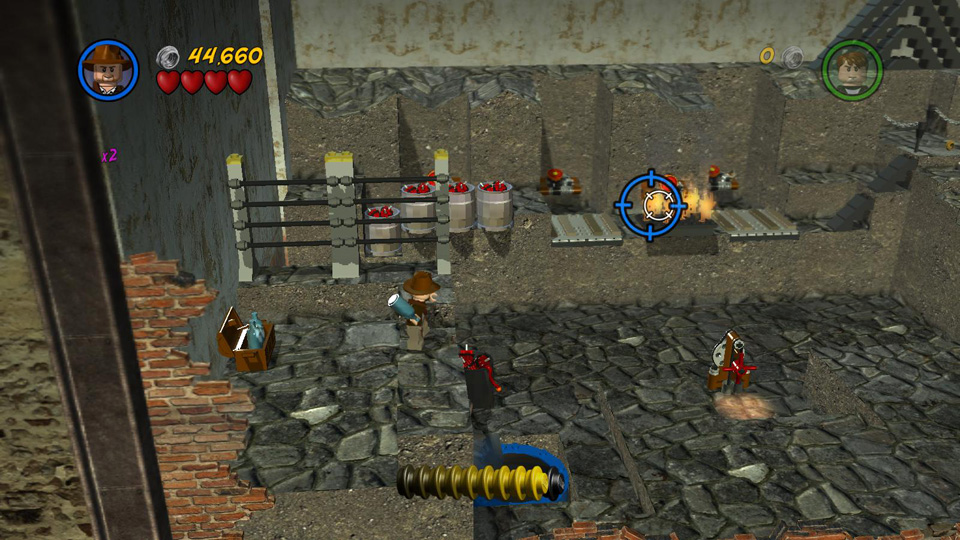
Now grab a pistol from the chest in the middle of the ledge. In order to make the Artifact appear, you must shoot all 9 bull's-eye targets. The order in which you hit them doesn't matter. There's no time limit, and once you've hit a target it doesn't pop up again. So there's no need to hurry. Each pistol fires 6 shots. So when you run out of ammo and your pistol disappears, just go back to the chest for another.
Here's the sequence, moving from right to left. If you're playing co-op, you might want to have the character controlling Indy start on the right, while the Mutt player starts on the left, and have both work toward the center.
Use Indy's whip to pull the orange ring on the far right. This starts the gold saw moving so you can see the target behind it. You can aim even when the saw is in the way. You'll just see a red targeting reticule, meaning you can't shoot yet. Once the saw moves up and the reticule turns white, fire. The next 4 targets are blocked by moving platforms. Take aim at each target, wait for the platform to move down out of the way and then fire. The 6th target is the same as the first: Use the whip to pull the ring and start the saw moving. Then shoot the target.
 Grab a pistol from the chest. |
 Use Indy's whip to start the saw moving. |
|
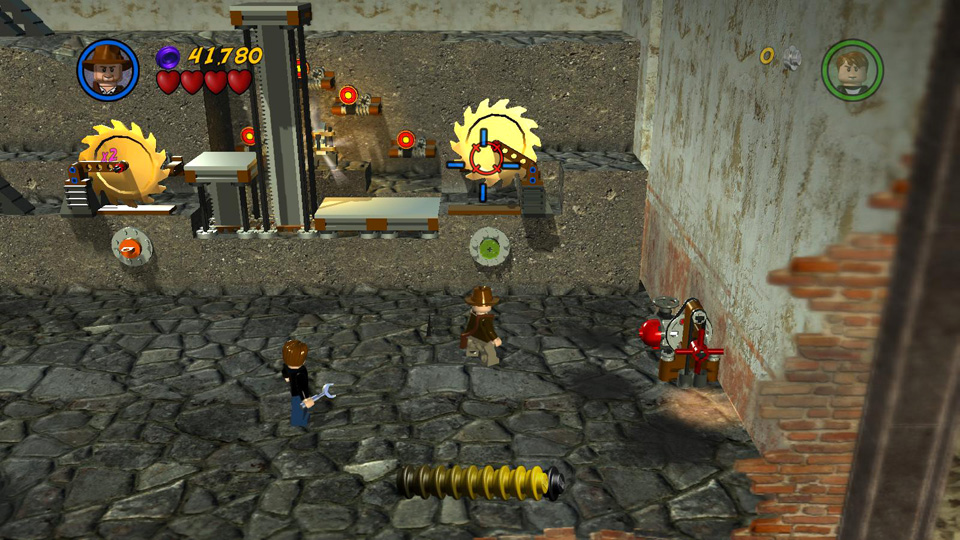 You can aim at the bull's eye through the saw, but the targeting reticule will be red. |
 When the saw moves up and the reticule turns white, shoot the target. |
|
 Shoot the next 4 targets when each of the platforms moves downward. |
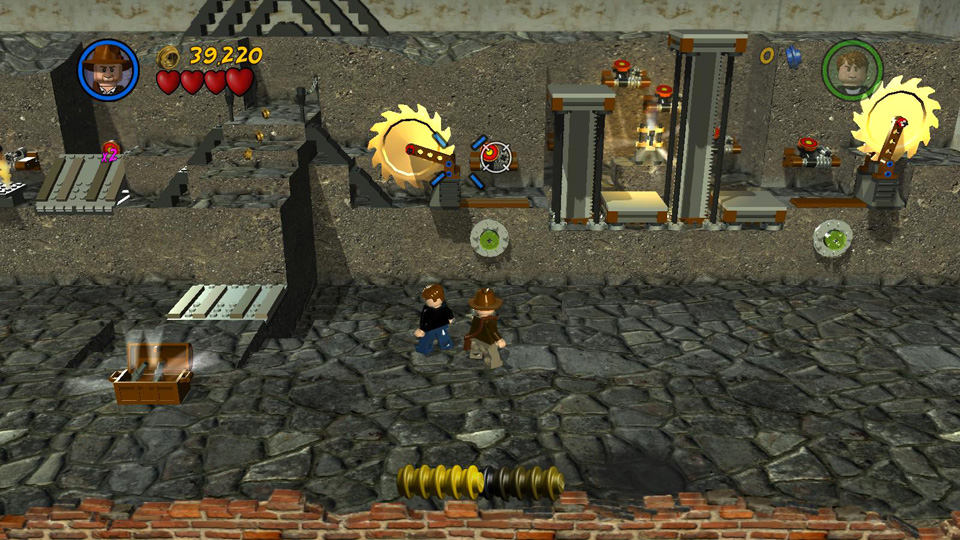 Pull the ring to move the second saw and then shoot the target behind it. |
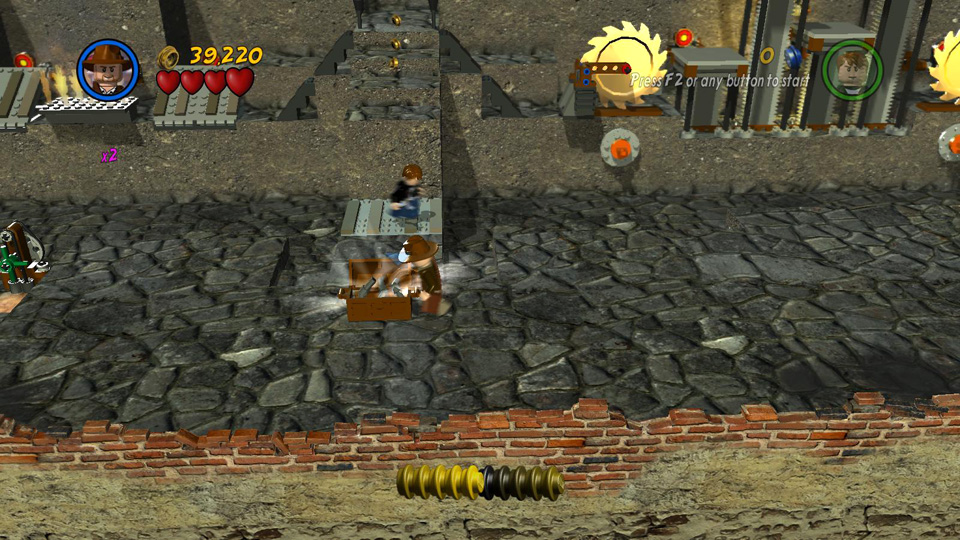
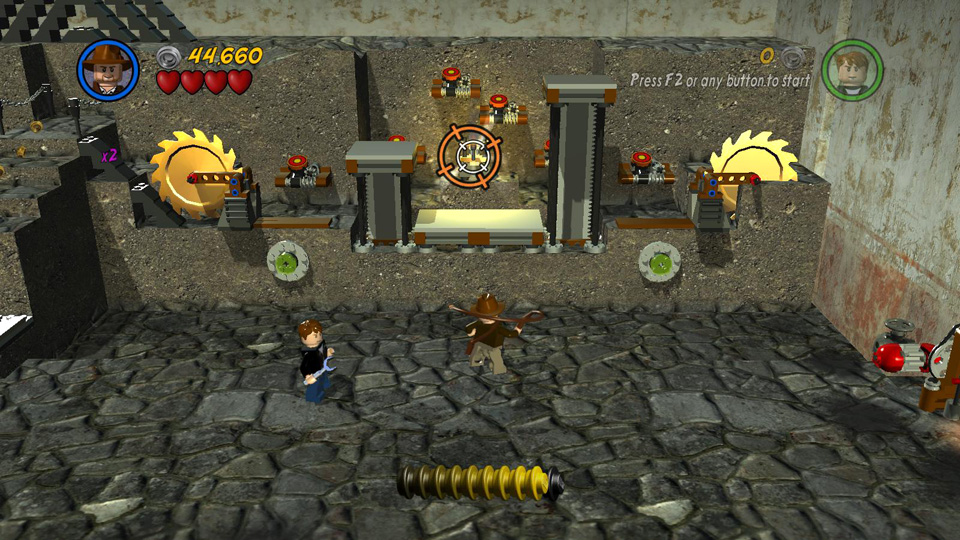
Move to the left and turn the crank in the trench to lower the ramps blocking the 7th and 9th targets so you can shoot them. Then bounce on the trampoline on the left to reach the ledge above. Grab a bottle of water from the chest and throw it on the fire in front of the 8th target. Do this again to put out the other part of the fire. Now you should be able to shoot the target. You can do all of this from on top of the ledge.
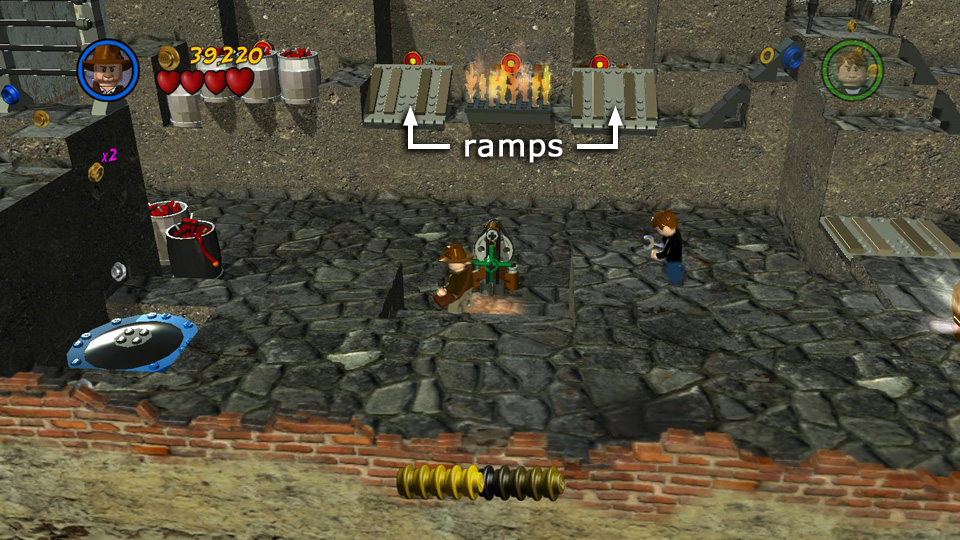 Turn the crank on the left to lower the ramps on the ledge above. |
 Now you can shoot the 7th and 9th targets. |
|
 Bounce on the trampoline to reach the ledge with the water bottles. |
 Throw 2 bottles on the fire to douse it. |
|
 Shoot the target that had been blocked by fire. |
||
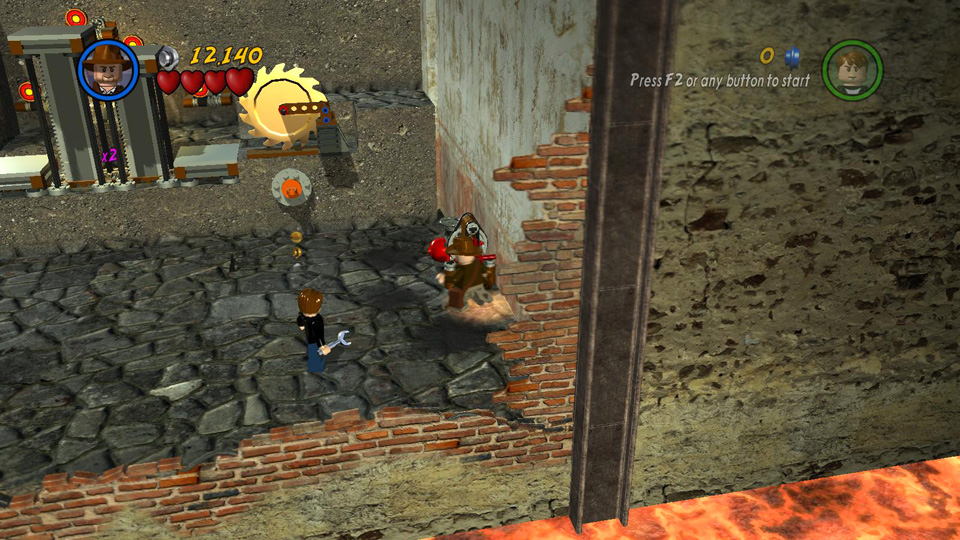
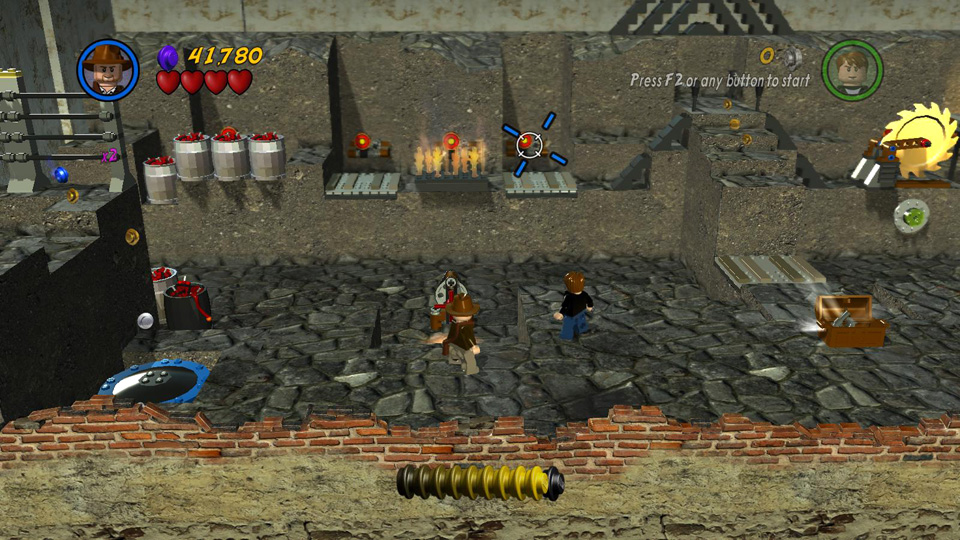
Now hop down and return to the right. Use Indy's whip to target the burning torch mounted on the wall behind the moving platforms. When the 2 middle platforms move down at the same time, you can whip the torch into Indy's hands. Carry it to the left and use it to light the fuse on the barrel of dynamite. Move out of the way until the dynamite explodes. Then quickly run back and pick up as many studs as you can.
When the dynamite explodes, it sets off a chain reaction, blowing up the silver barrels on the ledge behind it. With these gone, you can shoot the 9th and final target. The Artifact then appears at the middle of the ledge with the targets, and a ramp rises up so you can reach it. ![]()
 Snatch the torch from the wall between the saws using Indy's whip. |
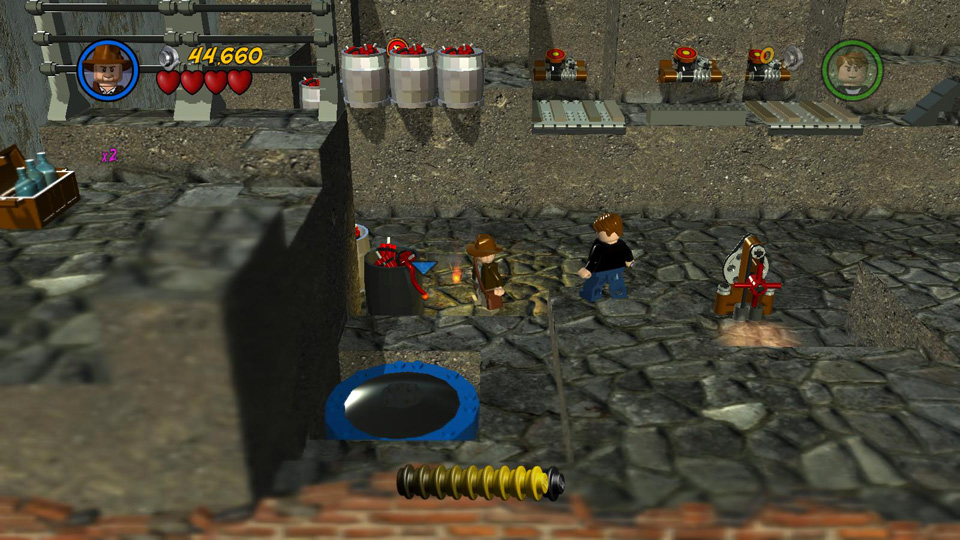 Use the torch to light the dynamite. |
|
 After the explosion you can shoot the last bull's eye. |
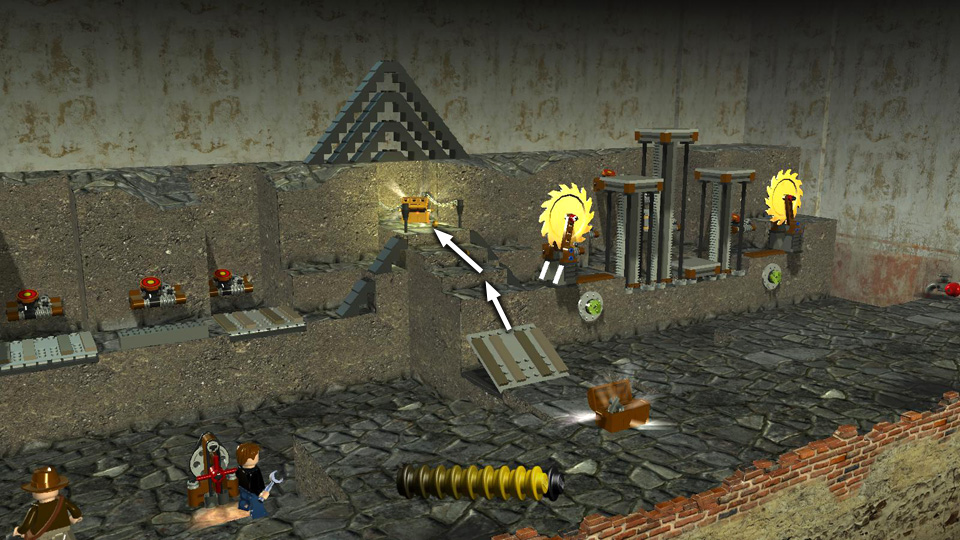 The Artifact appears in the middle of the ledge and a ramp rises up so you can reach it. |
| < < < Bonus Level 1 | Return to the Hub | Bonus Level 3 > > > |