The Temple of Doom - Level 5: Escape the Mines
True Adventurer: 120,000 studs |
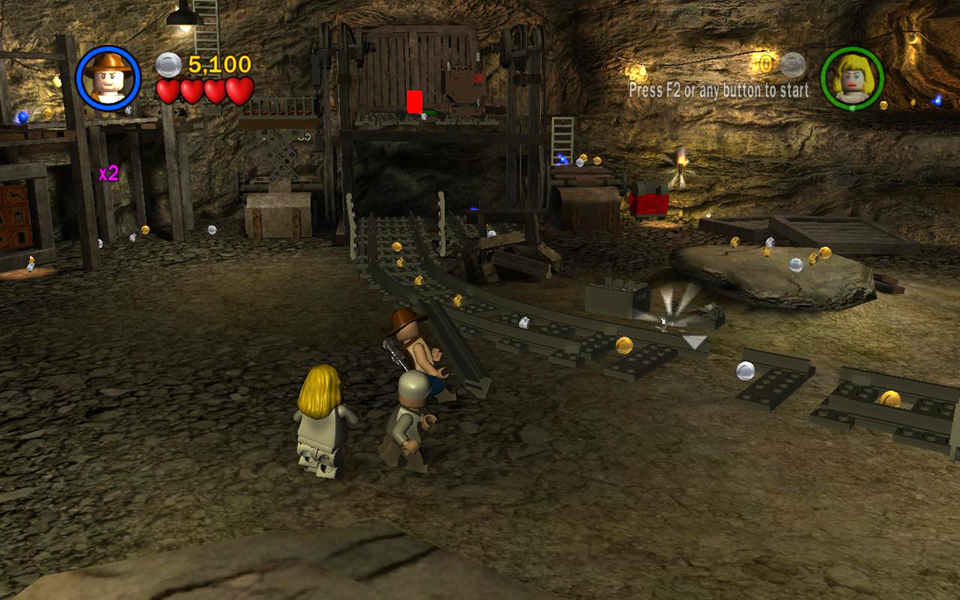
Area 1: Large Cavern
(Click any of the screenshots below to enlarge.)
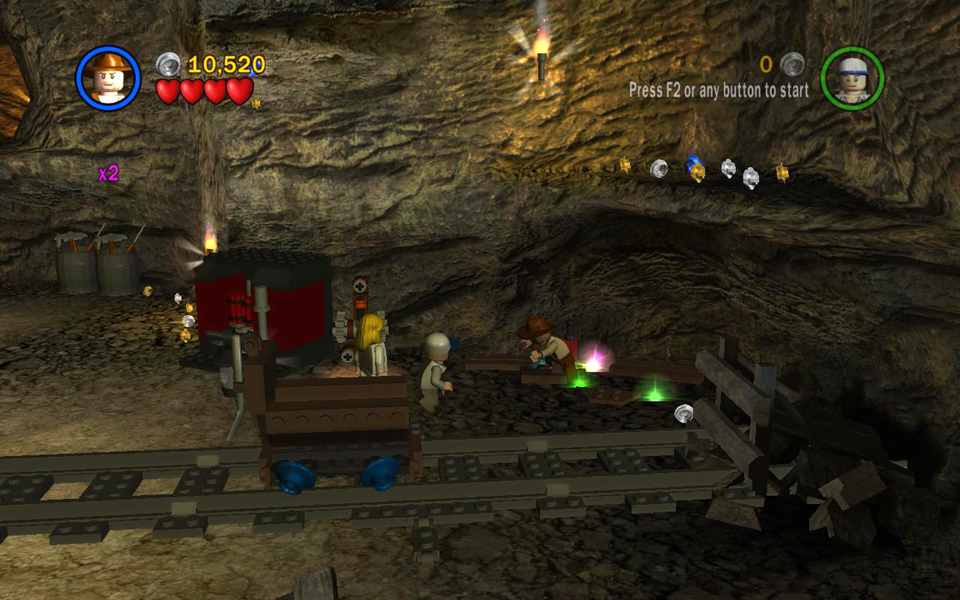
Before you can explore this area, you'll need to deal with a crowd of Thuggees. Once you've smashed them all, they won't respawn. Try to stay away from the edge of the ledge in the foreground as you fight. The chasm below is deadly.
When the coast is clear, move to the front, right edge of the floor and drop down onto the small, wooden ledge with artifact piece #1.
 Artifact piece (1/10). |
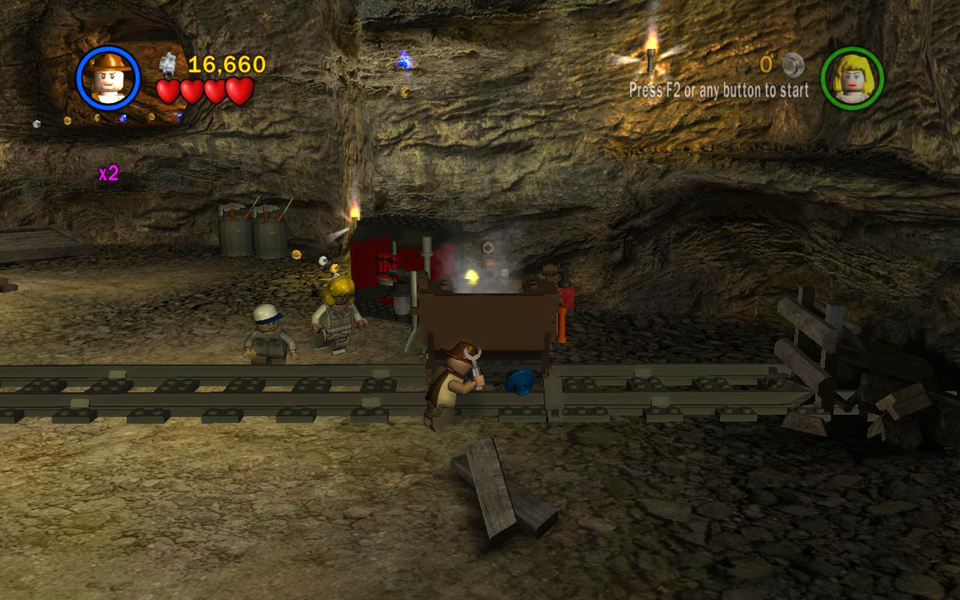
Now you must fix the rail and get the mine cart moving in order to escape. Begin by picking up the loose rail on the left side of the tracks and replacing it where it belongs.
Smash the small, gray boxes sitting on the ground near the tracks and use the LEGO pieces inside to fix the tracks. Pick up the wrench sitting in plain sight near where the boxes were.
Move to the right end of the tracks and pull the lever to get a bundle of dynamite from the machine. Toss the dynamite at the jumble of parts in the corner. After the explosion, use the leftover parts to rebuild the mine cart. Then use the wrench you found to repair it.
Now push the cart all the way along the tracks to the far end, until it comes to a stop beneath the wooden ledge.
 Replace the missing piece of rail. |
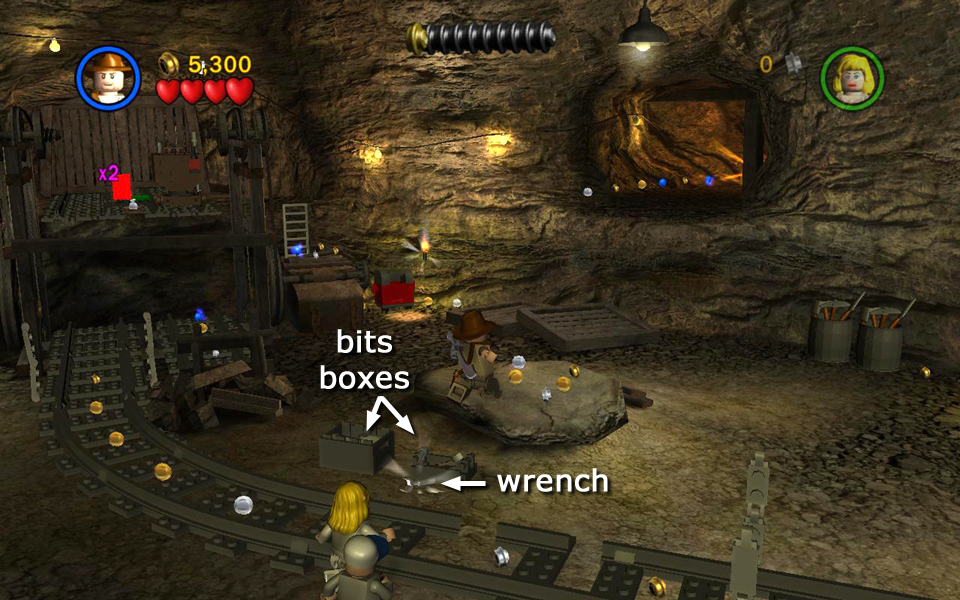 Smash the small boxes and pick up a wrench here as well. |
|
 Use the bits to rebuild the track. |
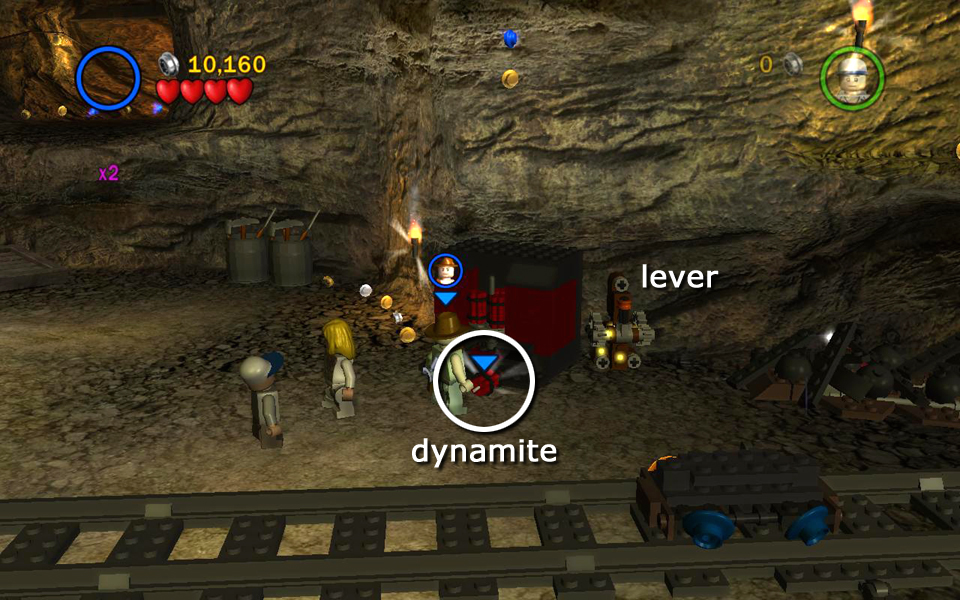 Pull the lever to get some dynamite. |
|
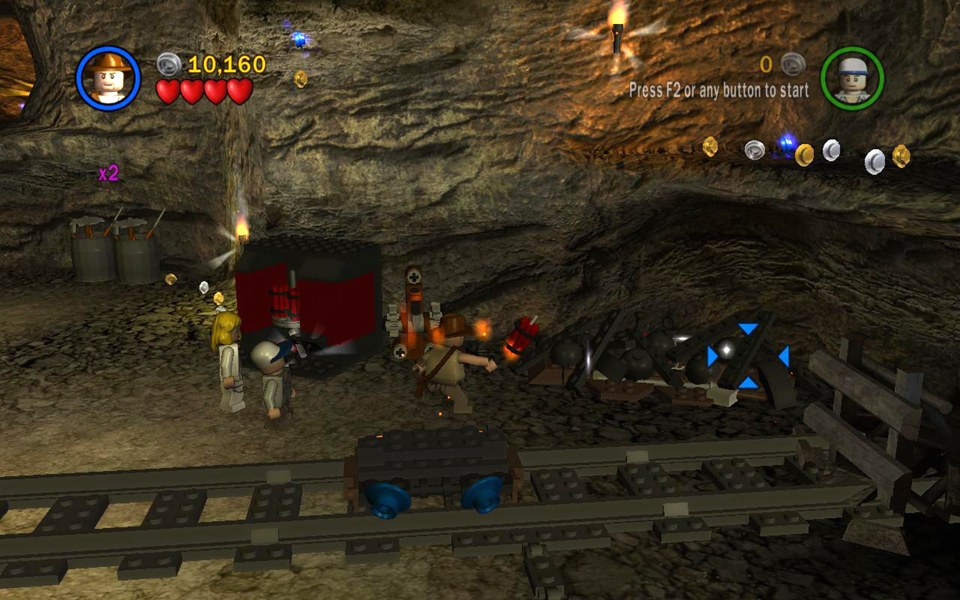 Blow up the pile of debris in the corner. |
 Use the bits to rebuild the mine cart. |
|
 Repair the cart with the wrench. |
 Push the cart to the end of the tracks. |
Use Willie to jump onto the bumper at the right end of the tracks (or on top of the dynamite machine) and from there to the corner ledge. Grab the handrail on the back wall and then jump to reach artifact piece #2 hovering above.
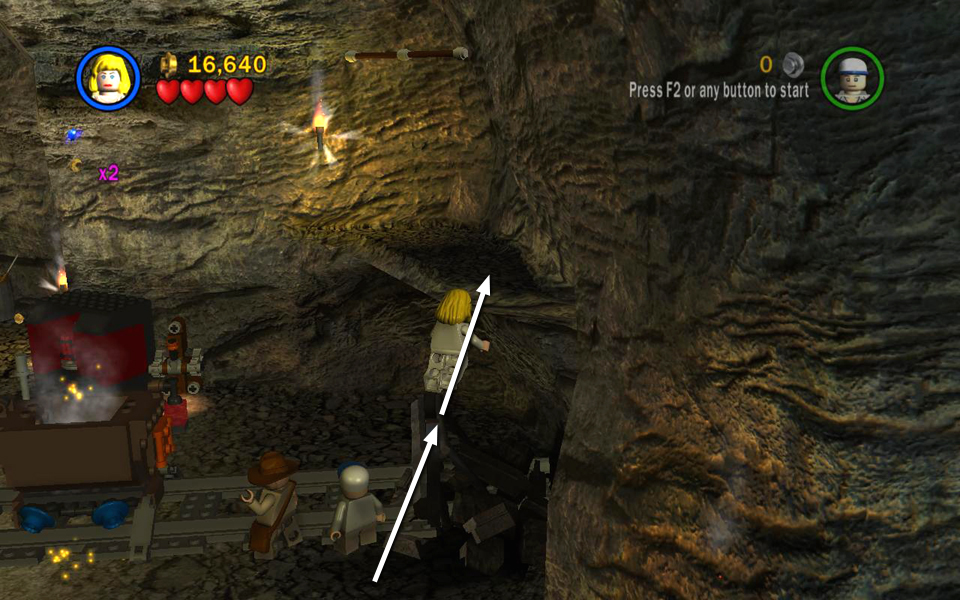 Have Willie jump onto the corner ledge. |
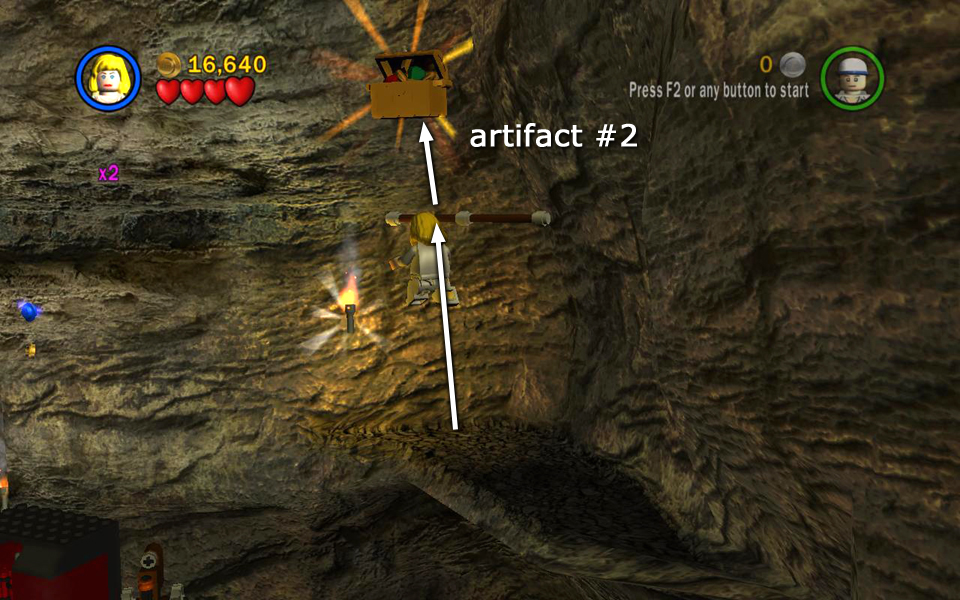 Grab the rail and jump to artifact piece (2/10). |
Again use Willie's high jumping ability to leap from the wooden pallets into the raised opening on the back wall near the red mailbox. There you'll find artifact piece #3.
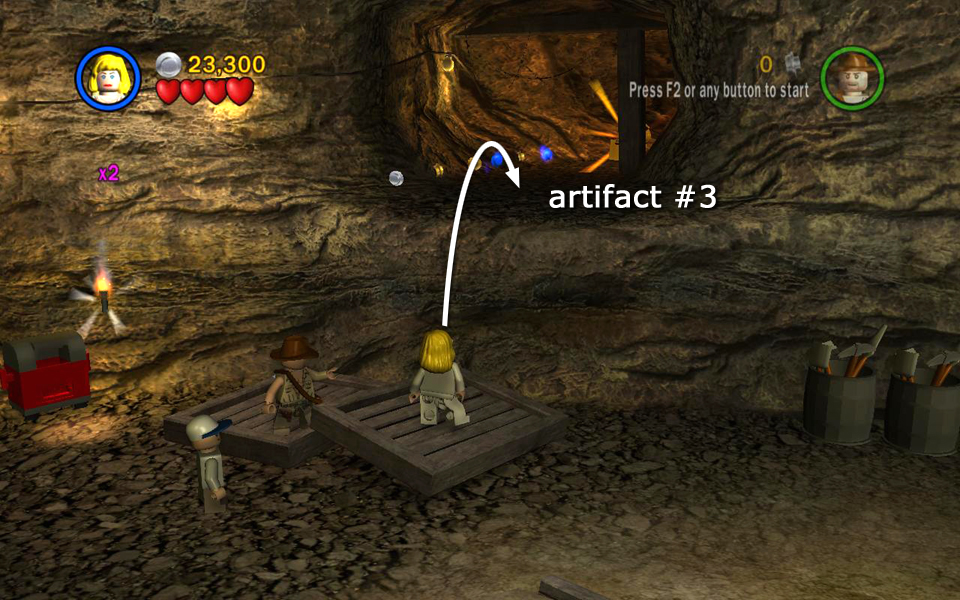 Have Willie jump into the cave to get artifact piece (3/10). |
FREE PLAY: Use a small-sized character to squeeze through the crawlspace on the left to emerge on a ledge above the chasm. Toggle to a Thuggee character (unless you're using the Maharajah, who has both powers) and activate the statue to make artifact piece #4 appear. Return through the crawlspace or jump carefully back down to the main area.
 Send a small character through the crawlspace. |
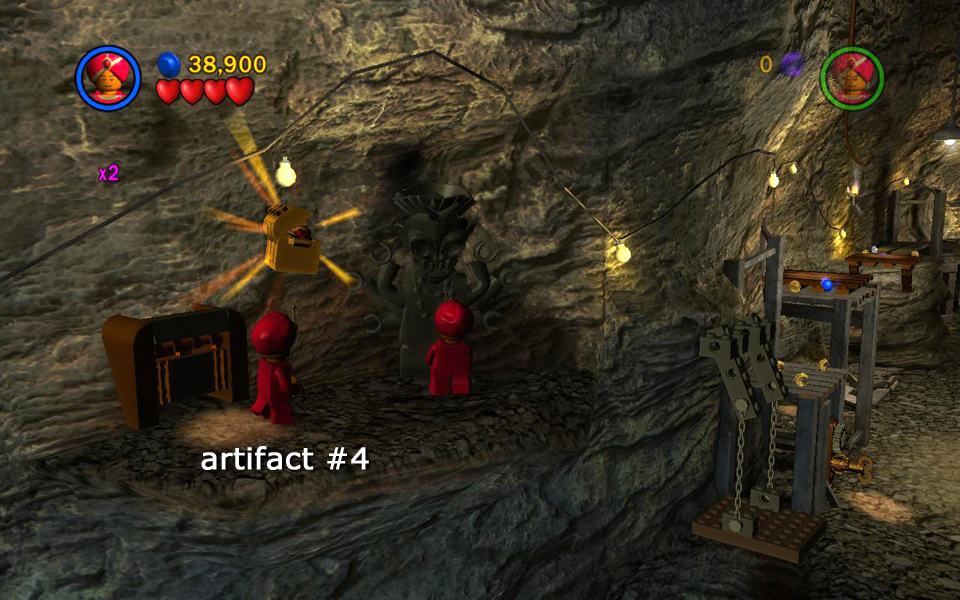 Use Thuggee powers to activate the statue and get artifact piece (4/10). |
PARCEL: Also in Free Play, switch to a character with the academic ability and solve the hieroglyph puzzle on the far left. When you do, it slides aside revealing a secret passage. Enter the small cave and pick up a purple stud (worth 10,000). Toggle to someone with the excavation ability and dig up the parcel. Carry it across the tracks to the mailbox on the right side of the room and send it home.
Later, when you return to Barnett College, you'll be able to go to the Mail Room and purchase the "Treasure x6 Extra" for 3,000,000 studs. (See Parcels & Extras for details.)
 Use an academic to solve the glyph puzzle. . . |
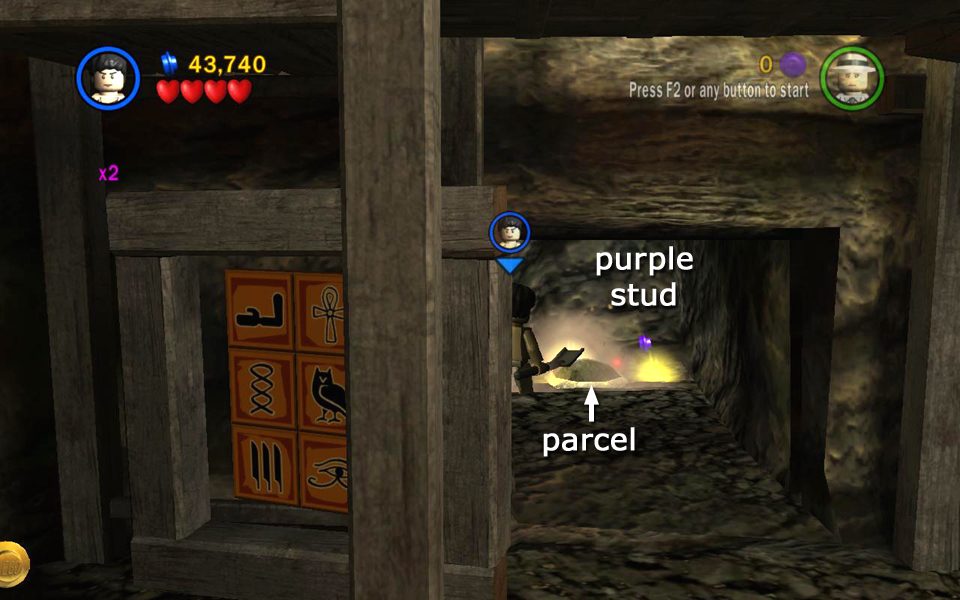 . . . and a digger to excavate the parcel. |
|
 Carry the parcel to the mailbox on the right. |
||
Have Indy and jump onto the brown platform on the far left. Switch to another character to turn the key, raising the platform where Indy is standing. If you're playing alone, Indy should jump from the platform to the wooden ledge automatically. Once he's up on the ledge, take control of him and jump up onto the whip platform and swing across the gap. Then follow the wooden ledges around to the right. Pull the lever to drop a ladder so the other characters can climb up.
Maneuver everyone onto the orange platform. The combined weight of the three characters pushes the platform down, raising the section of track with the mine cart on it. When it has risen all the way up, a black bar drops down on the right side of the orange platform and locks into place. Now your people can jump down and the mine cart should stay up.
NOTE: In Free Play, the weight of two characters is enough to raise the mine cart. If the cart won't rise all the way up and lock into place, try pushing it forward a bit more. The cart needs to be at the very end of the tracks in order for this to work.
Now hop down, go around to the right and climb the ladder near the red mailbox to reach the ledge with the mine carts. Push the orange handle on the left cart to move the cart forward a little and trigger the next cut scene.
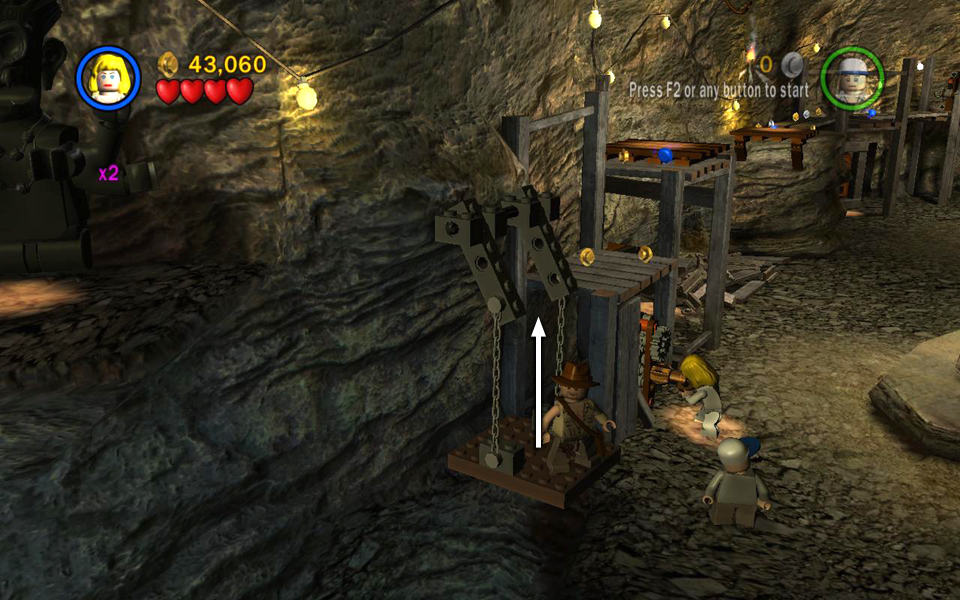 Stand Indy on the lift platform and have another character turn the key to raise it. |
 Have Indy cross the ledges to the lever. |
|
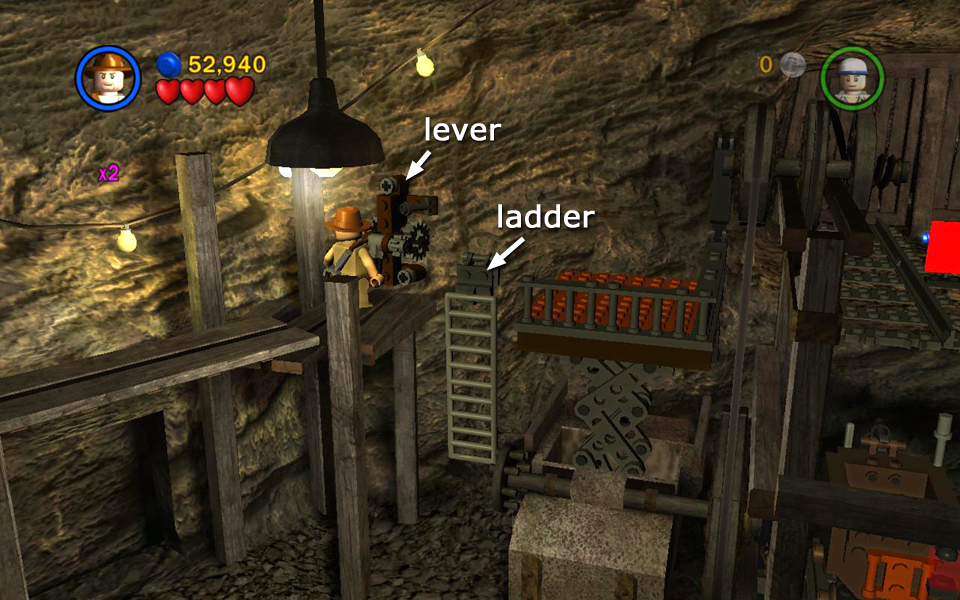 Pull the lever to extend a ladder. |
 Stand everyone on the platform to raise the mine cart. |
|
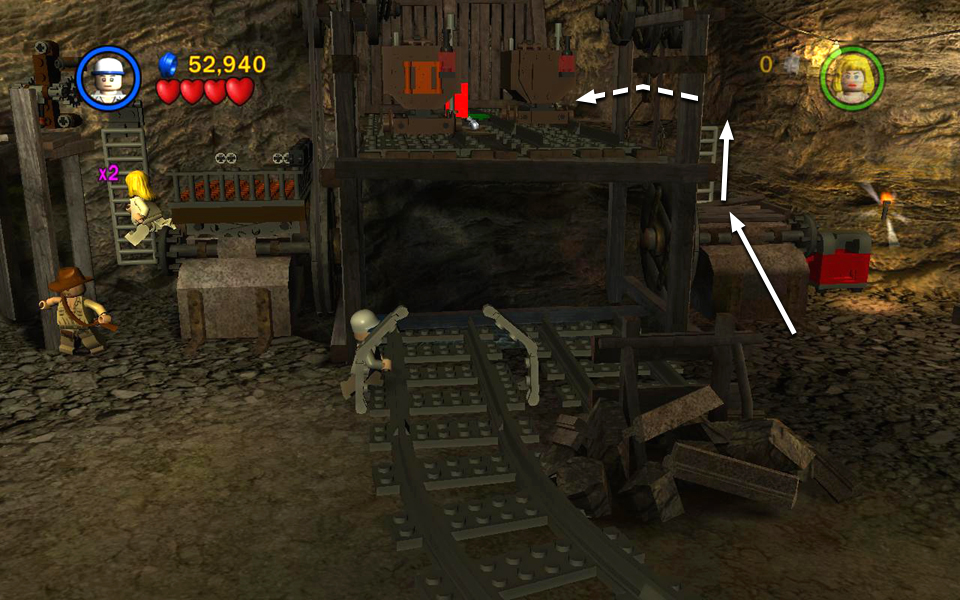 Climb up on the right. . . |
 . . . and push the cart to enter the next area. |
Area 2: First Mine Cart Loop [jump to top]
(Click any of the screenshots below to enlarge.)
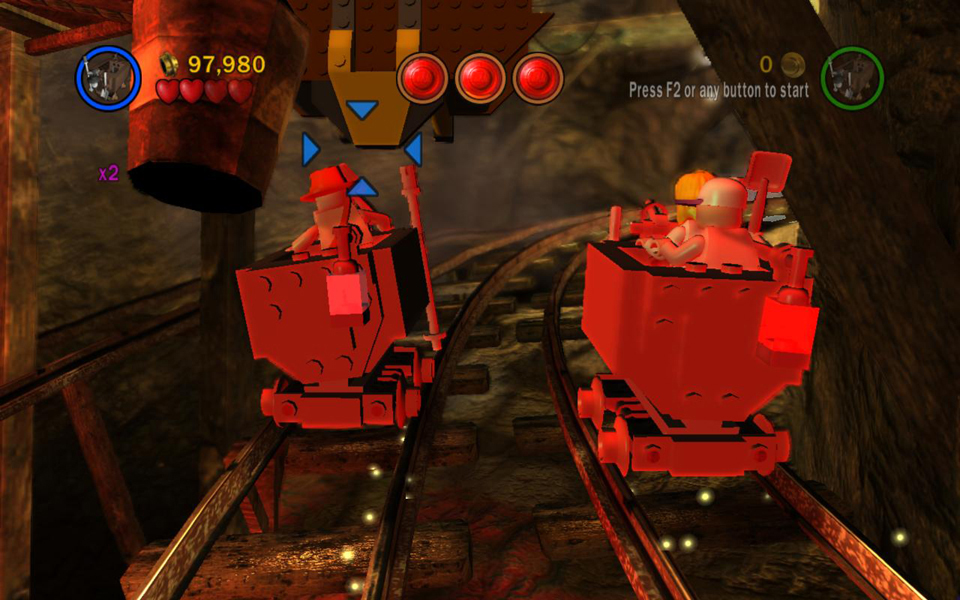
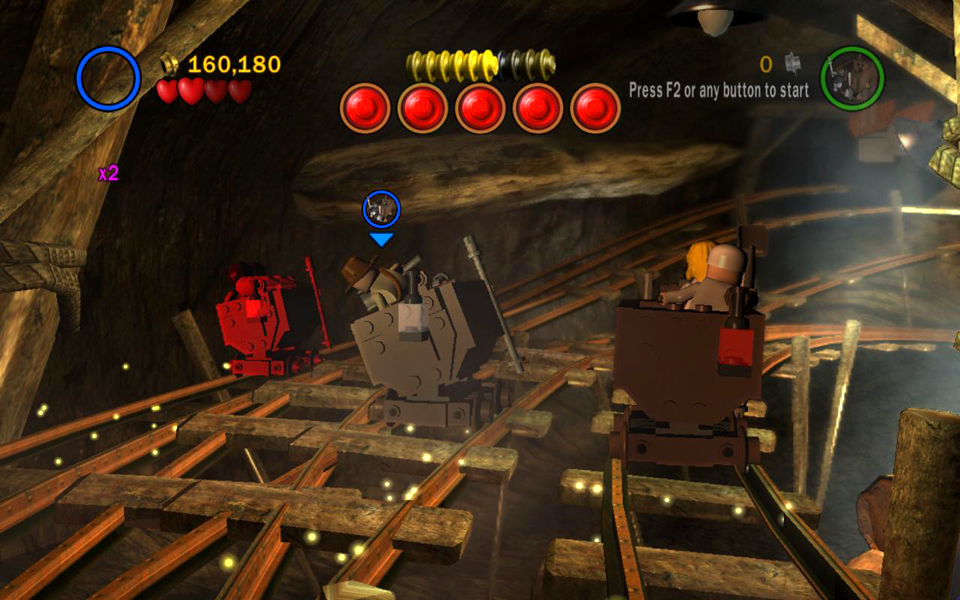
 Our friends are now riding in the mine carts, with Indy in the left cart and Willie and Short Round together in the right cart. Indy and Short Round are each armed with a shovel, which can be used for whacking switches (more on this shortly), as well as for hitting Thuggees that pass by in their own carts.
This area is a single, large loop. You'll just keep going around and around until you manage to activate 3 switches (S1-S3 on the map) that shift the track allowing you to move on to the next area. To hit a switch, press the Free Play button to take control of the character on the side nearest the switch, lean toward the switch by holding a direction key or pushing on the left analog stick, and then press Attack to swing the shovel and whack the switch as you pass it.
This section is much easier in co-op mode, since you won't have to worry about switching characters. But if you're playing alone, you'll probably want to make a few turns around the circuit to pick up various goodies before attempting to hit the switches.
Artifact piece #5 (A5 on the map) is sitting off to the left side of the track just before it loops back around to meet up with the tracks coming in from the previous area. Use Indy to lean to the left and grab it.
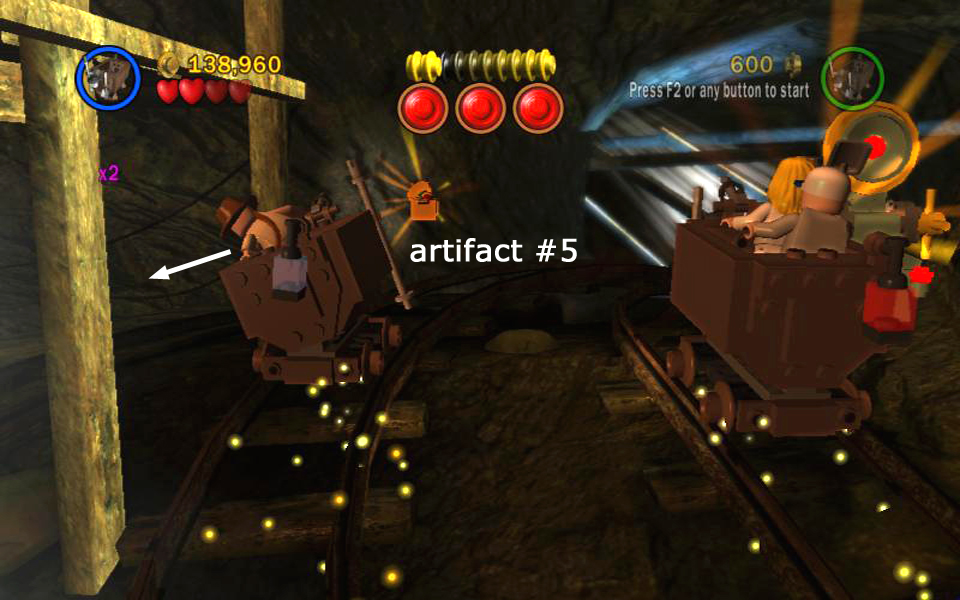 Artifact piece (5/10). |
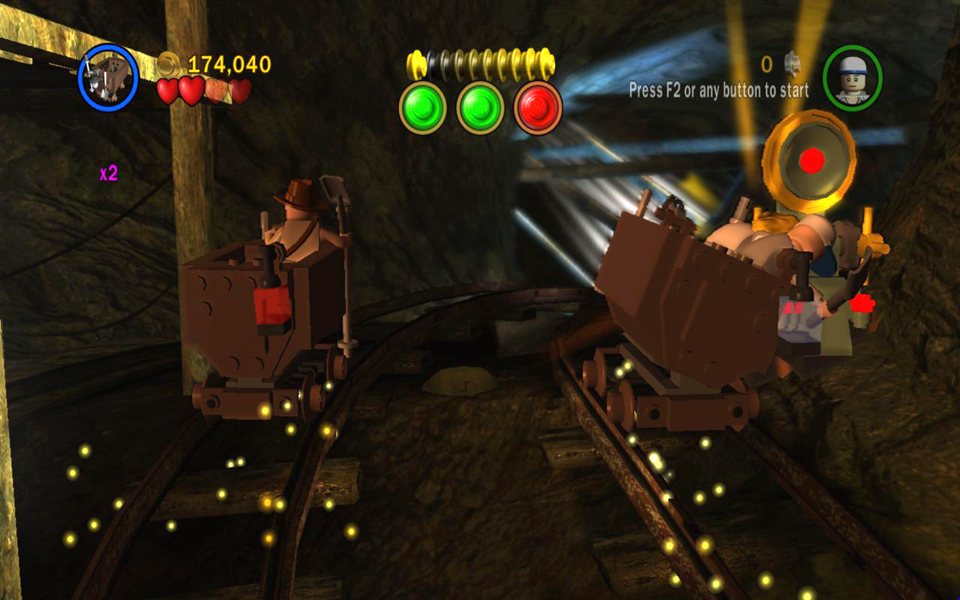
To get Artifact piece #6 you must hit the 3 brown-and-gold hoppers (or whatever these are) hanging directly above the tracks. (These are marked H on the map.) Two of them are on Indy's side; one is on Willie and Short Round's side. There's no need to lean out to hit them. Just wait until you pass beneath a hopper and press Attack. You'll hear a ding and see numbers (1/3, etc.) when you connect. (This artifact is marked A6 on the map, but the treasure chest actually appears near the last hopper you hit, whichever it happens to be.)
 Hit the 3 hoppers to get artifact piece (6/10). |
For artifact piece #7, you must derail 3 enemy mine carts with your shovel. (These are marked E on the map.) Two of them appear on parallel tracks to the left of Indy's cart. The other appears on Willie and Short Round's right. You may have to pass each cart more than once in order to do enough damage to derail them. So just keep going around until you manage it. (This artifact is marked A7 on the map, but the treasure chest actually appears wherever the third enemy cart is destroyed.)
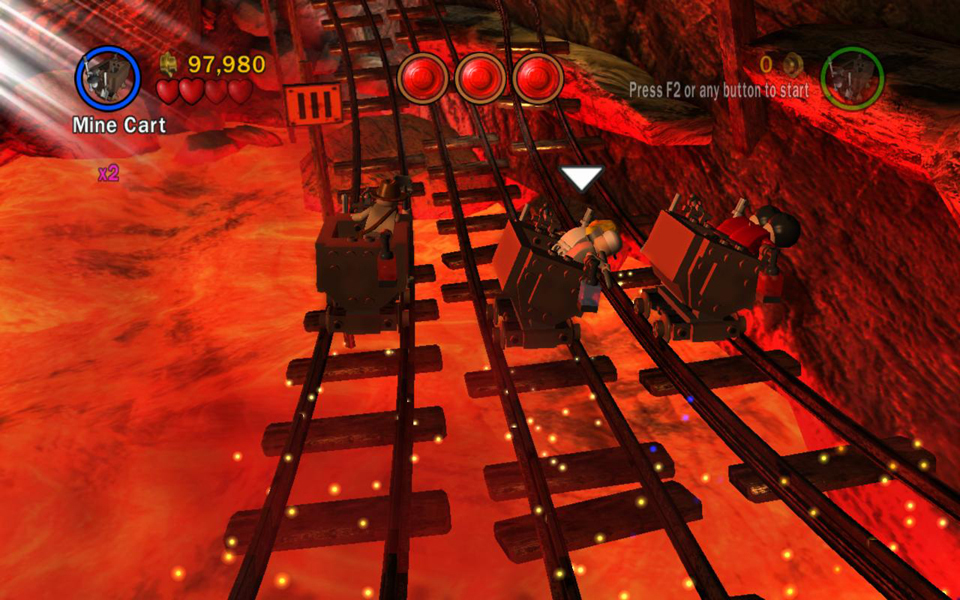 Derail 3 enemy carts to get artifact piece (7/10). |
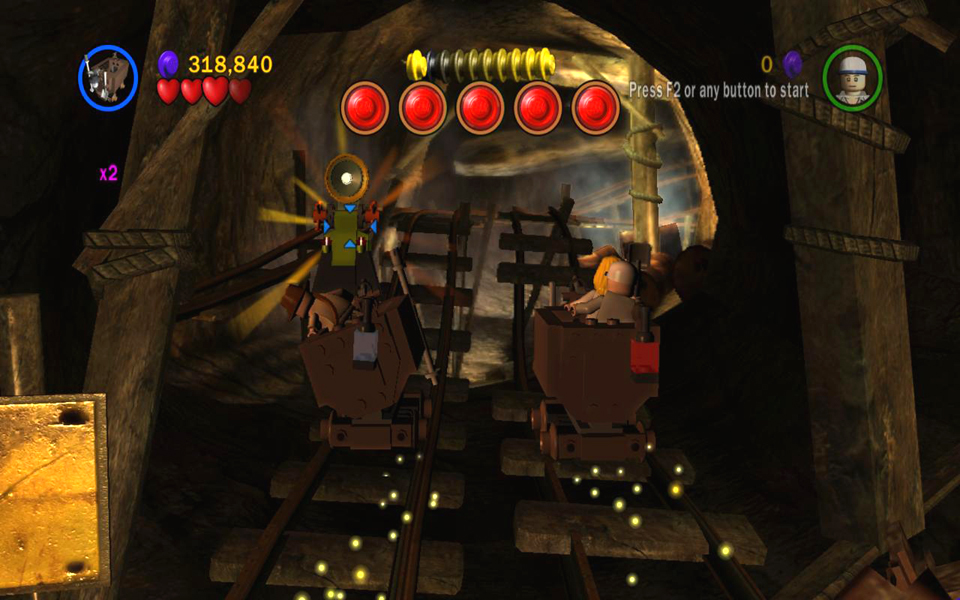
There are several orange-and-green hanging lanterns that release silver and gold studs when you smash them. You'll also see various rows of studs—including some valuable purple studs—sitting beside the tracks. Just lean out toward them to gather them up.
 Hit the lanterns to get more studs. |
 Lean out to collect the studs beside the track. |
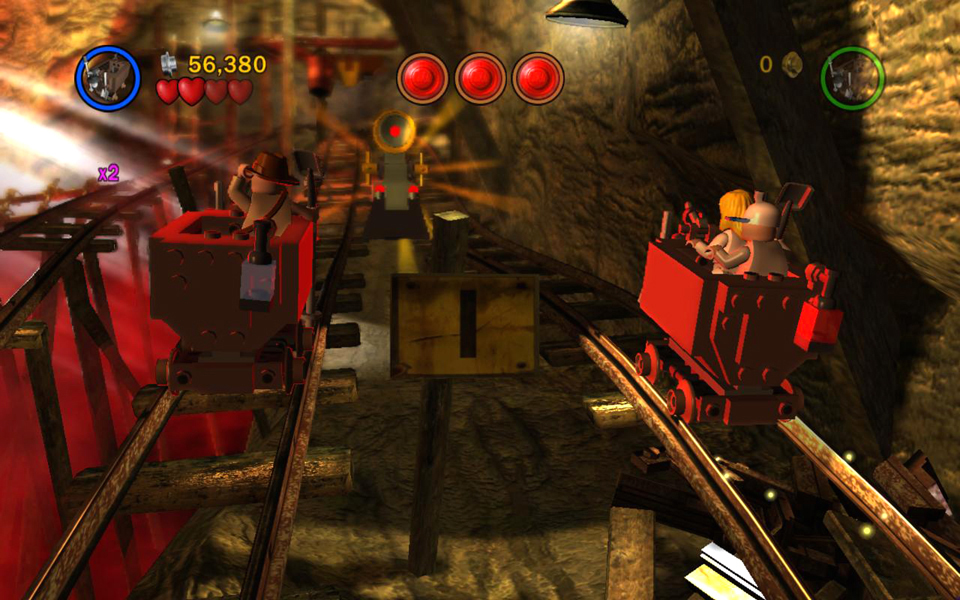
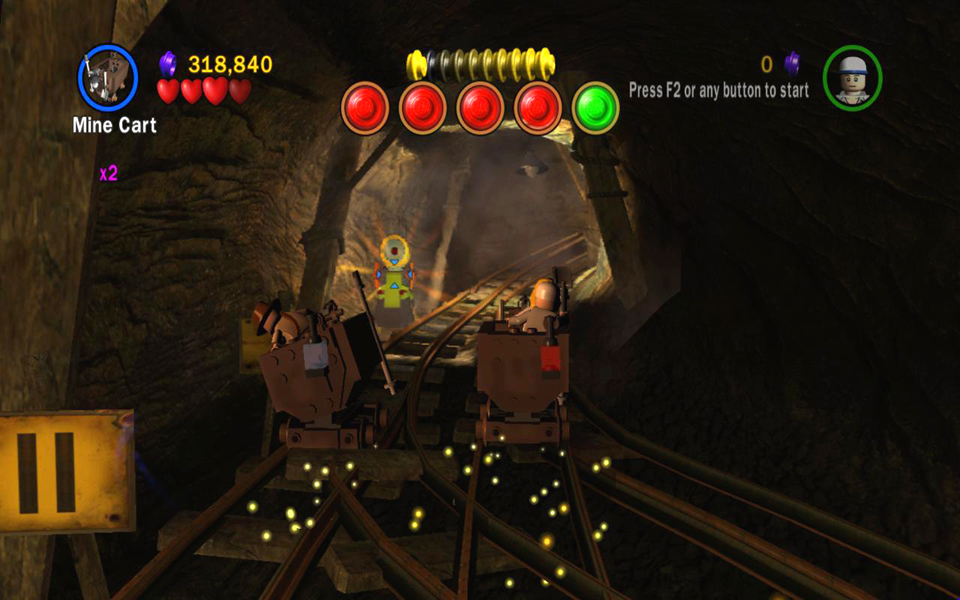
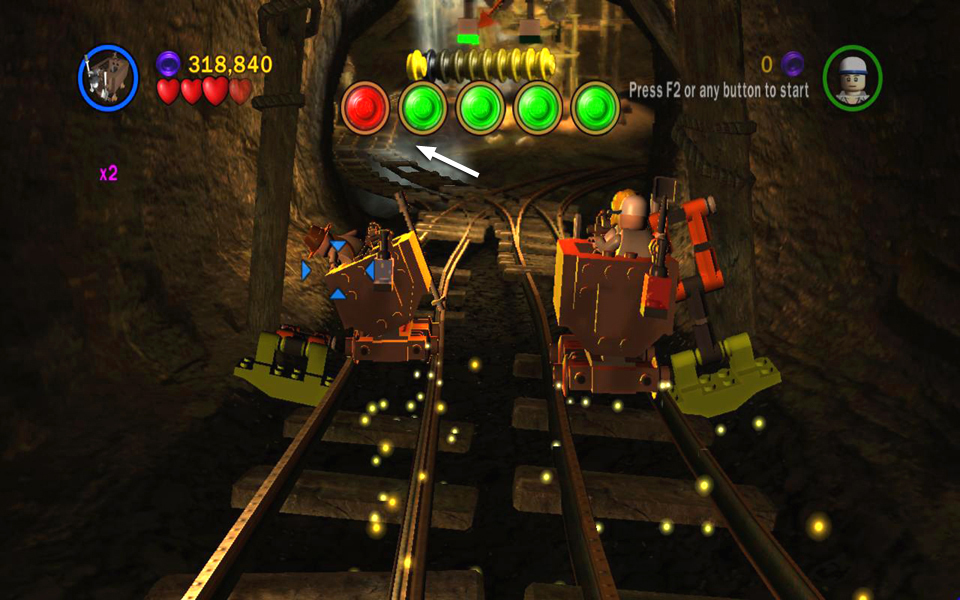
Once you've got the goodies, concentrate on the switches. The first switch is in the middle between the 2 sets of tracks, so it can be hit from either side. If you're controlling Indy, lean to the right. If you're controlling Short Round, lean to the left. When you approach the switch, you'll see blue, triangular targeting reticules. Press Attack to hit it with the shovel. If you succeed in knocking over the switch, you'll hear a ding, and one of the three red lights in the middle of the screen will turn green.
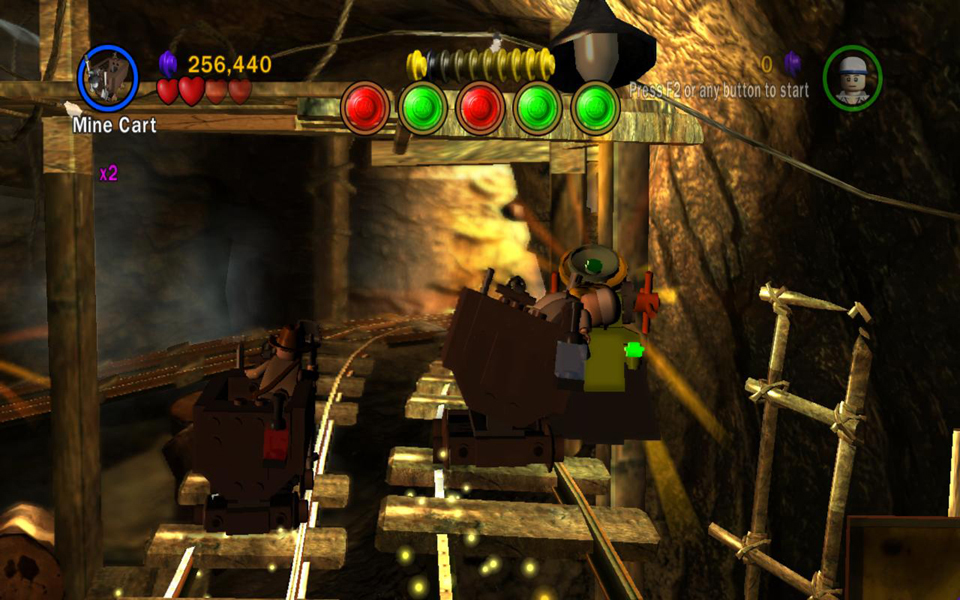
The second switch is about halfway around the loop on the left. Have Indy lean to the left to whack it. The third switch is on the right side of the tracks. Have Short Round lean to the right to hit it with his shovel.
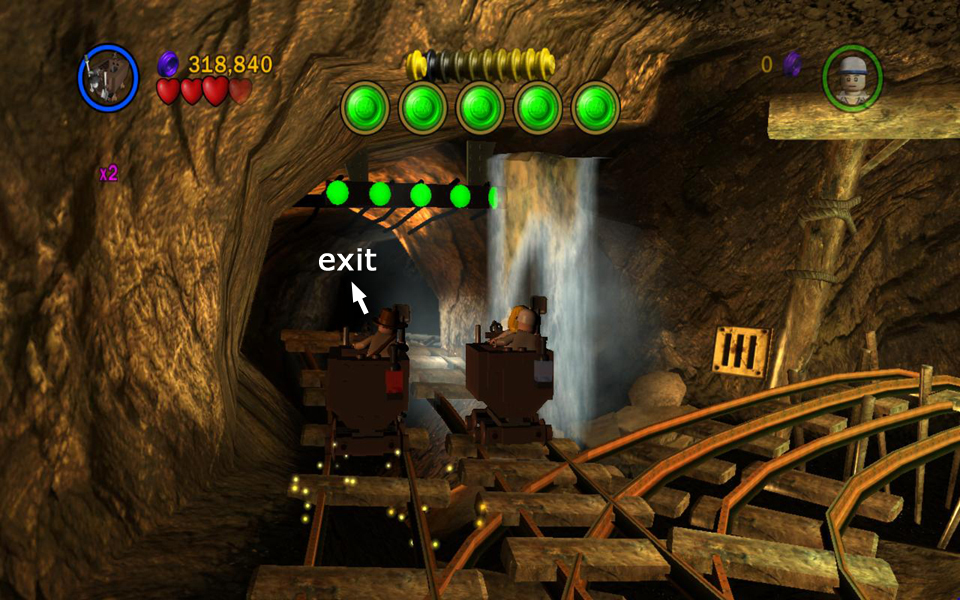
The order in which you hit them doesn't matter. However, as you travel around the circuit, if you don't hit the switches quickly enough, eventually they will pop back up again, and the green lights will turn back to red. If this happens, just keep trying and eventually you'll get them all activated at once. When you do, the tracks shift, and the carts move off the loop into the tunnel on the left.
 The first switch is in the middle of the tracks. |
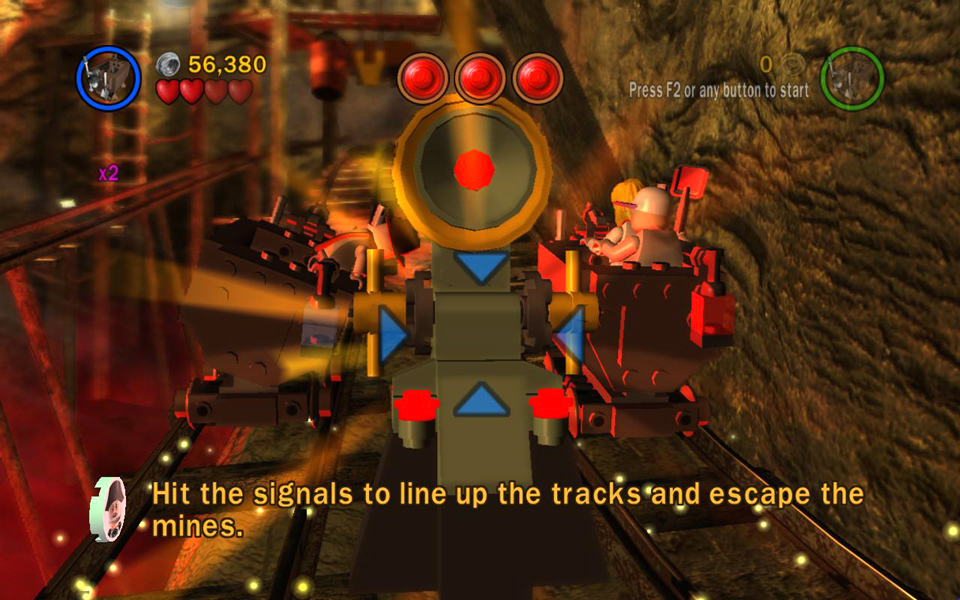 Make Indy or Short Round lean toward it and press Attack to hit it with the shovel. |
|
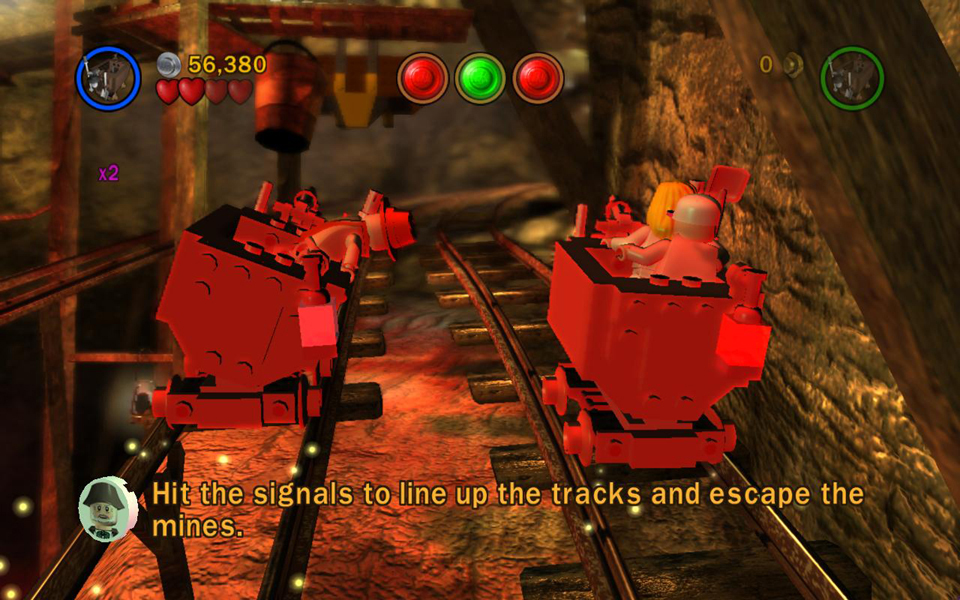 When the switch is activated one of the 3 indicator lights turns green. |
 Indy must lean left to hit the second switch. |
|
 Again both switch and indicator light turn green. |
 Willie and Short Round must lean to the right to hit the third switch. |
|
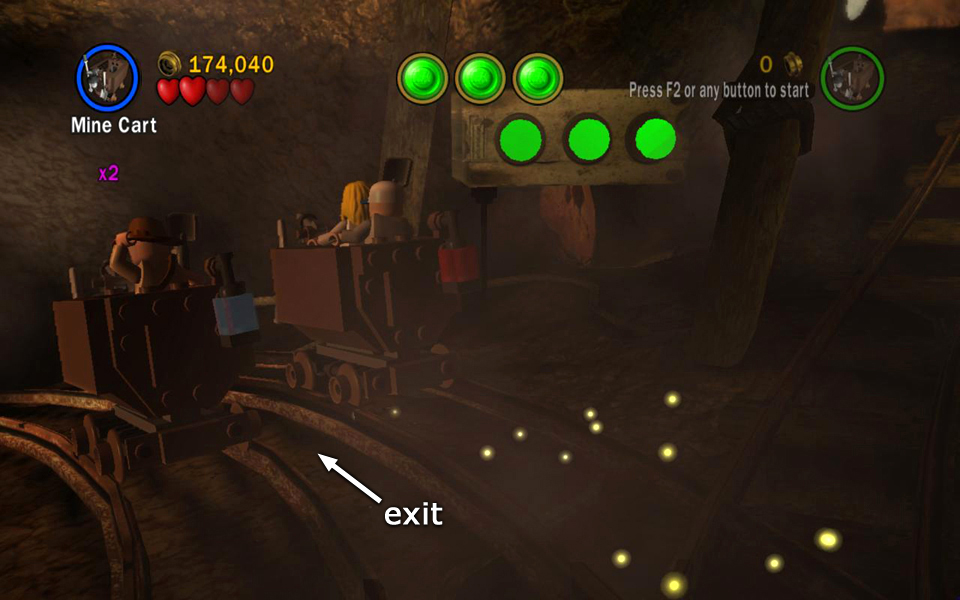 Activating all 3 switches diverts the carts into the exit tunnel. |
||
BUG NOTES: If you're playing the Windows PC version and have trouble reaching items far off to either side of the tracks, including enemy carts and artifact piece #5, try adjusting your screen resolution in the Options menu. Press Escape, and then select Options, then Video Settings. Adjust the screen resolution down to 800x600 pixels. That should make things a little easier. After you've played through this section and gotten all the goodies, you can return to the higher settings.
If you still can't get the artifact piece at the lower resolution, try leaning back and left to reach it, instead of just leaning to the left. Also, try swinging Indy's shovel.
If you're still having problems hitting the second enemy mine cart on the left, try controlling your speed as you approach the area where the enemy cart appears. Speed up (by pressing Up/Forward) as you approach. This will hopefully bring your cart up next to theirs as the two sets of tracks converge (i.e., just beyond the second switch). If you can't hit them right away, wait for the tracks to separate and converge and then try again.
Thanks to the guys on the GameFAQs forum for these tips.
Area 3: Second Mine Cart Loop [jump to top]
(Click any of the screenshots below to enlarge.)
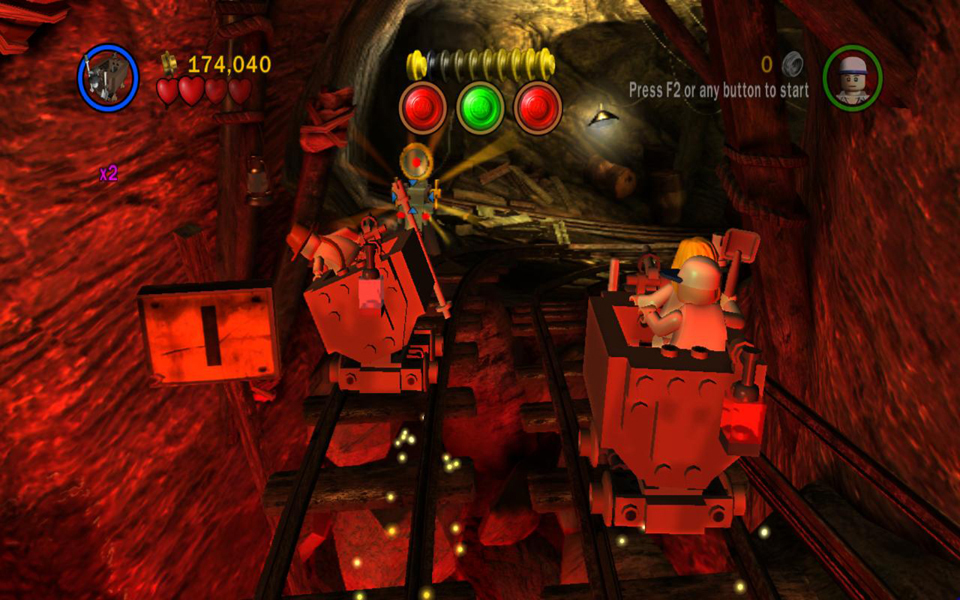
 This next area is similar to the previous one, except that the track is a bit longer and more complicated. You'll need to hit 5 switches in order to shift the carts onto the track that leads to the exit.
At first you follow an oblong loop (marked with black arrows in the map below). As long as you don't hit any switches, you'll just keep going around. Make as many circuits as you need to in order to get all the studs and artifacts.
A bit more than halfway through the loop, the track splits. Just before this fork, there are 2 track switches, one on each side of the tunnel (marked TS on the map). These are smaller than the other switches and orange. If you don't hit either switch, you'll automatically go to the right every time you come to the fork. To enter the left tunnel (marked with blue arrows on the map), hit the track switch on left. The left tunnel meets up with the main loop again a bit farther on. To go back onto the right track, the next time you approach the fork, hit the track switch on the right. You can use these switches as many times as you like, but you'll need to follow each path at least once in order to hit all five switches to reach the exit. (The final series of screenshots, below, shows all switches.)
Artifact #8 (A8 on the map) is sitting beside the track on the left, just beyond where the exit tunnel splits off. To get it, have Indy lean to the left.
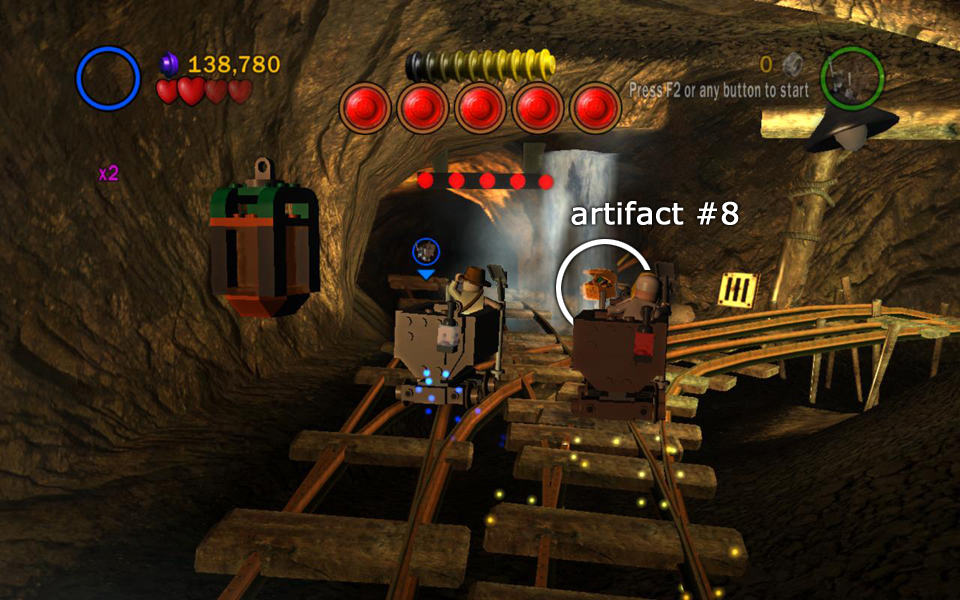 Artifact piece (8/10). |
Artifact #9 is obtained by smacking 3 hoppers (the brown-and-yellow things hanging overhead). The first is on Indy's side, shortly after the first switch. You'll catch a glimpse of another hopper just after that, but you can't reach it on the first pass since it's too far to the left. The second hopper is on Willie and Short Round's side, just before the track loops back on itself. After you've made one full turn around the track, you'll be riding on the outer set of tracks and Indy will be able to hit the third hopper. (This artifact is marked A9 on the map, but the treasure chest will appear near whichever hopper you smash last.)
 Hit the 3 hoppers to get artifact piece (9/10). |
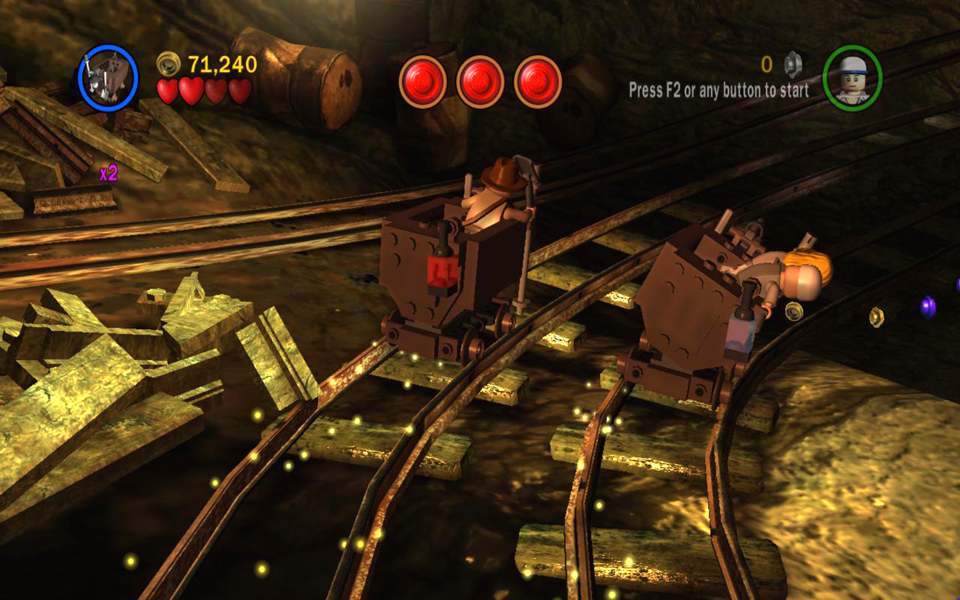
Artifact #10 can only be had by knocking 3 enemy mine carts off the tracks. Two of these will be on Indy's side—one just beyond the area entrance, one just beyond the fork when you take the path to the left. The other is on Willie and Short Round's side as you come down the hill after taking the right path at the fork. (This artifact is marked A10 on the map, but the treasure chest actually appears wherever you destroy the last enemy cart.)
 Derail the 3 enemy mine carts to get artifact piece (10/10). |
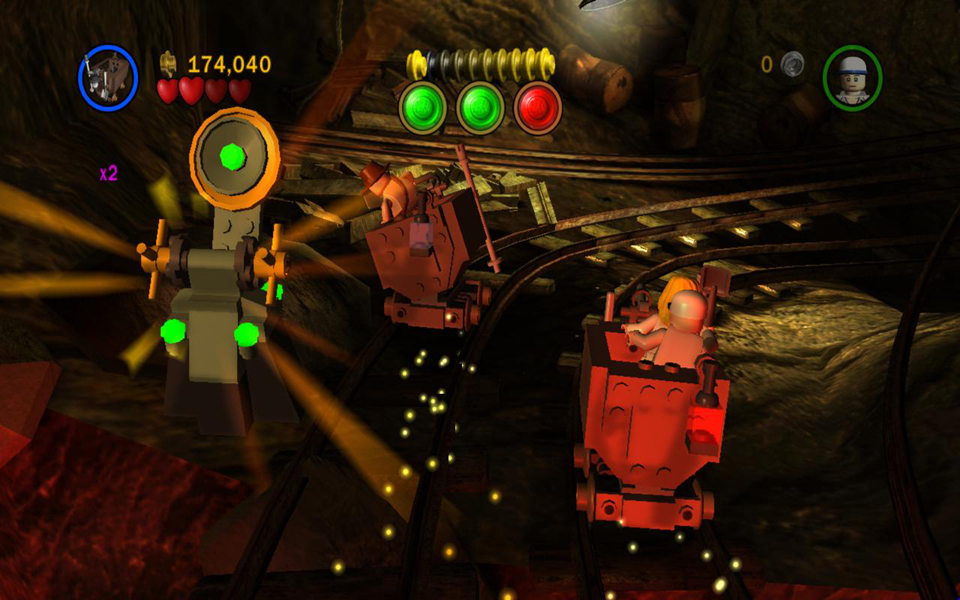
As in the previous area, you can also hit the orange-and-green hanging lanterns to get the studs inside and lean out to scoop up more studs—including quite a few purple studs—alongside the tracks.
When you have everything, start on the switches that will shift the tracks so you can exit. There are 5 switches in all. The order in which you use them doesn't matter, so long as you activate them all. The first and second switches are on Indy's side in the first section of the loop, before the fork. To reach the third switch, take the right tunnel at the fork and use Short Round to hit the switch, which is on the right just before the two branches of the tunnel converge. The fourth switch is on Indy's side, just before the track loops back on itself.
The fifth switch is in the left branch of the tunnel. Have Indy smack the track switch (TS) on the left side just before the fork to divert the cars into the left tunnel. Then change to Short round and get ready to hit the fifth main switch (S5), which is on the right just before this tunnel rejoins the main loop.
As in the previous area, the switches eventually reset. But once all five have been hit, and the five red lights on the screen turn green, your carts will be diverted into the exit tunnel and the final cut scene will play. ![]()
 The first switch is on the left, just beyond the start of the loop. |
 The second switch is a little farther on, also on the left. |
|
 The third switch is on the right, just before the right tunnel branch rejoins the main loop. |
 The fourth is on Indy's side near the end of the main loop. |
|
 To steer the carts into the left branch, hit the track switch on the left. |
 The last switch is in the left tunnel on the left side. |
|
 When all five switches have been thrown, the carts move onto the track to the exit. |
||
| < < < Previous Temple of Doom Level | Next Temple of Doom Level > > > |