The Temple of Doom - Level 6: Battle on the Bridge
True Adventurer: 80,000 studs |
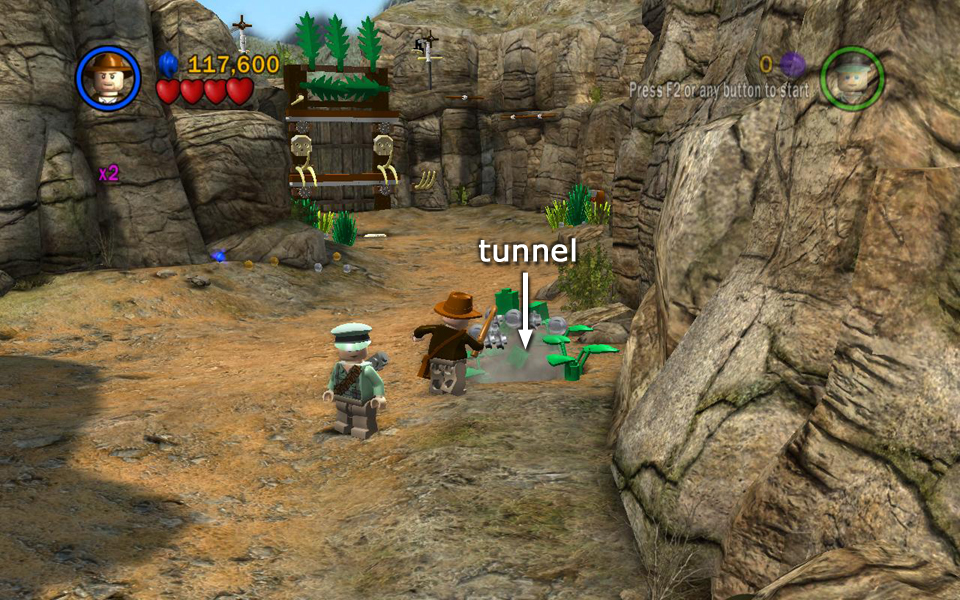
Area 1: Tunnel with Rushing Water
(Click any of the screenshots below to enlarge.)
In Story Mode, as soon as the cut scene ends, start running toward the foreground away from the rushing water. If you are swept up, the water will wash your characters safely to the tunnel opening, but you'll miss an artifact piece. In order to get it, you must make it to the end of the tunnel on foot, as described below.
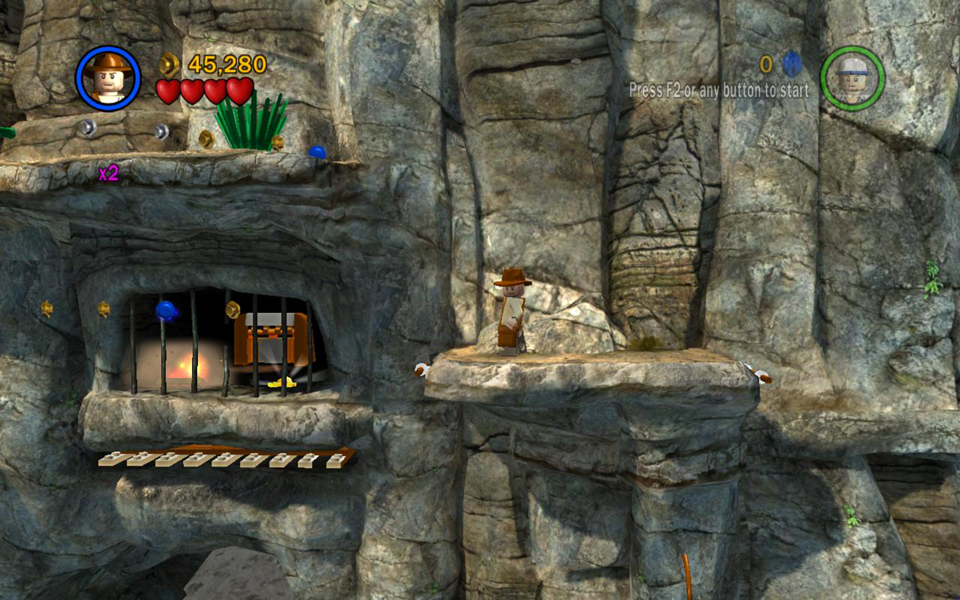
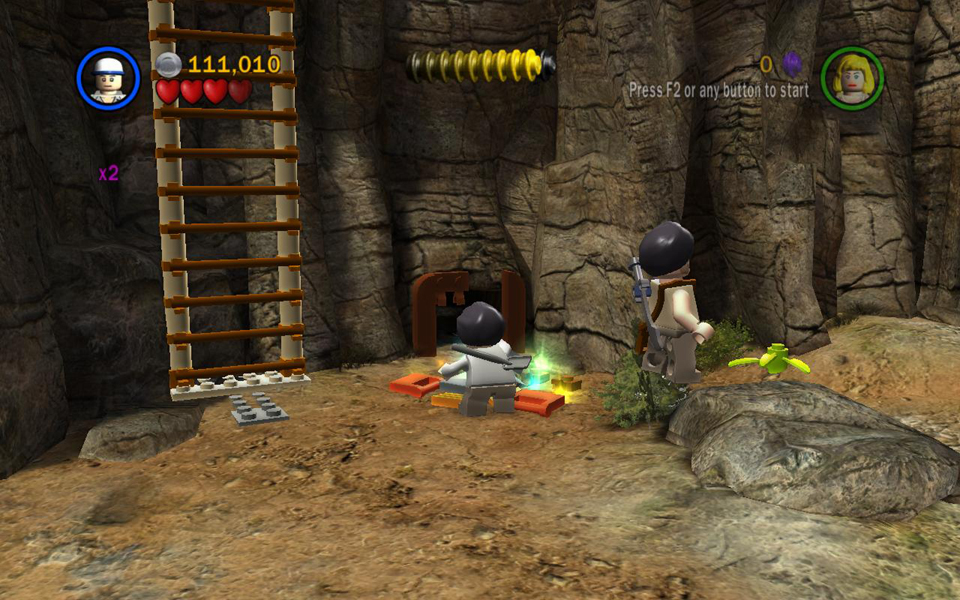
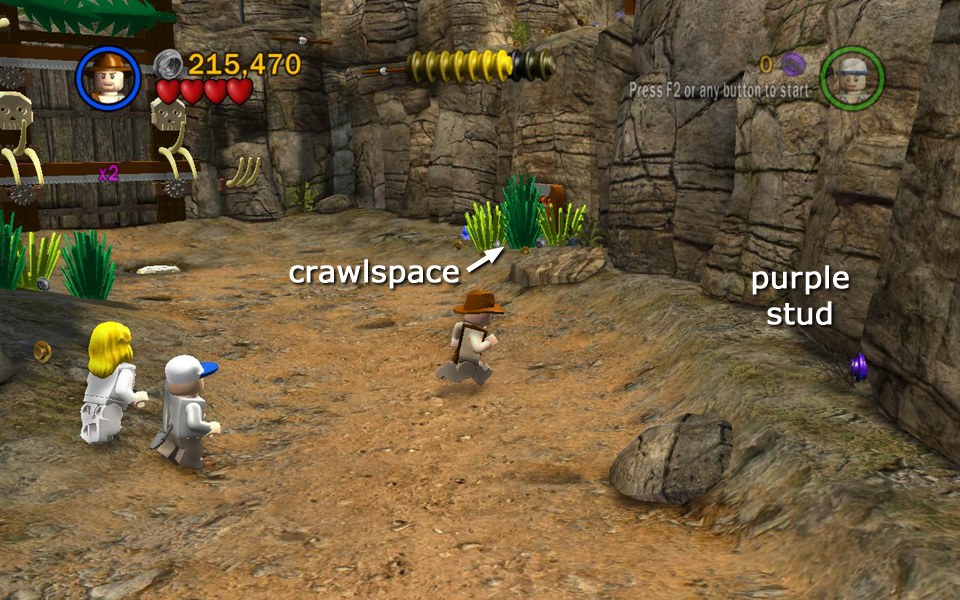
FREE PLAY: Just as the level begins, toggle to a character with explosives and blow up the silver bars directly behind the starting position. Grab artifact piece #1, along with a purple stud and various others. Then either make a run for it or allow the water to sweep your characters downstream.
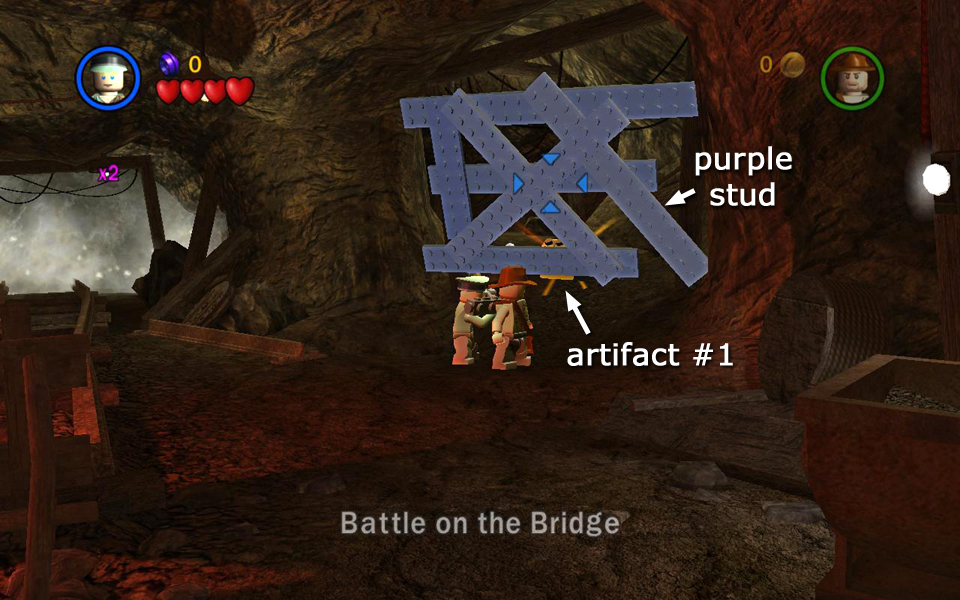 Blow up the bars to get artifact piece (1/10). |
It's not necessary, but you may want to switch to Willie for this section, since she can jump a lot farther than the boys.
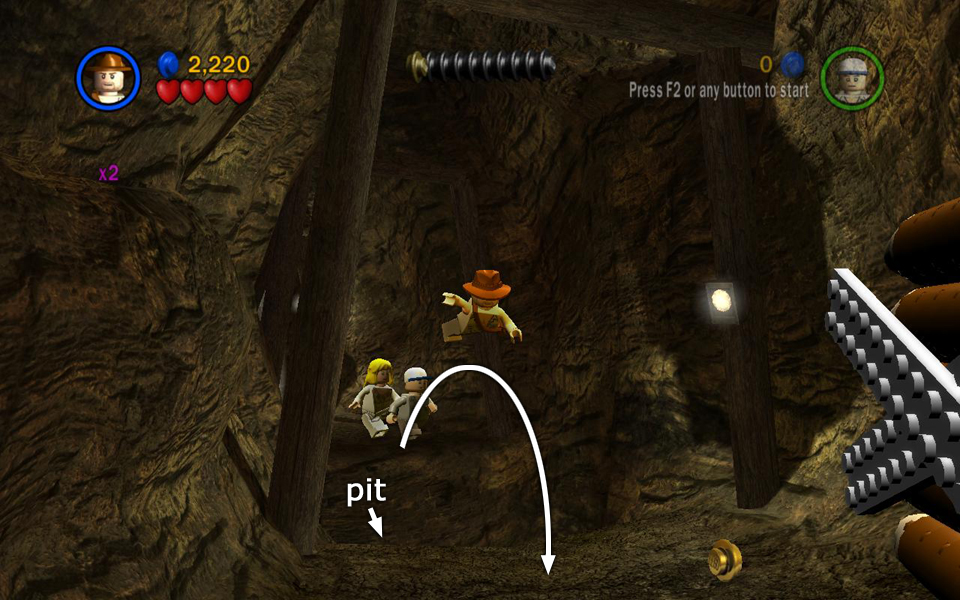
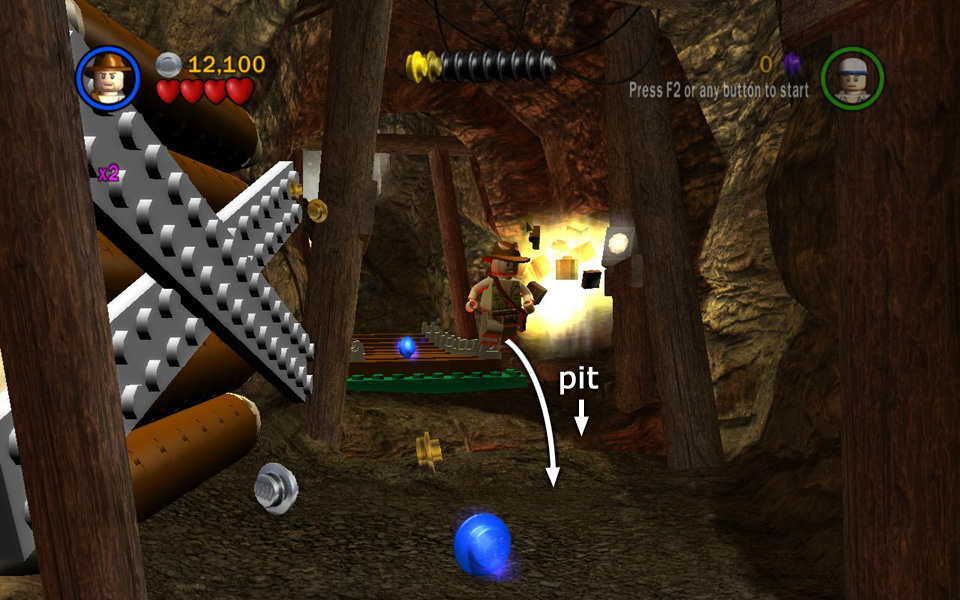
As you run, watch out for the silver manhole covers and sections of wall reinforced with logs and silver bars. The water pressure causes them to explode upward and outward as you pass near them. Just beyond the first set of manholes there's a shallow pit. You can run through this without being injured, but jumping over it saves time. Jump down the slope ahead (again jumping is faster than running) and continue along the tunnel avoiding the manholes.
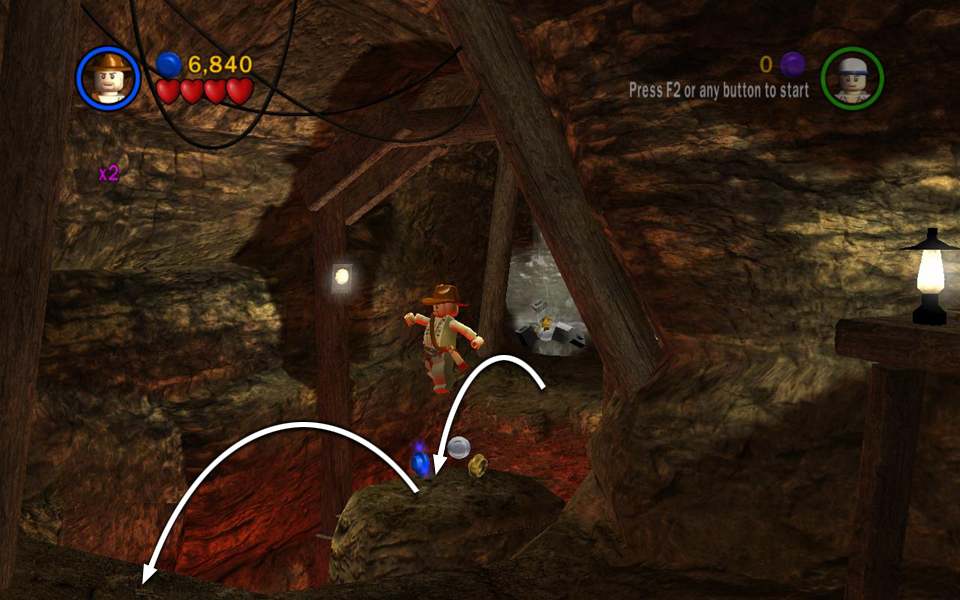
Next comes a tricky part. You'll need to jump from the edge of the lava pit to the small pedestal in the middle and then to the solid tunnel ahead. If you miss this jump, by the time your character respawns, the rushing water will have caught up to you, and you'll have to restart the level to get the next artifact or save it for later in Free Play.
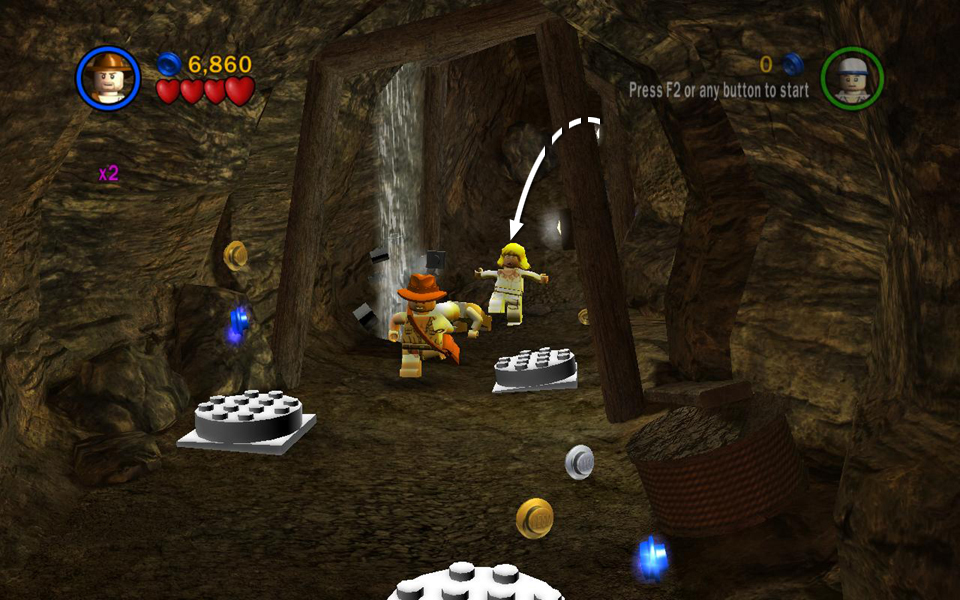
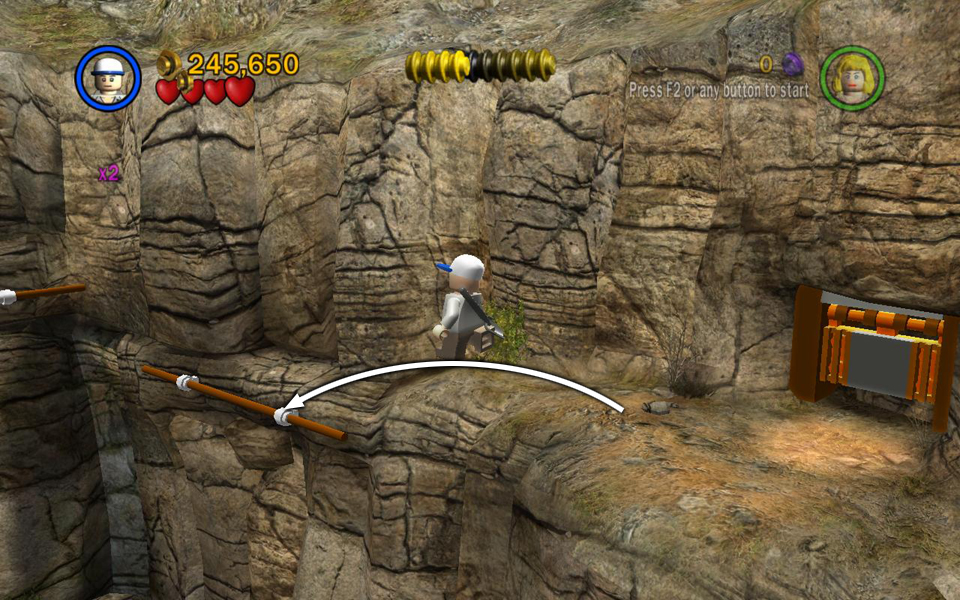
Once you've cleared the lava pit, keep running, jump down the next hill and dash across the wooden bridge. Just beyond the bridge are 2 small lava pits. Jump over the first, run to the left (on screen) as you jump the second pit, and you should run right through artifact piece #2. You may need to leave one of the 2 purple studs here in order to get the artifact, but once you have it, you're home free. Either keep running or just let the water take you.
 Run down the tunnel, avoiding or jumping over the manholes. |
 Jump over the first shallow pit. |
|
 Jump down the to cover more ground faster. |
 Use the small pedestal to clear the first lava pit. |
|
 Jump down the next hill and cross the bridge. |
 Hop over another lava pit beyond the bridge. |
|
 Jump over the next pit and run through artifact piece (2/10). |
||
Area 2: Cliff Face with Waterfall [jump to top]
(Click any of the screenshots below to enlarge.)
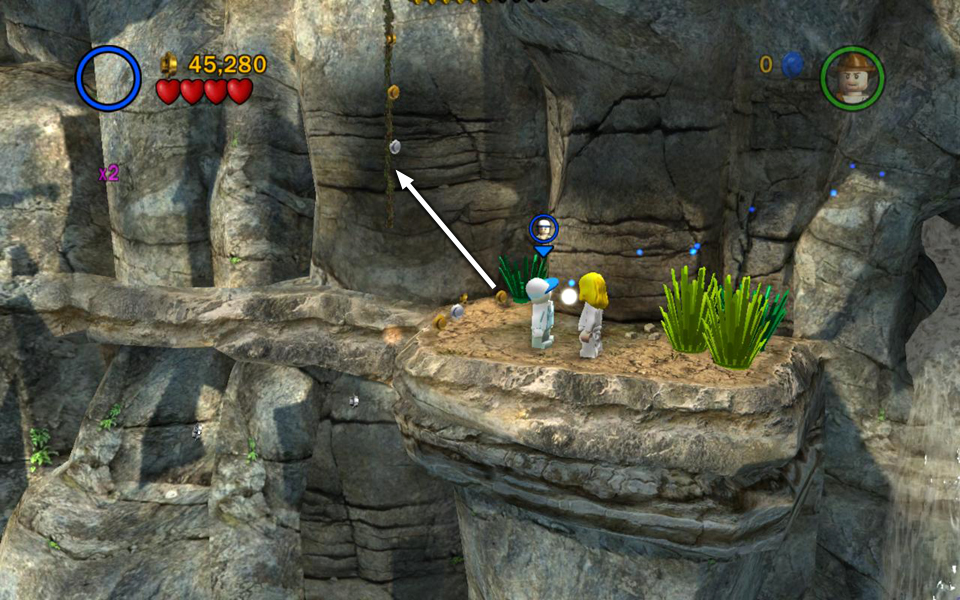
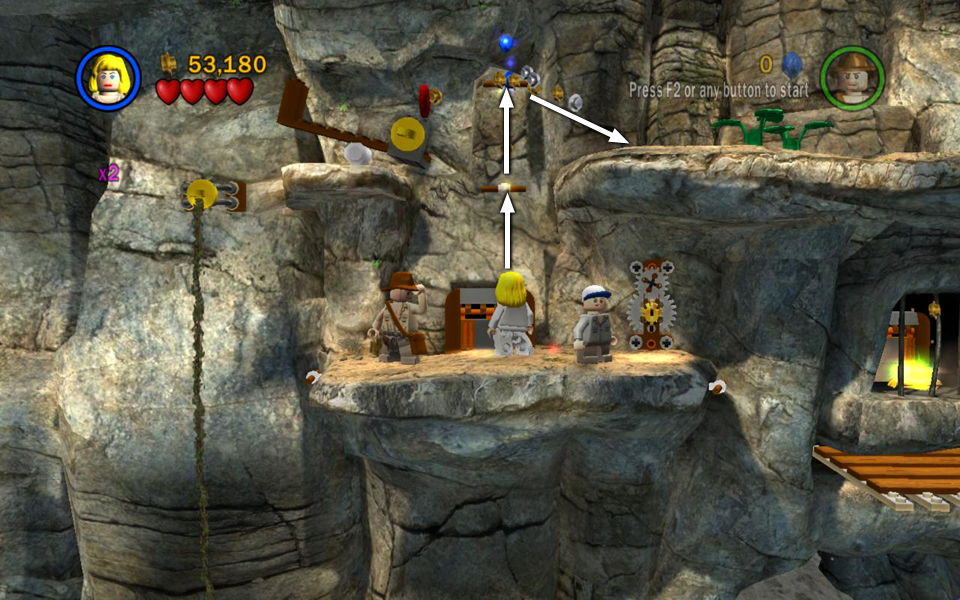
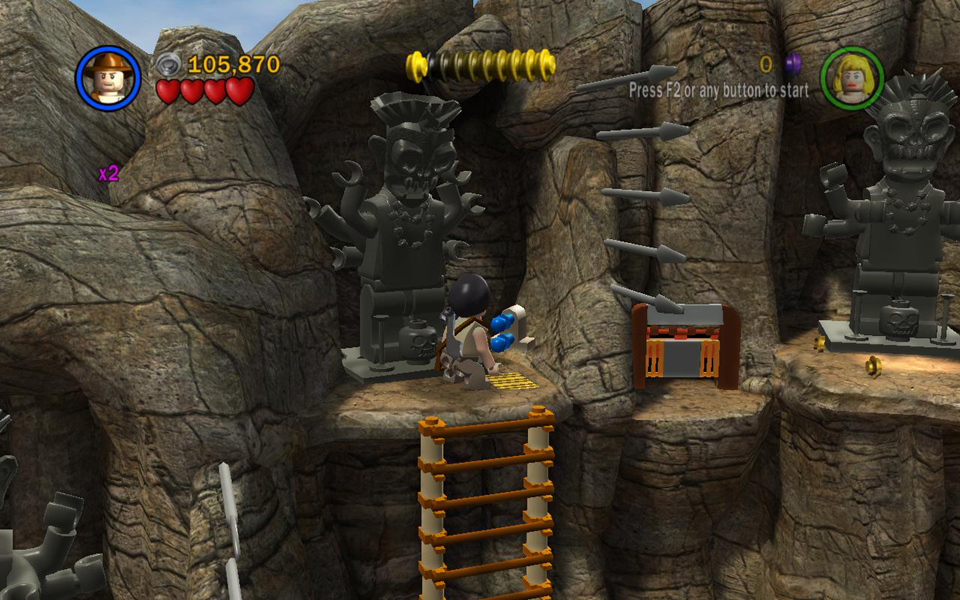
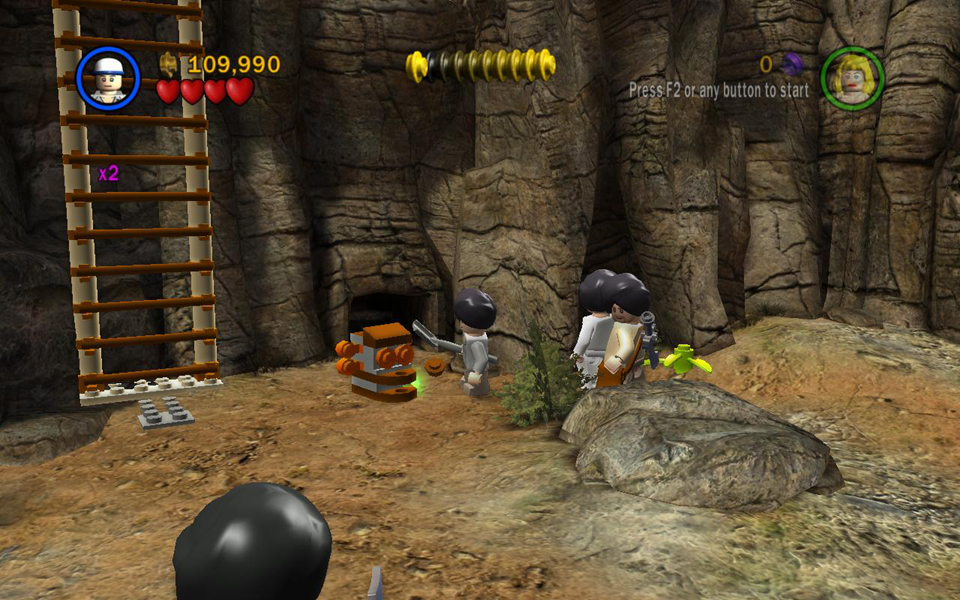
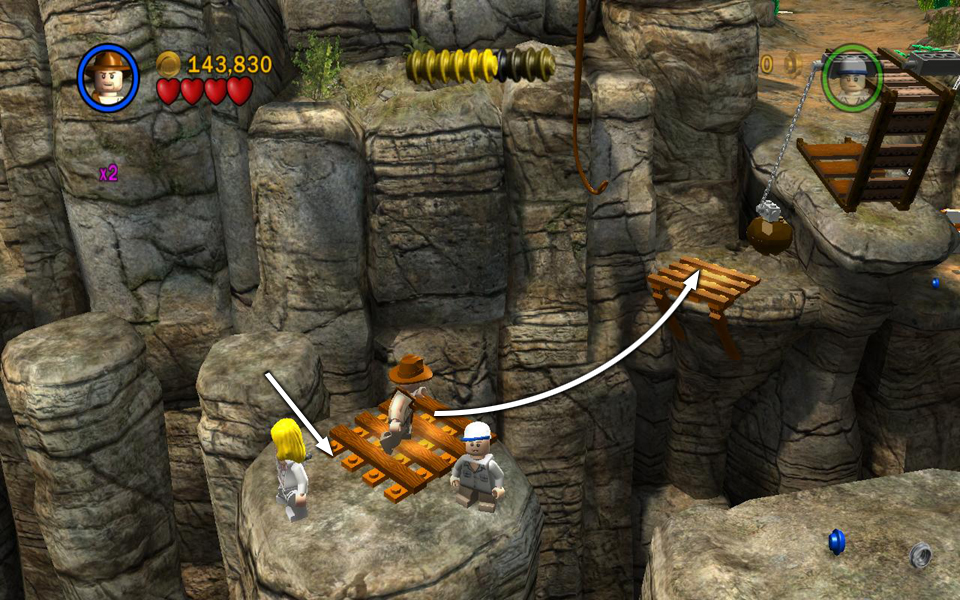
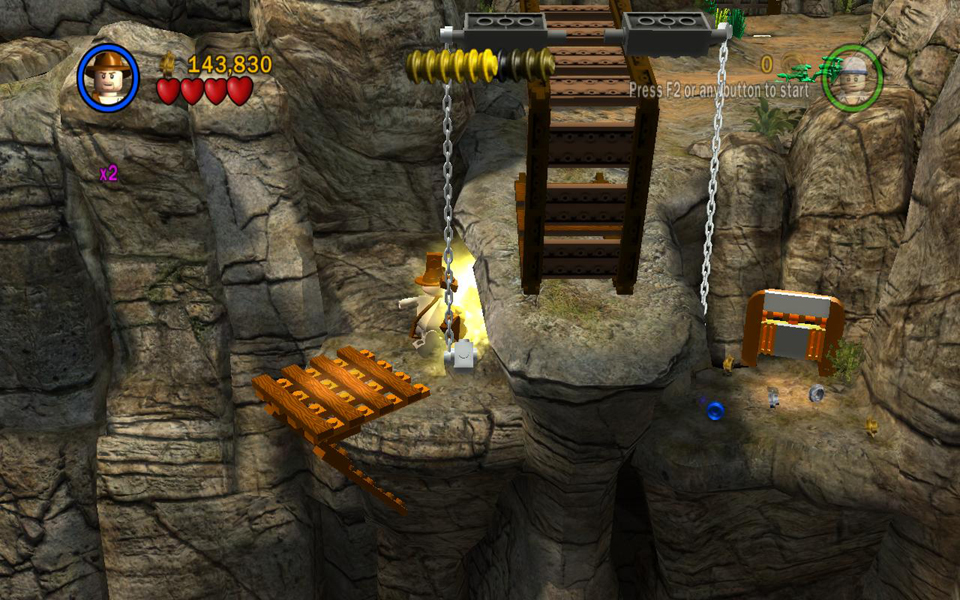
Indy and pals emerge on separate ledges outside the tunnel. Indy is on the right, Willie and Short Round on the left. On Indy's right there's a whip platform, which you can use to swing across to get a few studs if you like. But don't climb the vine yet. First, drop down onto the ledge below. Artifact piece #3 is sitting in plain sight on the left. On the right there's a lever. Pull it to start the wooden elevator moving. Jump on, ride the platform upward, and jump to grab the dangling vine on the left. Climb to the top and jump to the ledge on the left. Walk to the left edge, where you'll see a small cave with bars across the opening. This is as far as Indy can go for now.
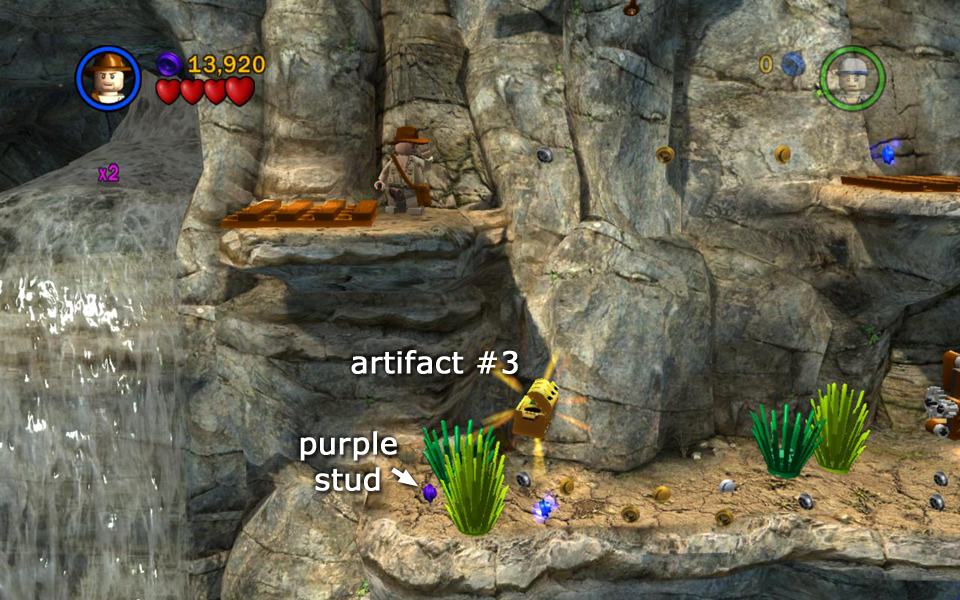 Drop down on the right to get artifact piece (3/10) and a purple stud. |
 Pull the lever to start the lift and hop on. |
|
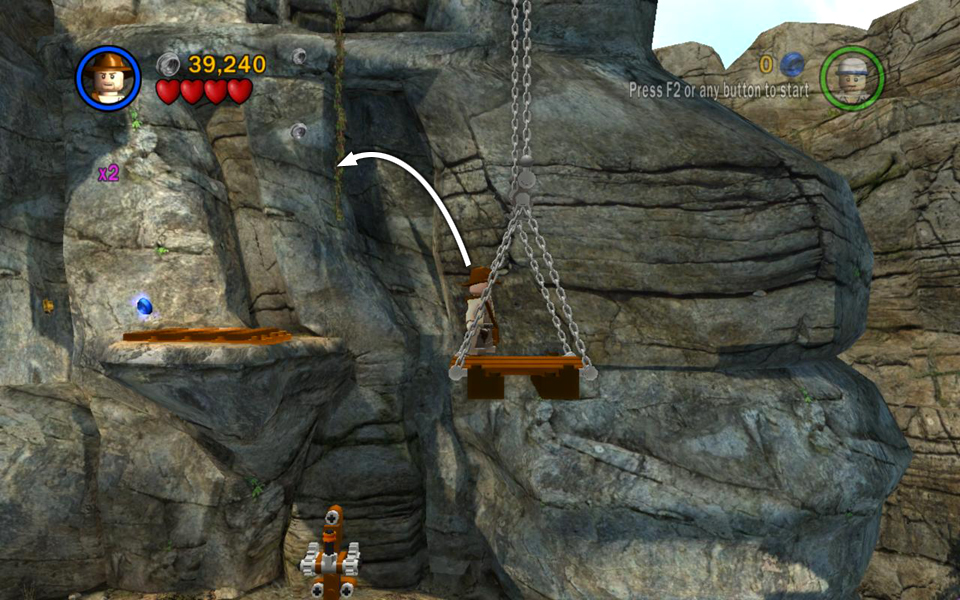 Ride up and jump to grab the vine. |
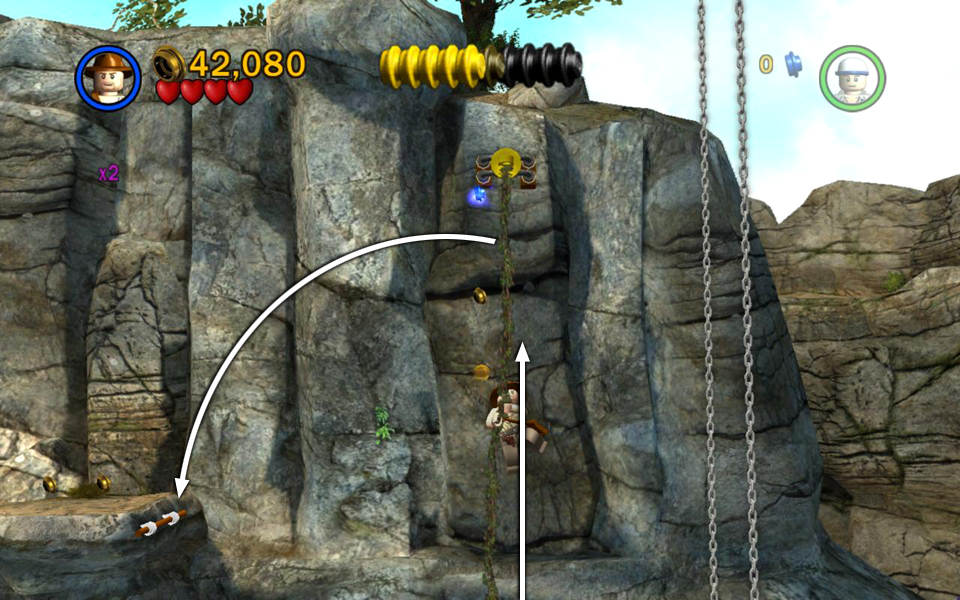 Climb to the top and jump over to the left. |
|
 This is as far as Indy can go for now. |
||
Switch to Short Round and jump to grab the dangling vine on his left. Climb up, jump to the ledge on the right and go through the crawlspace to emerge inside the barred cave. Take the golden key and crawl back out. Use the key in the mechanism on the right to extend the wooden ledge below the cave so Indy can cross.
 Have Short Round grab the vine to his left. |
 Climb up and go through the crawlspace. |
|
 Grab the key behind the bars. |
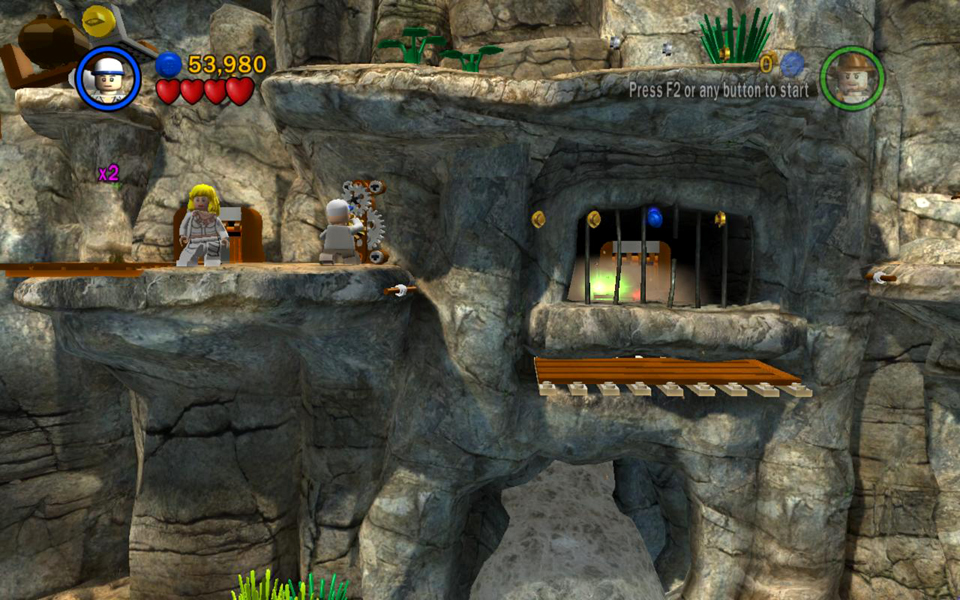 Use it to extend a ledge so Indy can cross. |
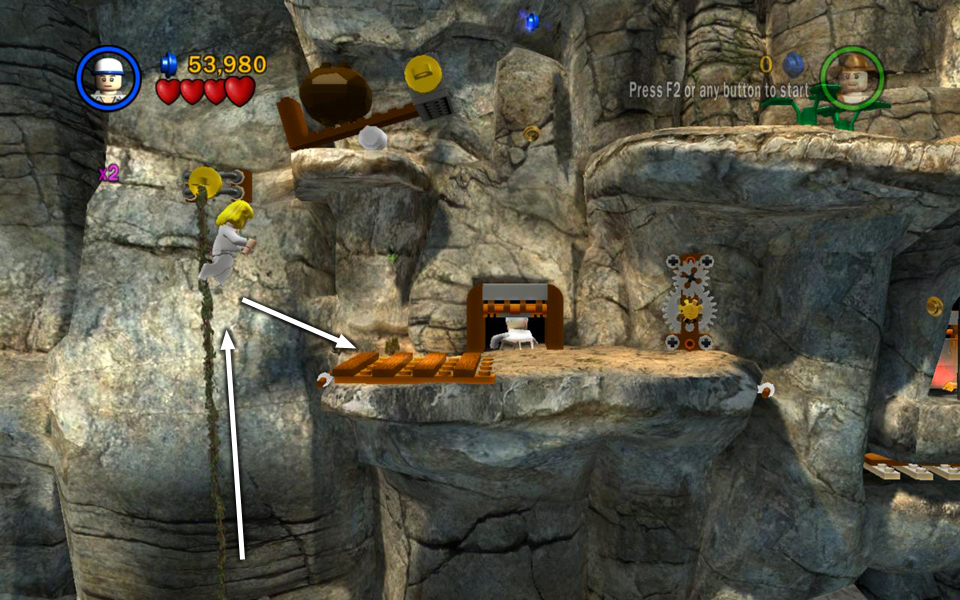
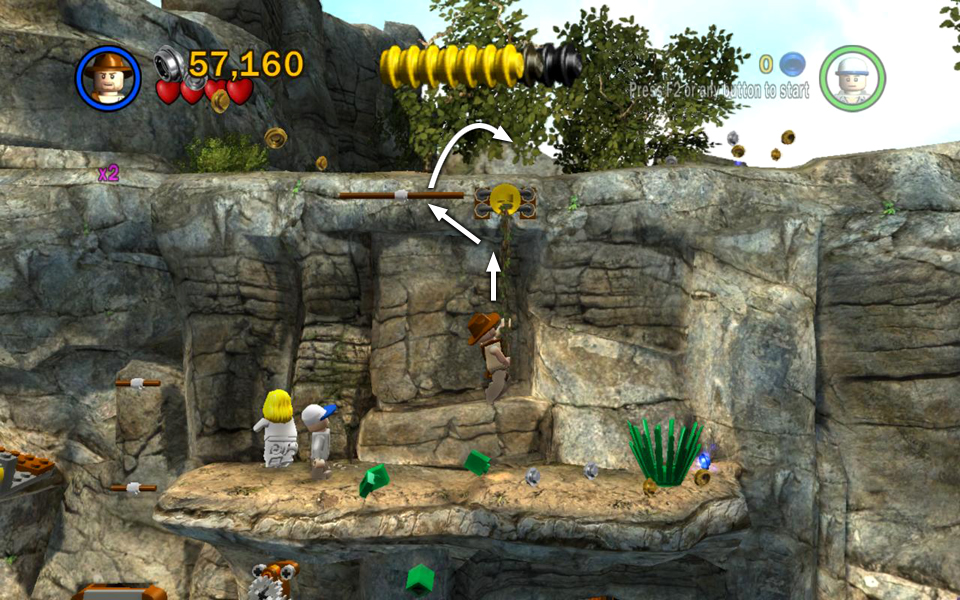
Stand Indy on the whip platform and pull the ring above. This knocks down the brown boulder, which shatters into LEGO bits you can use to build a pair of handrails. Use them to climb to the ledge above on the right. From there, climb the vine and handrail to the exit from this area.
 Use Indy's whip to pull down the boulder. |
 Build handrails with the bits. |
|
 Climb the ledges and vine to the exit. |
||
FREE PLAY: Before entering the crawlspace, toggle to Indiana Jones and use his whip to pull the ring above. In Free Play this extends the ledge below the cave, as well as providing the bits for the handrails. Toggle to a small-sized character and go through the crawlspace. Then change to someone with a shovel and dig up artifact piece #4. There's no need to pick up the key. Just crawl back out, build the handrails and climb out of here.
 Dig up artifact piece (4/10) in the barred alcove. |
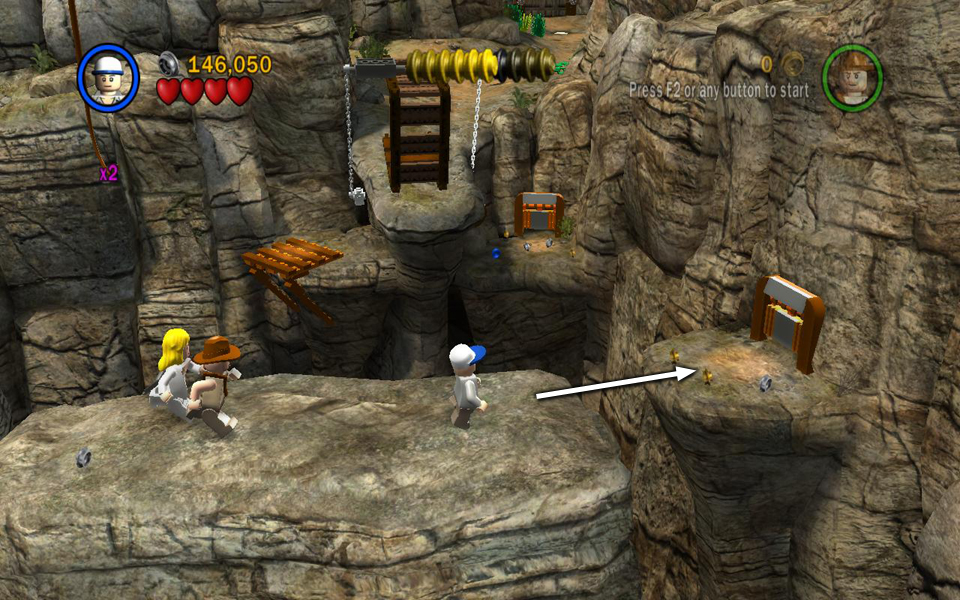
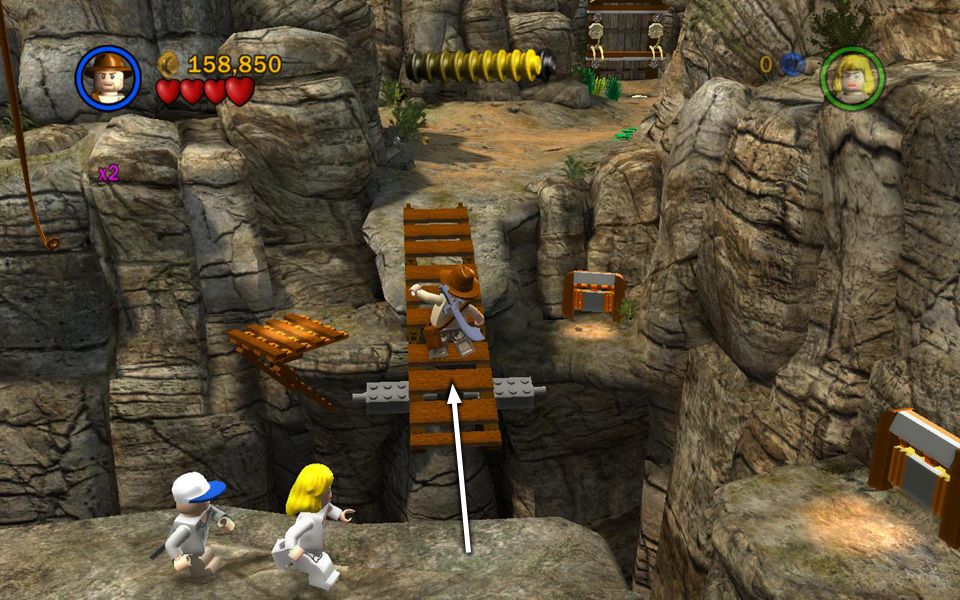
Area 3: Cliffside Trail and Shrine [jump to top]
(Click any of the screenshots below to enlarge.)
Follow the path to the right, watching out for the spike pits concealed with LEGO foliage. If you smash these with your fists or whip, you can get most of the studs without falling in.
FREE PLAY: Use a character with the academic ability to solve the hieroglyph puzzle, raising a series of small platforms on the right. Switch to a female character (optional but helpful) to hop up the platforms and get artifact piece #5, along with a purple stud.
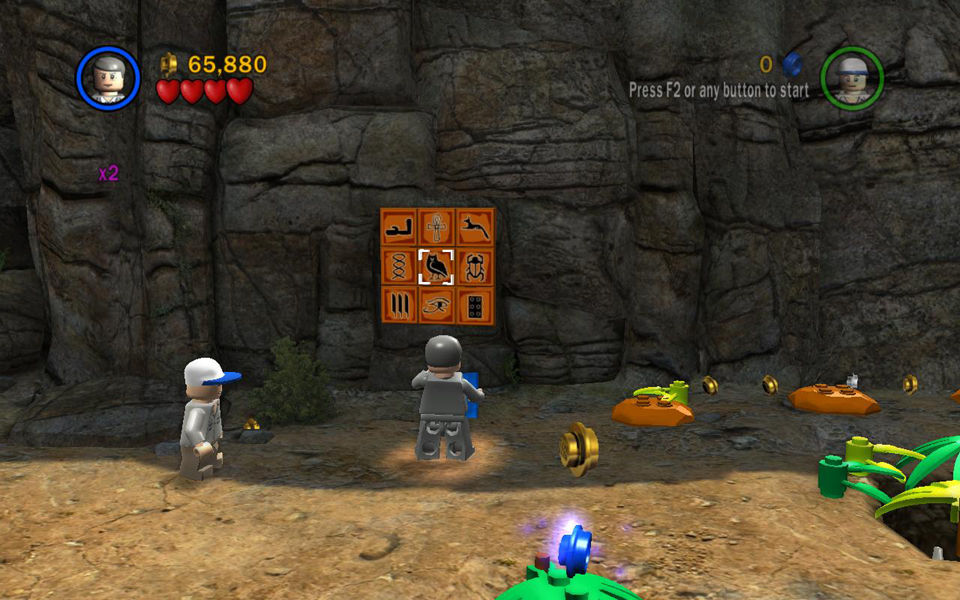 Use a character with a book to solve the puzzle. |
 The boulders on the right change into steps. |
|
 Jump up to reach artifact piece (5/10) and a purple stud. |
||
The second-to-last pit just before you reach the open area on the right contains no spikes, but does hold artifact piece #6. Smash the greenery lying over it and drop in to get the treasure chest.
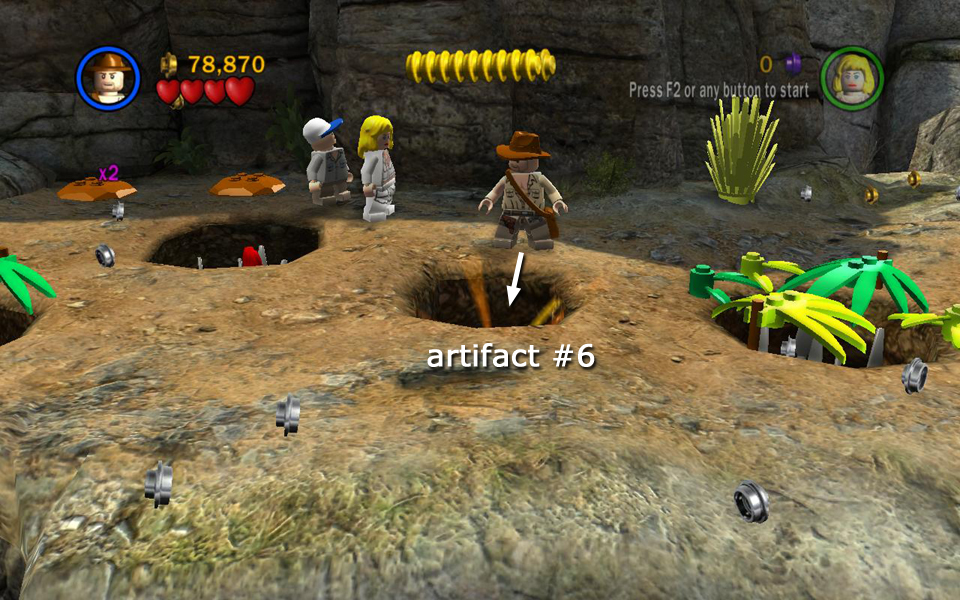 Artifact piece (6/10) is in the next-to-last pit. |
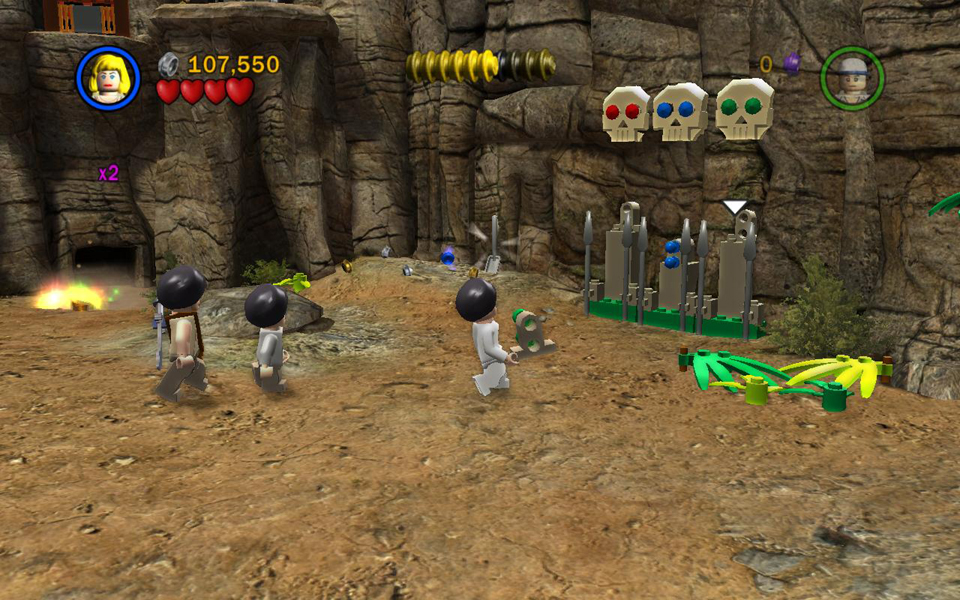
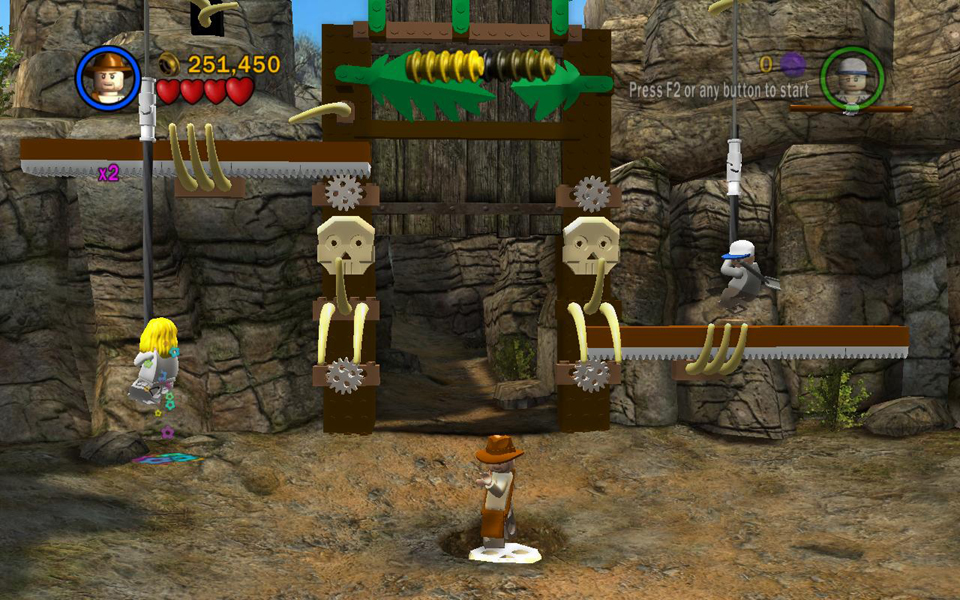
When you move into the open area beyond the spike pits, a gang of Thuggees attacks. Among them are some white-shirted Thuggee acolytes. As in previous levels, these guys drop their turbans when you defeat them. You'll need to get at least 2 turbans: one each for Willie and Short Round. Indy can use one too but it's not required. The enemies will continue to respawn as you explore this area, giving you many opportunities to get the necessary Thuggee headgear.
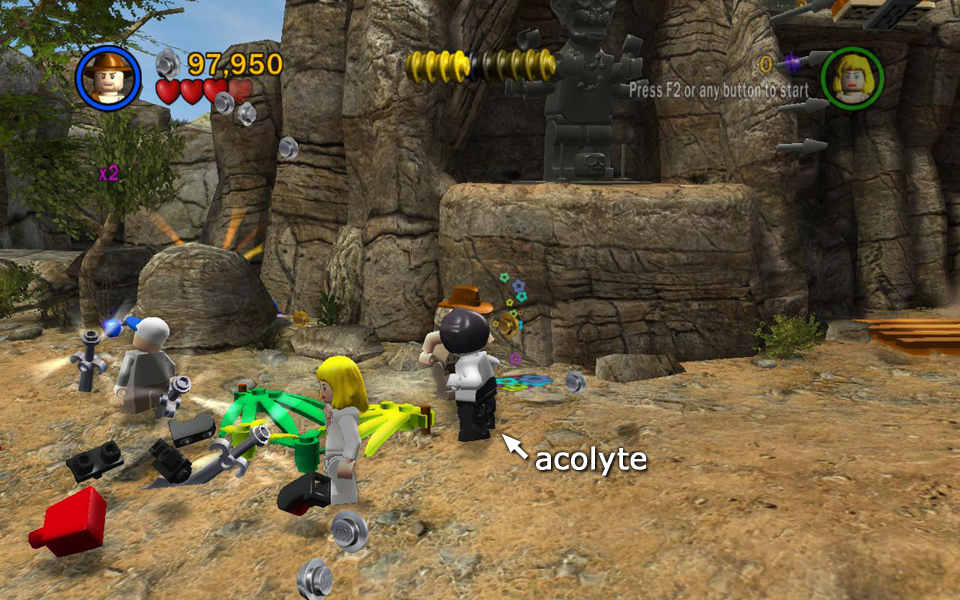 Fight the Thuggees. . . |
 . . . and steal an acolyte's turban. |
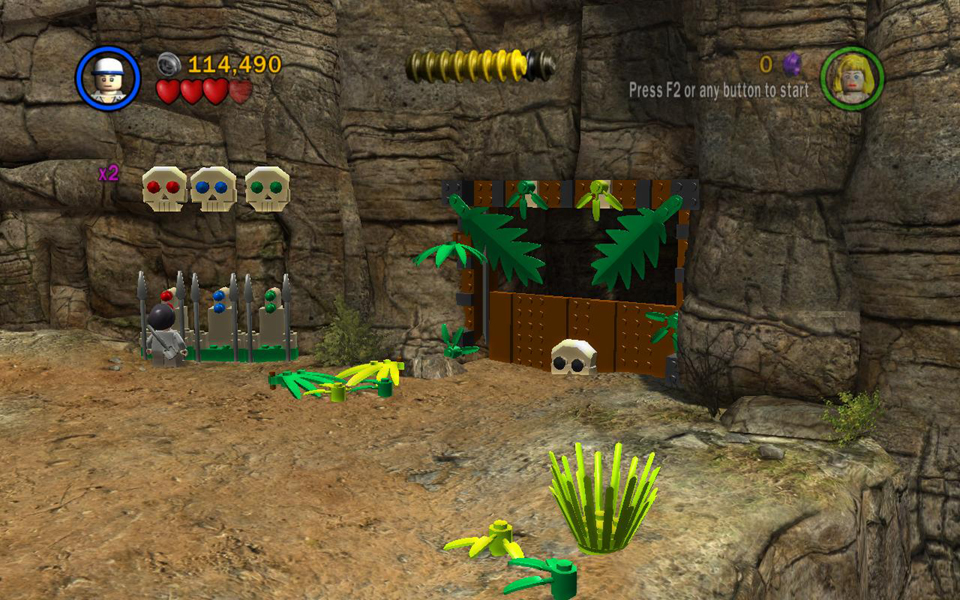
Stand Indy on the whip platform at the base of the cliff with the 3 Kali statues. Use the whip to grab the yellow ring and pull down the ladder. Send him (or any character wearing a turban) up the ladder to activate the statue. This causes a blue LEGO part to rise out of an opening in the floor next to the statue. Watch out for the spears sticking out of the rock between the statues as you hop down to the ground. Carry the part to the elaborate locking mechanism on the right, and place it below the blue-eyed skull. This opens the exit partway.
 Use Indy's whip to pull down the ladder. |
 Climb up and activate the middle statue. |
|
 A blue LEGO piece rises out of the floor. |
 Place it in the locking mechanism below. |
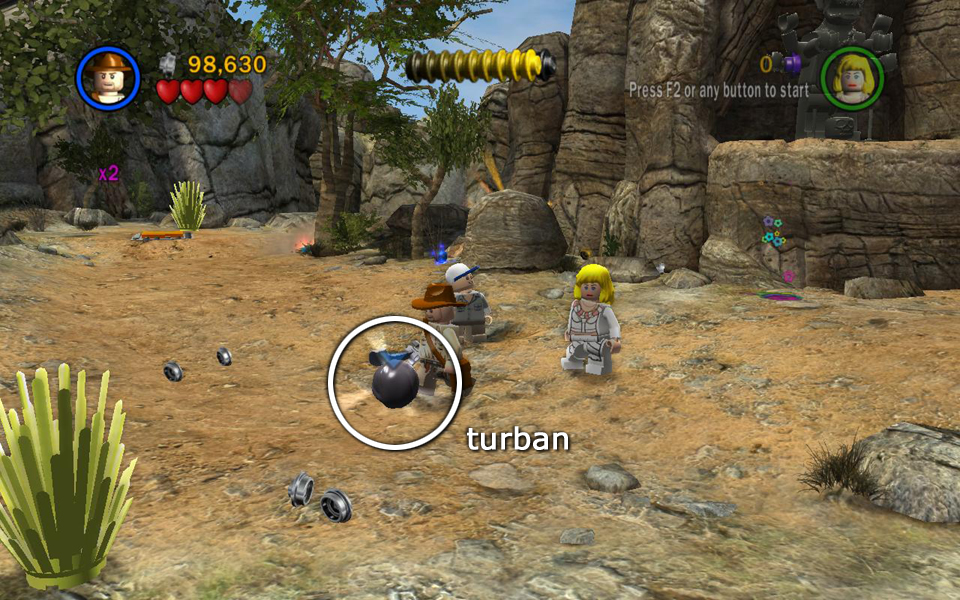
Now obtain a turban for Willie, if you haven't already. When she's disguised, have jump up onto the ledge on the left and activate the second Kali statue there to obtain a green LEGO part. Add it to the locking mechanism, just below the green-eyed skull.
 After getting a Turban for Willie, jump up and use the left statue. |
 Add the green LEGO piece to the mechanism. |
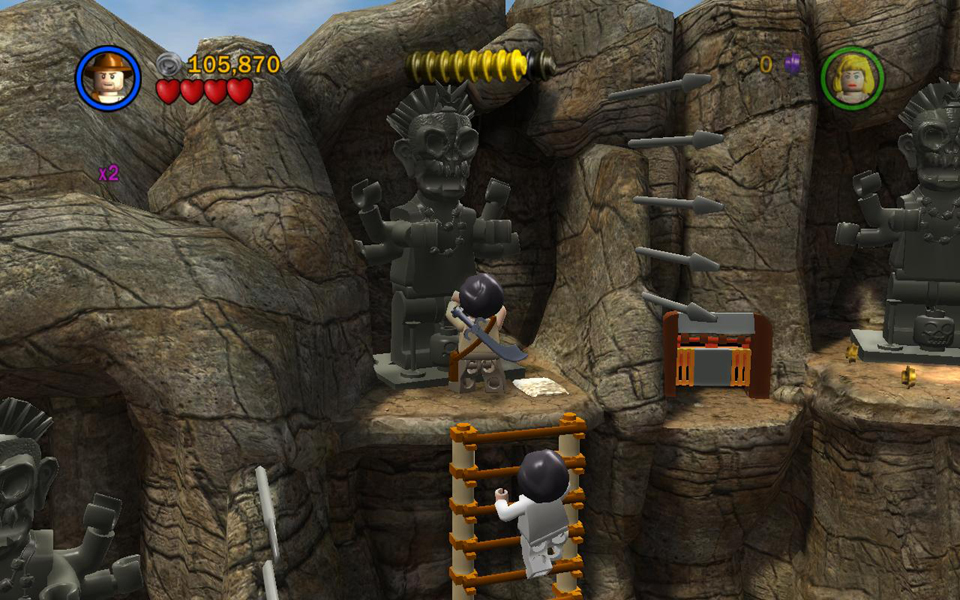
Finally, outfit Short Round in a Thuggee turban. Grab the shovel next to the locking mechanism and use it to dig the sparkly patch nearby. Smash the monkey head you unearth and use the leftover LEGO bits to build a crawlspace. Go through to emerge on a ledge near the third Kali statue. Jump across, activate the statue and grab the red LEGO part that appears. Hop down and add the part to the locking mechanism just below the red-eyed skull. With all 3 missing parts in place, the exit now opens.
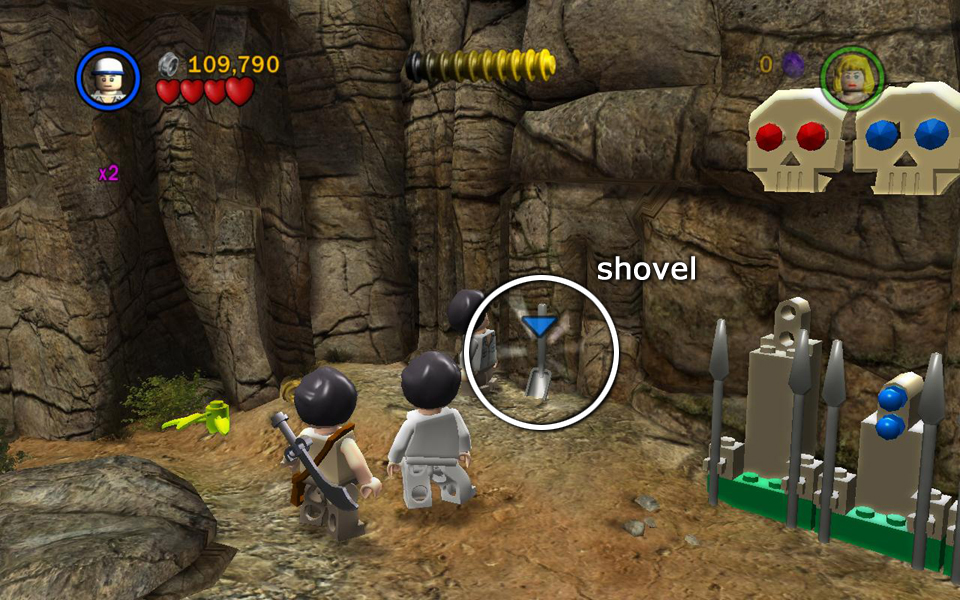 Short Round needs a turban and the shovel beside the mechanism. |
 Dig up a monkey head and smash it. |
|
 Use the bits to build a crawlspace. |
 Crawl through and activate the third statue. |
|
 Put the red LEGO piece in place to open the gate. |
||
FREE PLAY: As long as you've unlocked a Thuggee character, there's no need to pick up the enemy turbans. Just use the necessary characters to reach each statue. Then toggle to the Thuggee to activate it.
Before leaving this area, be sure to get the two treasure chests hidden here. Artifact piece #7 is behind a boulder just to the left of the hill with the Kali statues.
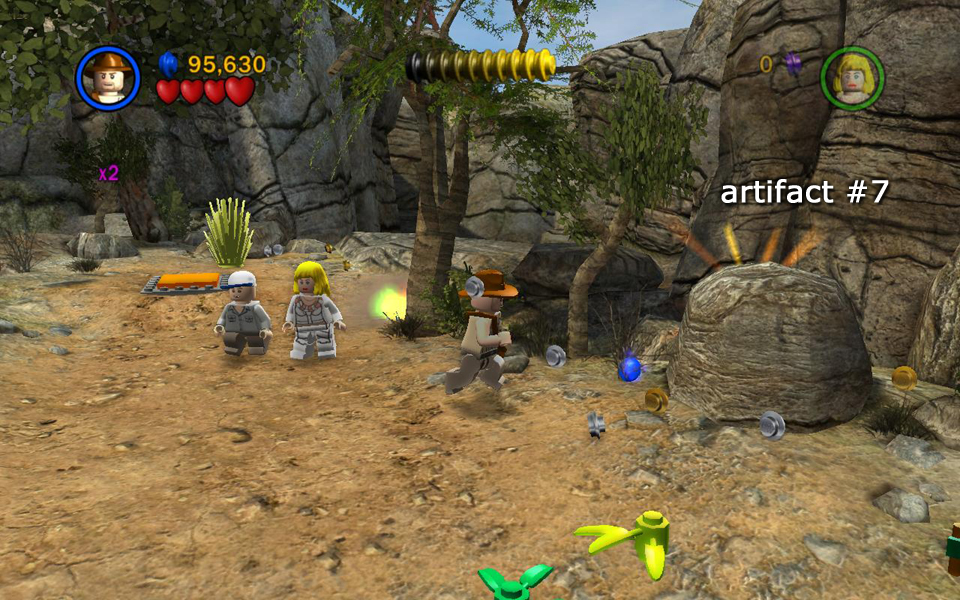 Artifact piece (7/10) is behind this boulder. |
To obtain artifact piece #8, dig up the sparkling patch of earth in the background. Take the blue vase you find and place it on the orange button nearby to make the treasure chest appear. When you have everything, exit through the gate you just opened.
 Dig behind the trees to unearth a blue vase. |
 Place the vase on the orange button. |
|
 Artifact piece (8/10) appears. |
||
Area 4: Canyon with Narrow Pillars [jump to top]
(Click any of the screenshots below to enlarge.)
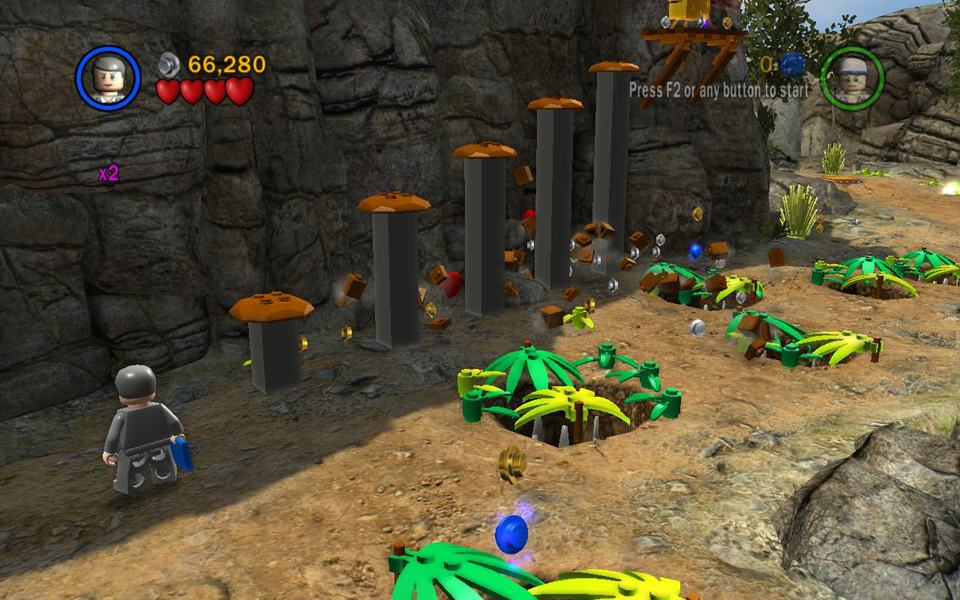
The first part of this section involves jumping across various tall, stone pillars without falling into the chasm below. If you're playing alone, you may want to use Willie to lead due to her superior jumping ability.
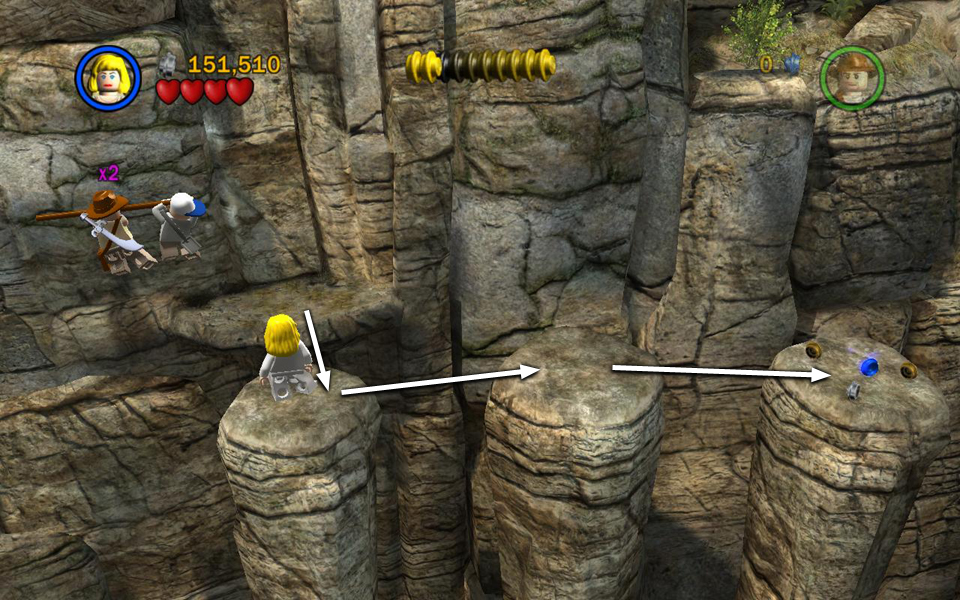
Begin by jumping across the narrow pillars to the slightly wider pillar on the right. There's a whip platform here, but don't use it yet. Instead move to the left side of the wide pillar and jump to the small pillar in the foreground, then the next one, where you can pick up a purple stud and several others. From there, jump to the next pillar, with artifact piece #9. Now jump back across the pillars to the wide one.
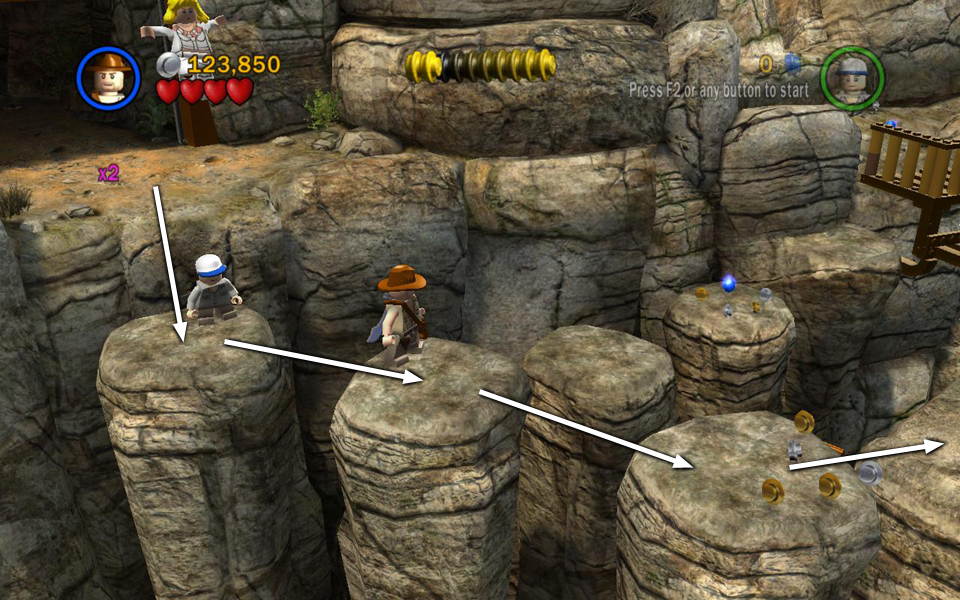 Jump across the narrow pillars to the wide one on the right. |
 Jump to the pillars in the foreground for a purple stud and artifact piece (9/10). |
Stand Indy on the whip platform and use the whip to snag the ring on the other side of the gap, pulling down the balcony partway. Jump back to the nearest narrow pillar (as though you were heading back to the entrance). From there, jump across the two lower pillars near the wall to reach the broken balcony. Climb onto the ledge behind it. Then cross to the right side and use the handrails to climb across to the next ledge.
 Use Indy's whip to pull down the balcony. |
 Jump across the pillars to reach it. |
Jump across the next set of three narrow pillars to reach another pillar with a whip platform. Move Indy onto it and swing to the opposite ledge. Smash the LEGO boulder anchoring one of the chains holding up the drawbridge. Then swing back across the gap.
 Use the handrails to reach the next ledge. |
 Then jump across more pillars to the right. |
|
 Swing across to the ledge beside the bridge. |
 Smash the boulder anchoring the chain. |
Jump over to the wide pillar on the right, where there's a cluster of studs. Move to the right side and have Short Round jump down to the crawlspace and go through. When he emerges from the other opening, smash the boulder anchoring the second chain to extend the bridge. Crawl back through to rejoin the other characters. Now leap onto the drawbridge and follow it into the canyon ahead.
 Send Short Round through the crawlspace. |
 Break the boulder holding the second chain. |
|
 Now you can reach the bridge. |
||
FREE PLAY: Instead of bothering with the boulders and chains, toggle both characters to Indy and whip swing across to the ledge beside the bridge. Then switch to female characters and jump up into the canyon.
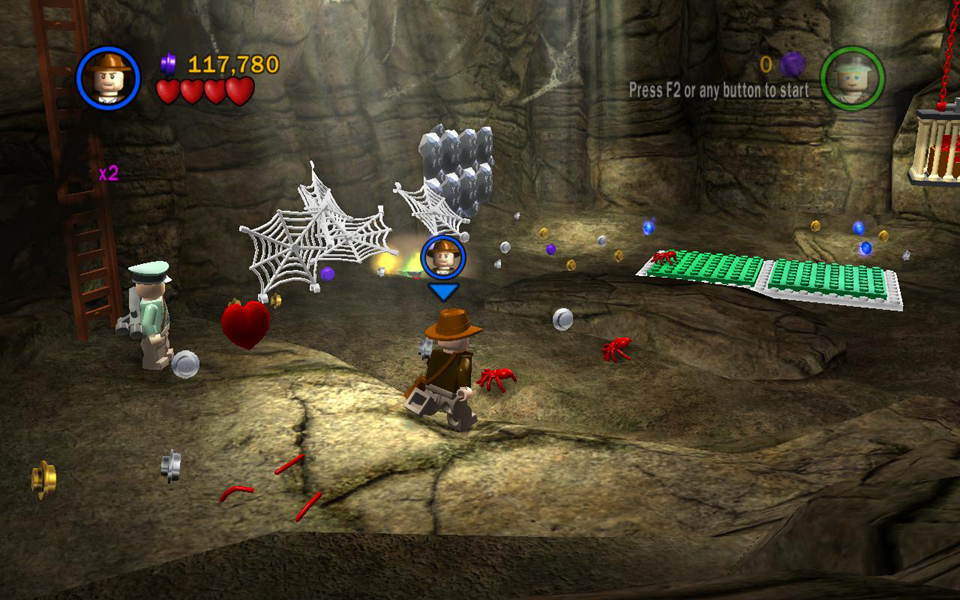
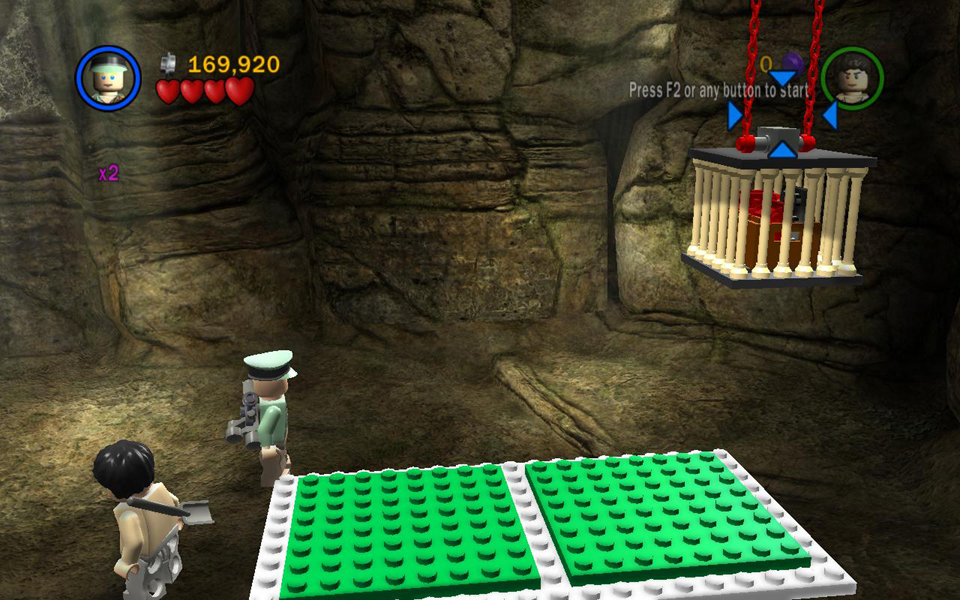
PARCEL: Just beyond the mouth of the canyon, there's a hole with green plants growing over it. In Free Play, smash the plants and fall through the concealed tunnel into the cave below.
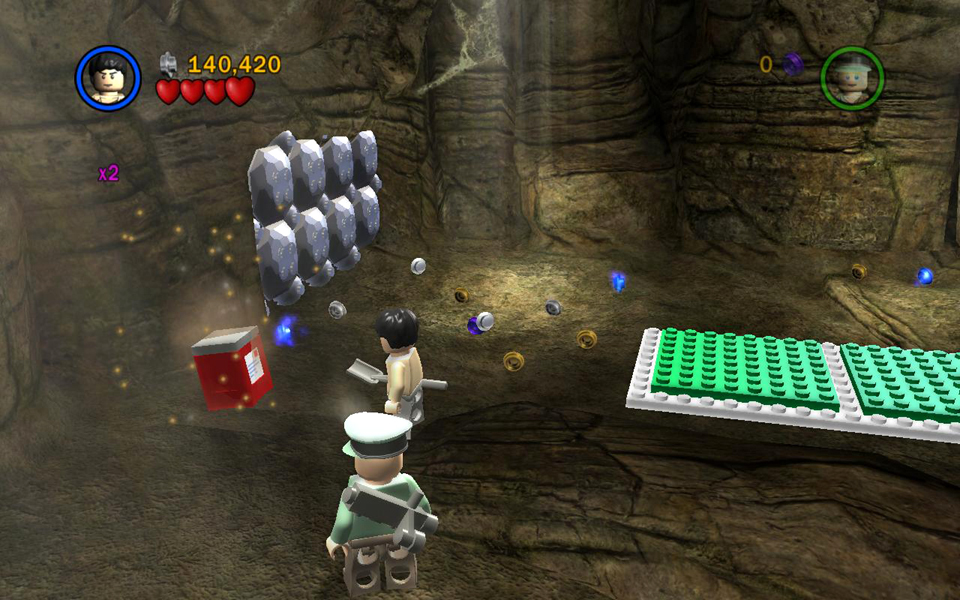
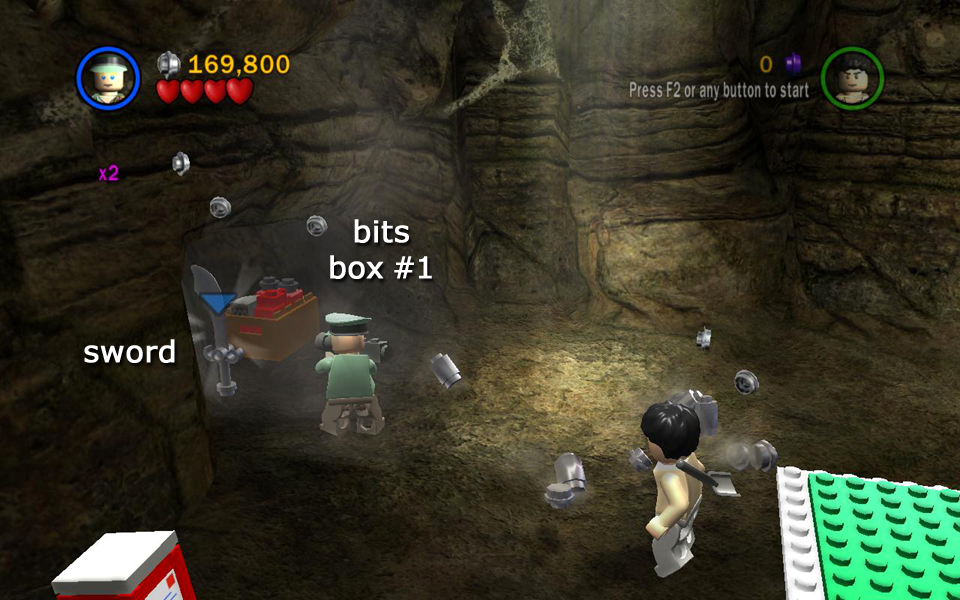
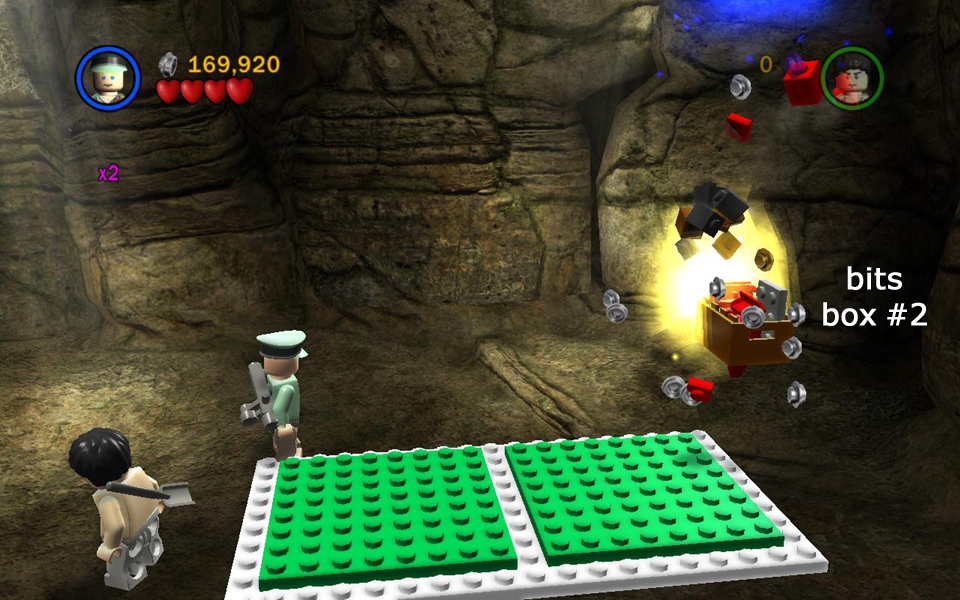
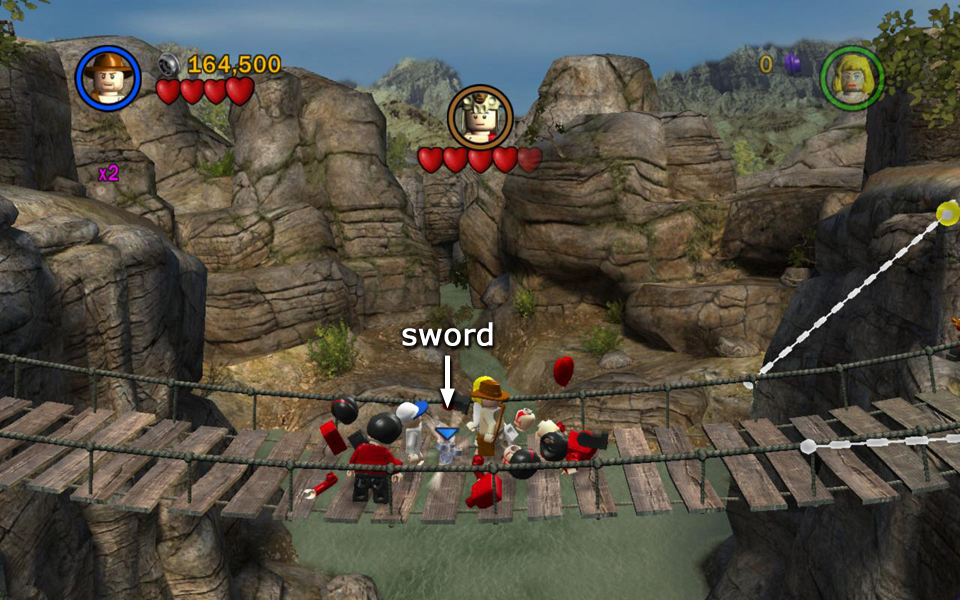
Squash some spiders and gather a bunch of studs, including several valuable purple studs. Use a character with the excavation ability to dig a parcel out of the sparkling patch of dirt. Switch to a character with explosives and blow up the silver boulders in the alcove on the left. There you'll find a sword and a box of LEGO bits.
Use the sword to cut the chains supporting the hanging cage on the right so you can get the second box of bits inside. Place both bits boxes on the green plates. Then use the LEGO bits to build a mailbox to send the parcel home. Climb the ladder to get out of here. Or, if you've already obtained all the artifacts in the level, just save and quit.
This particular parcel unlocks the "Regenerate Hearts" Extra, which you can purchase for 150,000 studs when you finish the level and return to Barnett College. See (Parcels & Extras for more info.)
 Smash the plants and drop into this tunnel. |
 In the cave below, you'll find spiders, purple studs and more. |
|
 Dig up the parcel on the left. |
 Blow up the boulders to get bits and a sword. |
|
 Use the sword to cut down the cage. |
 Inside is another box of bits. |
|
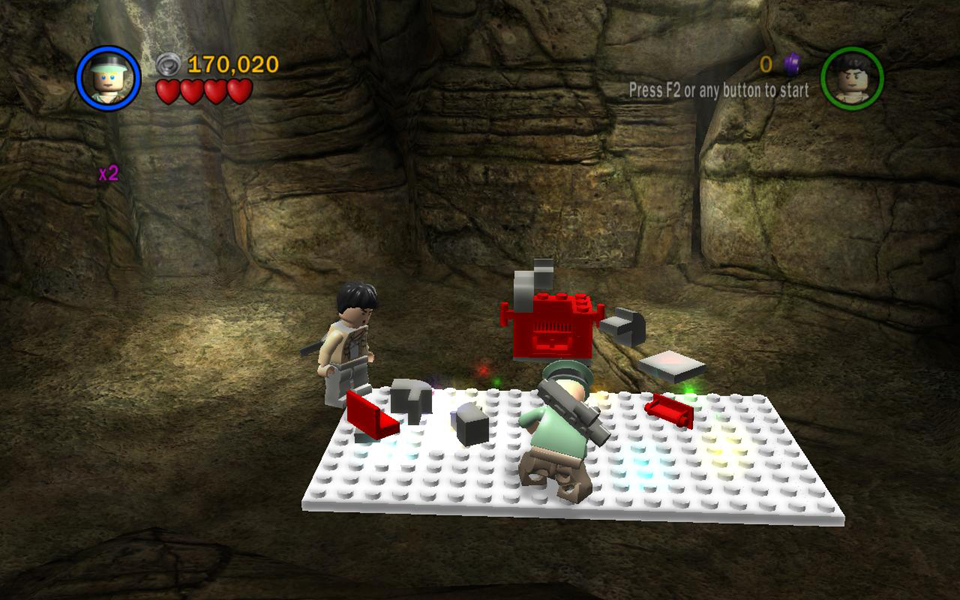 Use the bits to build a mailbox for your parcel. |
||
NOTE: The underground cave mentioned in the Parcel section above cannot be completed in Story Mode, but you may want to drop in anyway just to collect some studs.
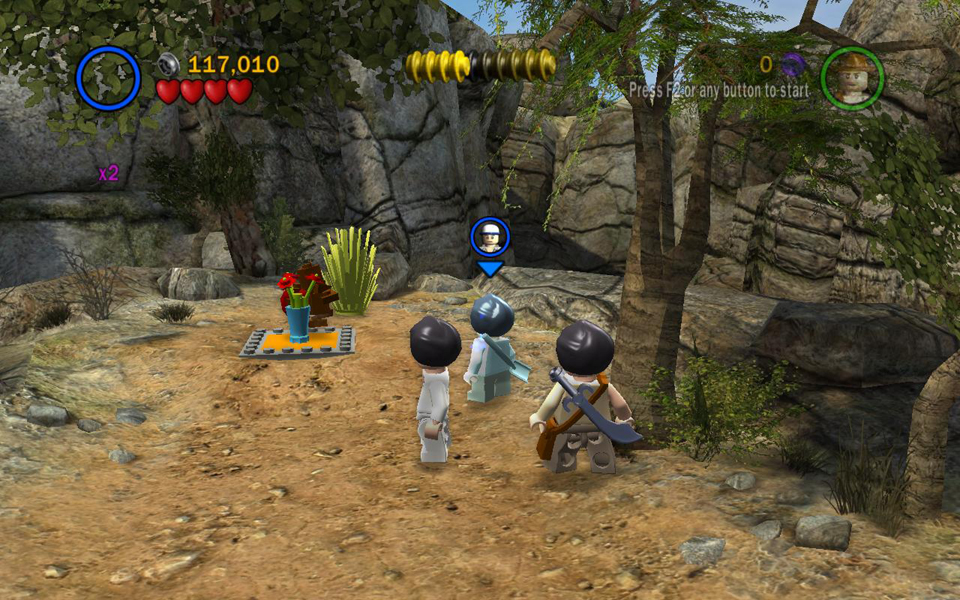
The huge gate at the end of the canyon is the way out, but before leaving, go after another treasure chest: Move into the grassy, dead-end area on the left. Notice how cute little LEGO flowers pop out of the ground as you step in certain places. Run around to make the flowers grow in the shape of a smiley face. This is tricky when playing alone because the flowers recede almost as soon as they've grown, so move fast. When you succeed in growing a smile and two eyes, artifact piece #10 appears.
 Move into the cul-de-sac on the left. |
 Run around to grow a floral smiley face and artifact piece (10/10) appears. |
Now follow the right wall of the canyon forward. Just before the shrubbery concealing a crawlspace, there's a purple stud tucked into a little cranny.
Smash the bushes so Short Round can get through the crawlspace. When he emerges on the ledge above, move to the left, climb across the handrails and jump to grab the dangling rope just to the right of the huge gate.
Switch to Willie, go to the left side of the gate and jump to grab the other dangling rope. Finally, use Indy to step on the skull-shaped button on the ground. With all three characters in place, the gate swings open. Go through to the final confrontation.
 Grab the purple stud and smash the plants to access the crawlspace. |
 Have Short round crawl through. |
|
 Use the handrails to reach the dangling rope. |
 Have Willie grab the other rope and Indy stand on the button to open the gate. |
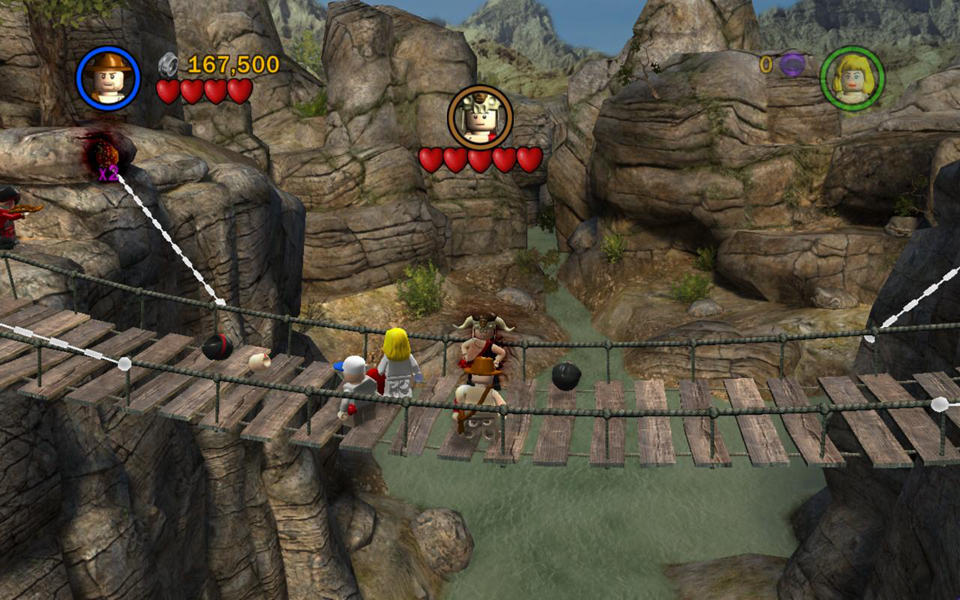
Area 5: Wooden Bridge [jump to top]
(Click any of the screenshots below to enlarge.)
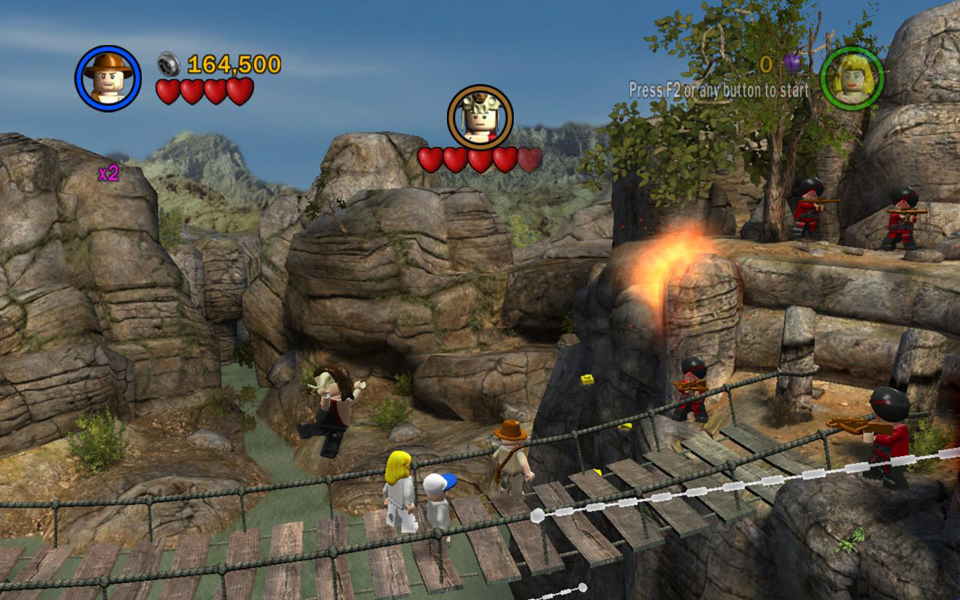
After a brief cut scene, it's time to confront the Boss: Mola Ram and his Thuggee henchmen.
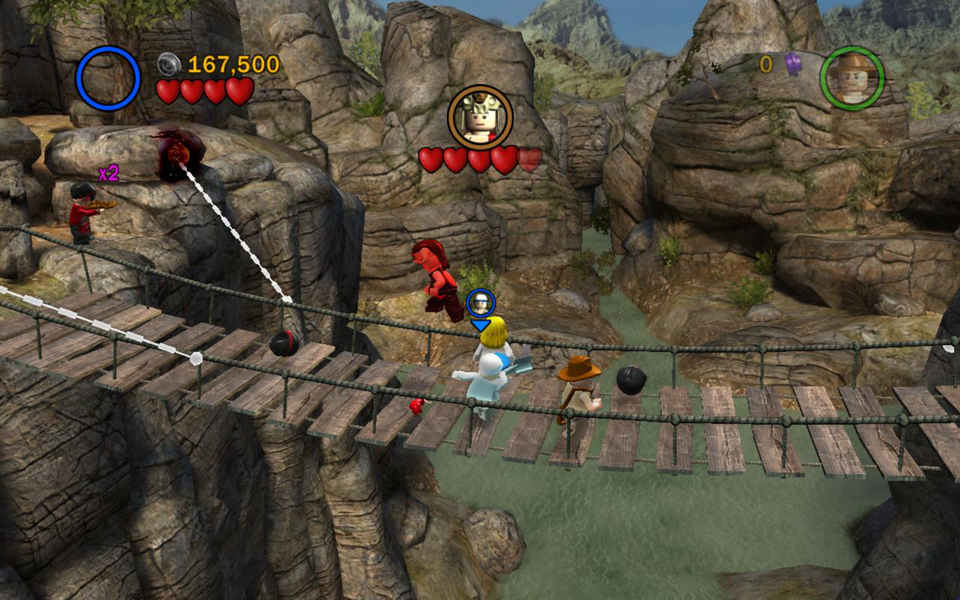
At first, Mola waits up on the ledge at the left end of the bridge and sends his minions to fight. When you've defeated the first group, Mola himself jumps down onto the bridge. Fight him until he stuns whichever character is attacking him. This only lasts for a few moments, but while that character is unable to move, quickly switch to another character and try to punch Mola. Whether or not you injure him, he'll leap back onto one of the ledges and send more Thuggees at you.
At this point, notice the yellow rings anchoring the bridge ropes at the four corners. At the start of the fight, these are surrounded by clouds of dark magic and can't be damaged. But each time you injure Mola Ram, these clouds disappear temporarily and the anchor rings are vulnerable.
Now, as you fight the Thuggees, watch for them to drop their swords and try to grab one. Target one of the anchor rings and throw the sword to break it. If you don't succeed at first, don't worry; the enemies will keep coming, giving you more chances.
When you've destroyed one of the anchor rings, the magical protections reappear, and Mola Ram rejoins the fight. Repeat the process three more times: Fight Mola until your character becomes paralyzed. Switch to a different character to damage Mola and dispel the magic protecting the anchor rings. Fight more Thuggees to obtain a sword. Use the sword to destroy one of the rings.
When you manage to destroy all four rings, the bridge collapses and the final cut scene ensues. Good job! ![]()
BUG NOTE: When playing on a less powerful PC, I had trouble with a couple of glitches in this section. Sometimes when fighting Mola Ram, Indy would disappear making it temporarily impossible to switch characters and hit Mola. Sometimes wave after wave of Thuggees would appear but none had swords, making it impossible to destroy the bridge supports. The solution in both cases was to go into Video Settings in the Options menu and reduce the screen resolution to 800x600. After that, everything worked normally.
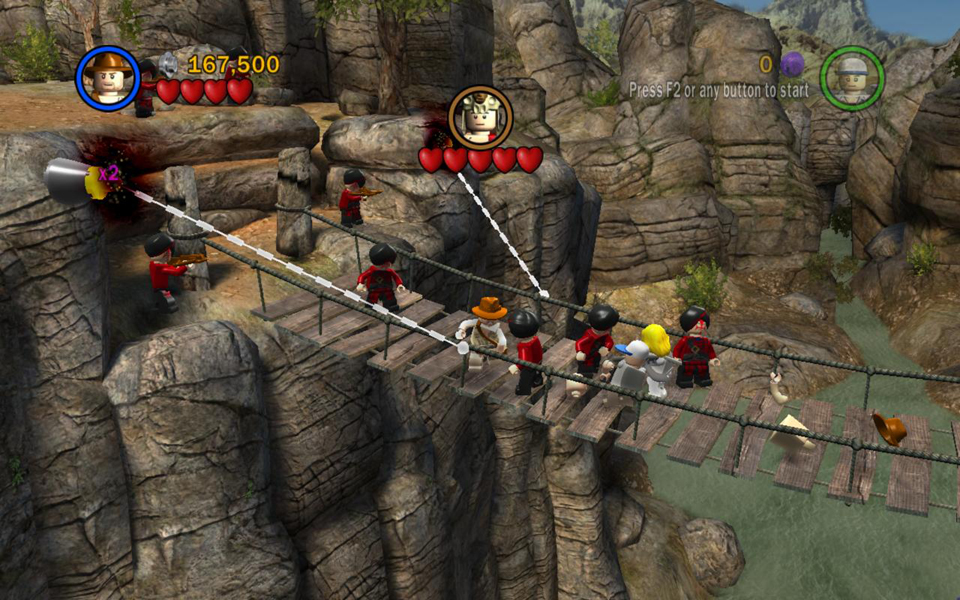 Fight Mola Ram's Thuggee henchmen. |
 When Mola appears, hit him until he paralyzes your character. |
|
 Quickly switch to another character and hit Mola. |
 Fight the next group of Thuggees and take one of their swords. |
|
 Target one of the rings at the four corners of the bridge and throw the sword. |
 When you smash the ring, the cycle starts again. Repeat with the other 3 rings. |
| < < < Previous Temple of Doom Level | First Last Crusade Level > > > |