Crystal Skull Part 3 – Story Level 3: Temple Tangle
True Adventurer: 25,000 studs
Characters: Indiana Jones, Marion
Unlocks: Ugha Warrior
LEVEL ENTRANCE: Climb onto the grassy ledge next to the skull-shaped rock formation near the waterfall. Use Indy's whip to pull the orange ring and extend a ladder. Then climb up and step into the skull's eye. Check the Hub Maps and Story Level Intro for details.
Ugha Temple Interior
(Click any of the screenshots below to enlarge.)
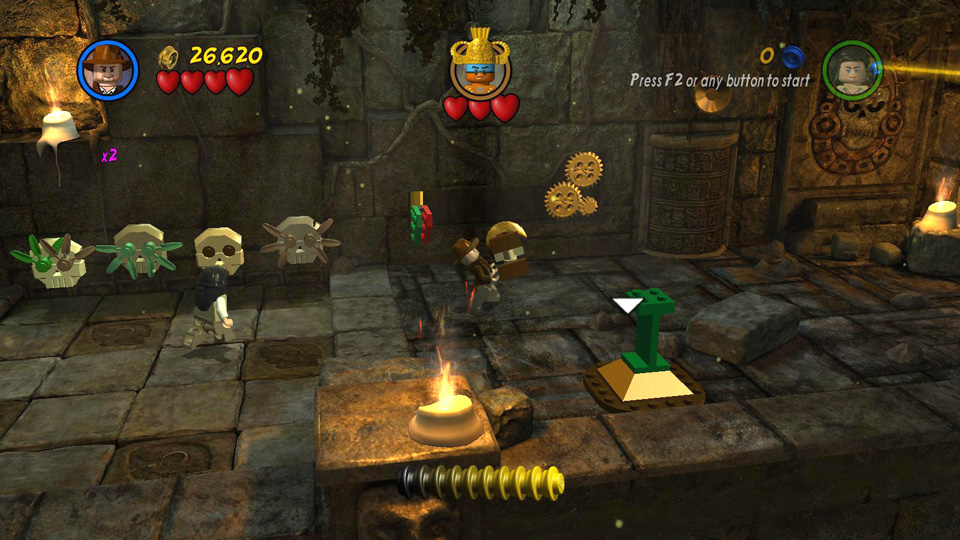
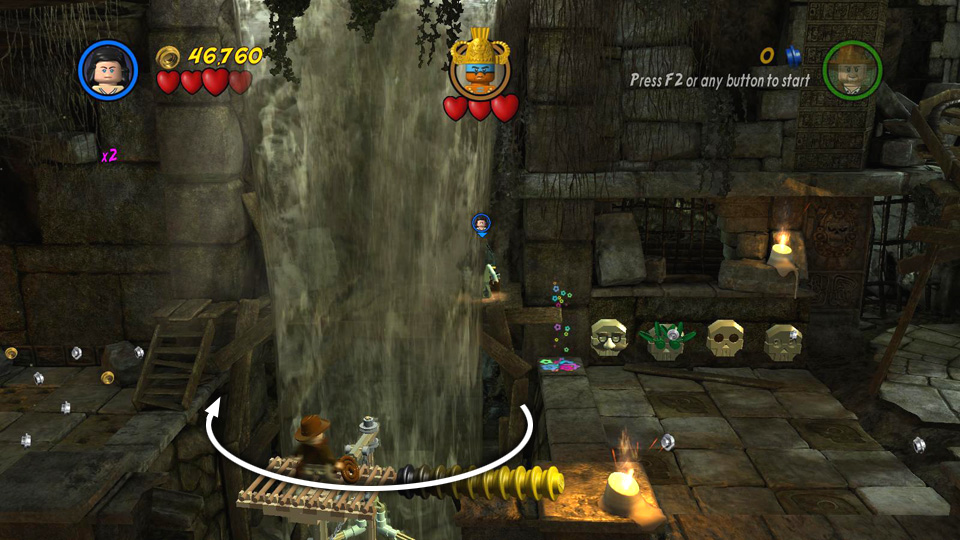
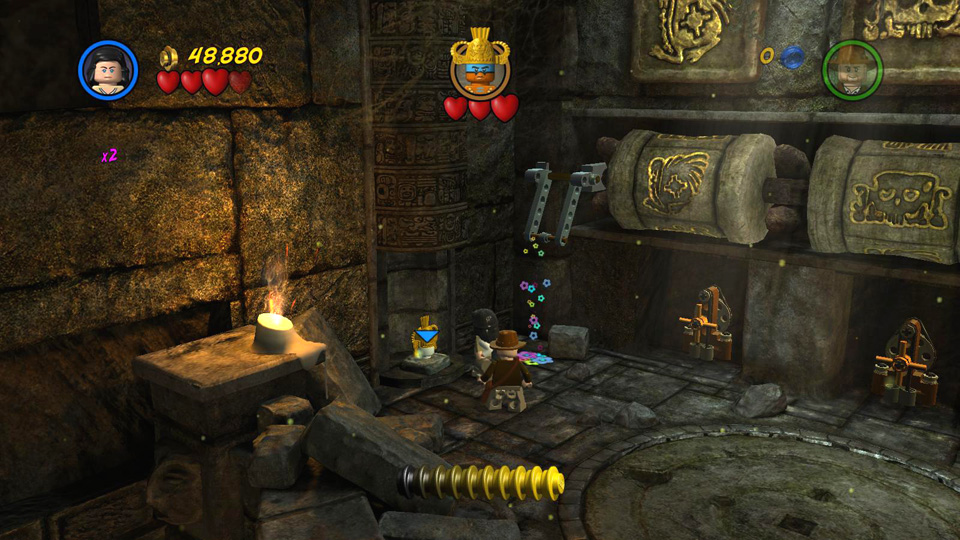
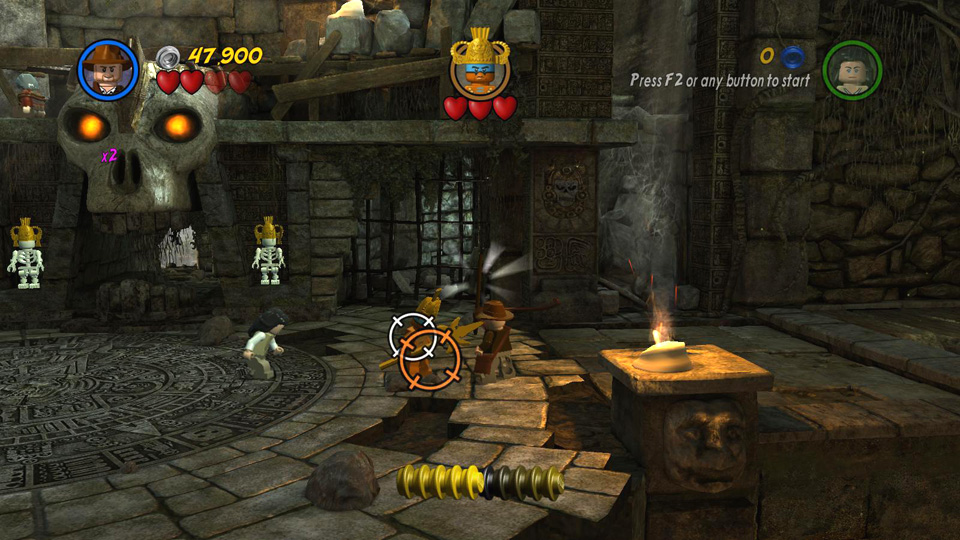
The Ugha King has Oxley tied up on a high ledge and is throwing spears down at Indy and Marion. There's not much you can do about him right now, so just try and avoid the spears as you gather studs and smash the brown-and-gold LEGO objects along the back wall. The coffin on the right contains a skeleton that gives up its spear when you hit it, but this weapon won't damage the king.
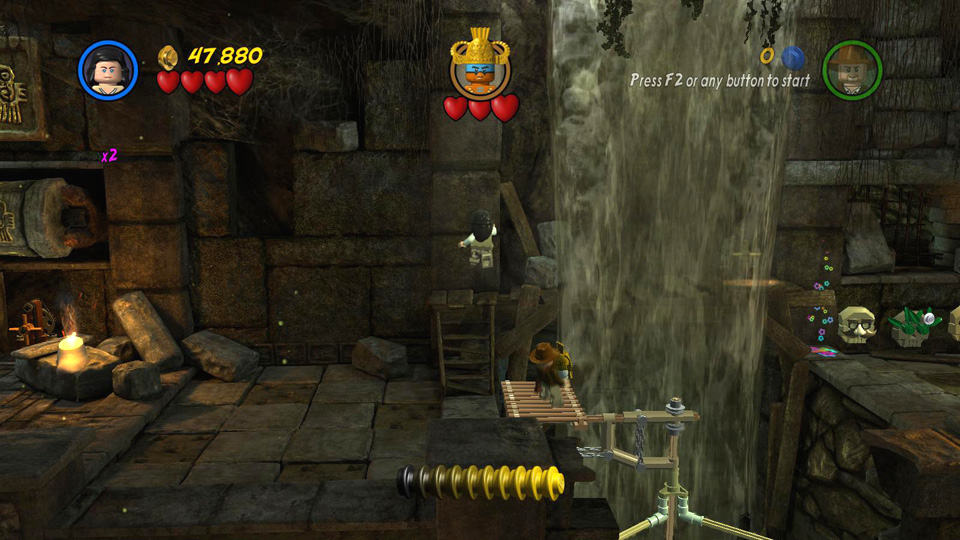
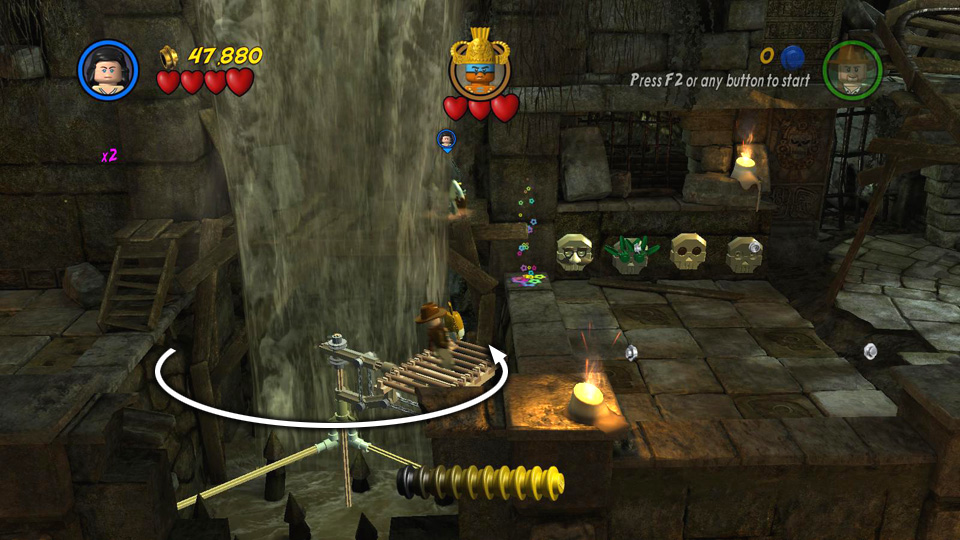
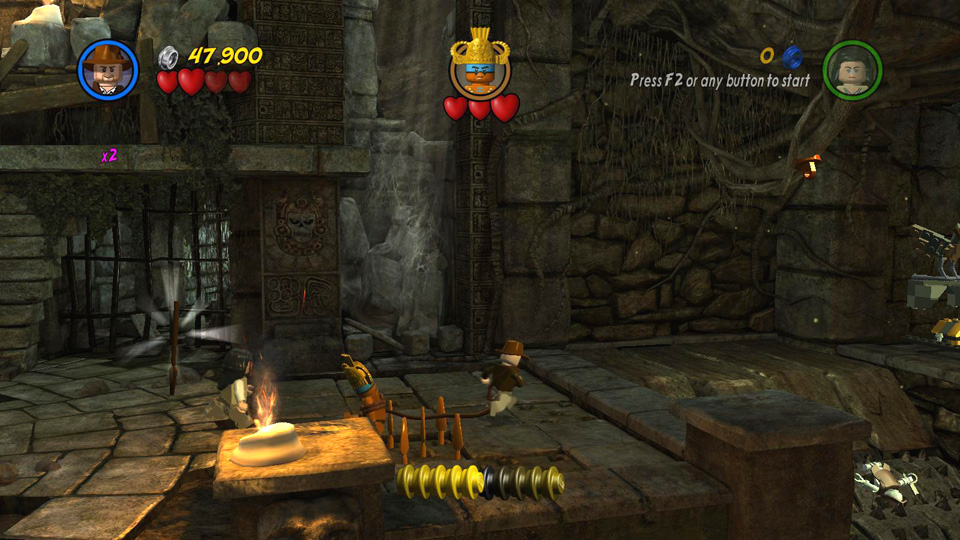
After you've gathered all the studs you can here, head to the right. Avoid the floor tiles with holes since these contain spikes that pop up when you step on them. Have Indy use the orange ring to whip swing over the spiked rollers.
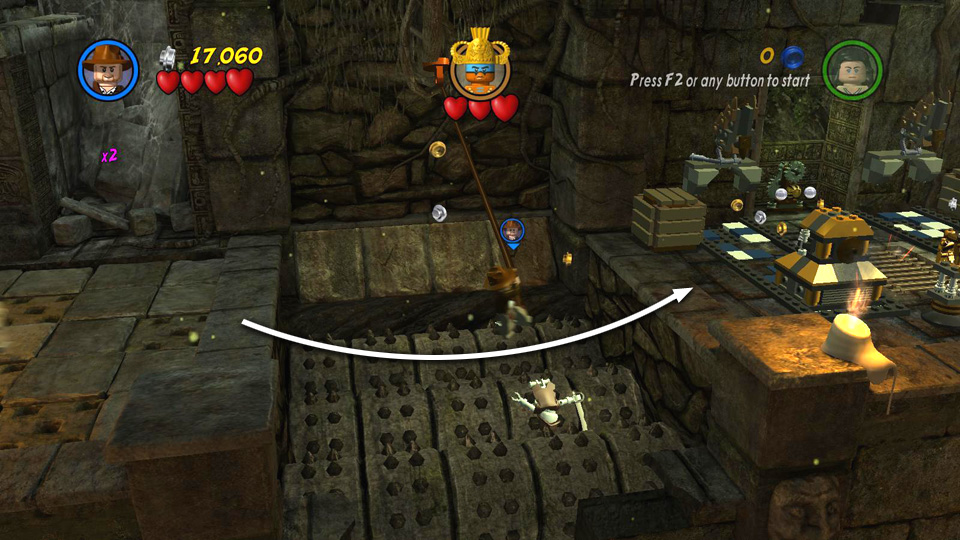
Smash the tan boxes to the left and right of the checkerboard tiled areas and use the 2 piles of leftover tiles to repair the floors. Slide both sarcophagi along the tile tracks until they sink into the floor. Smash the 2 ornaments between the tiled areas. (I'm not sure what these are. . . candlesticks?) Doing so opens the grate in the floor. Pick up the gold key there and use it to turn the mechanism, extending a set of blocks so Marion can cross.
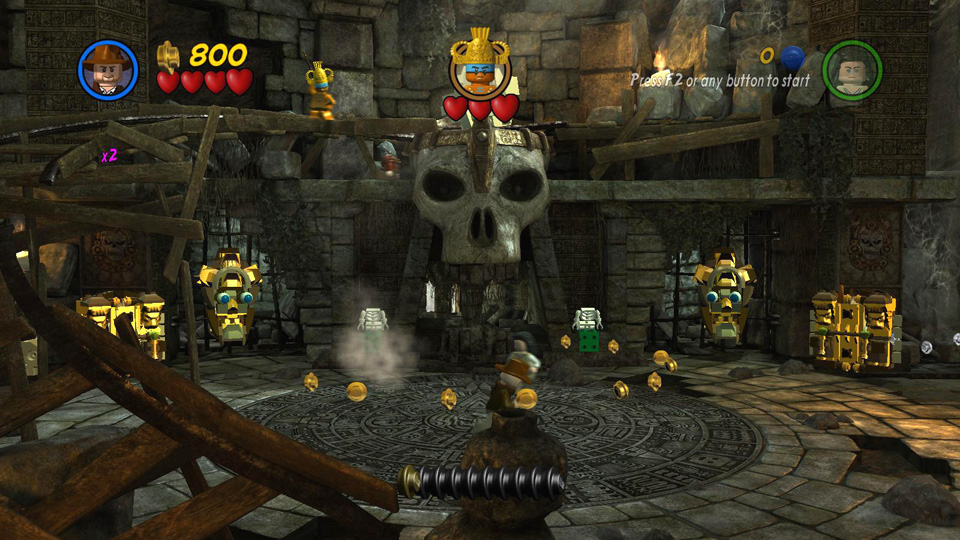 Try to dodge the spears the king throws as you gather studs in the first room. |
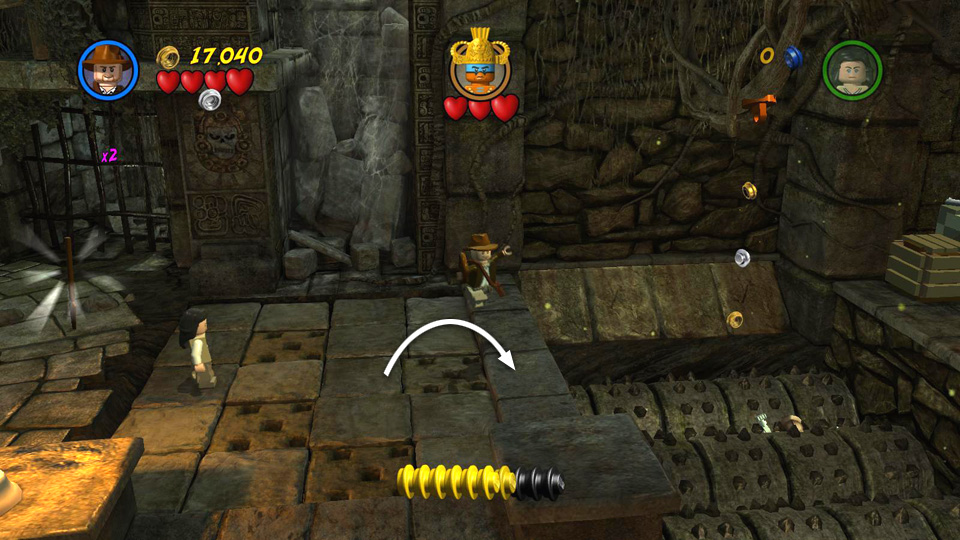 Then move to the right, avoiding the tiles with holes since these have spikes beneath. |
|
 Whip swing across the spiked rollers. |
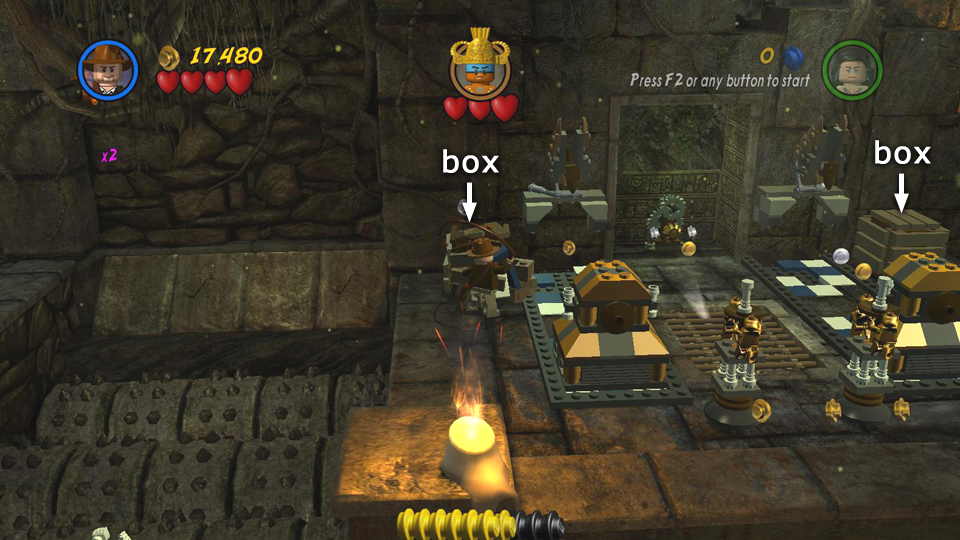 Smash the tan boxes. |
|
 Rebuild the checkerboard tile floors. |
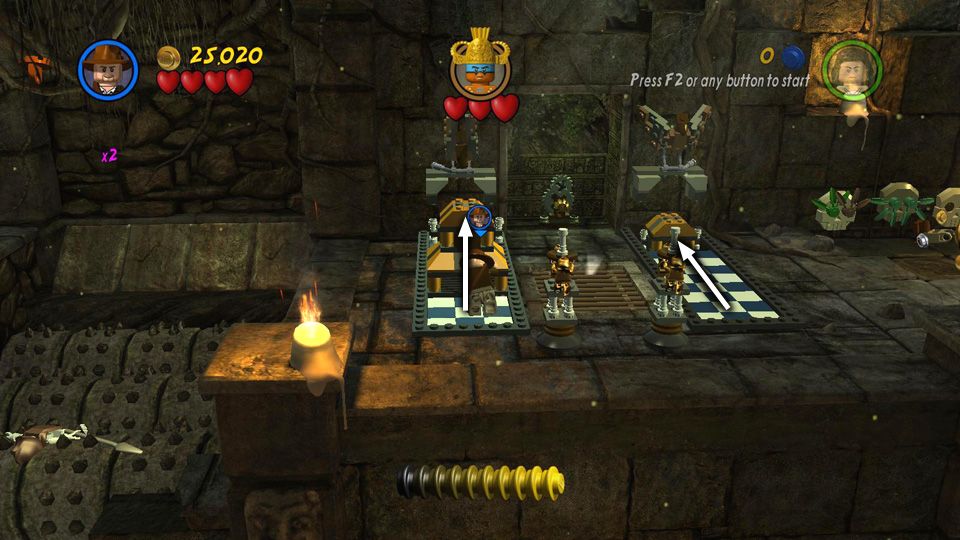 Push the 2 sarcophagi forward until they sink into the floor. |
|
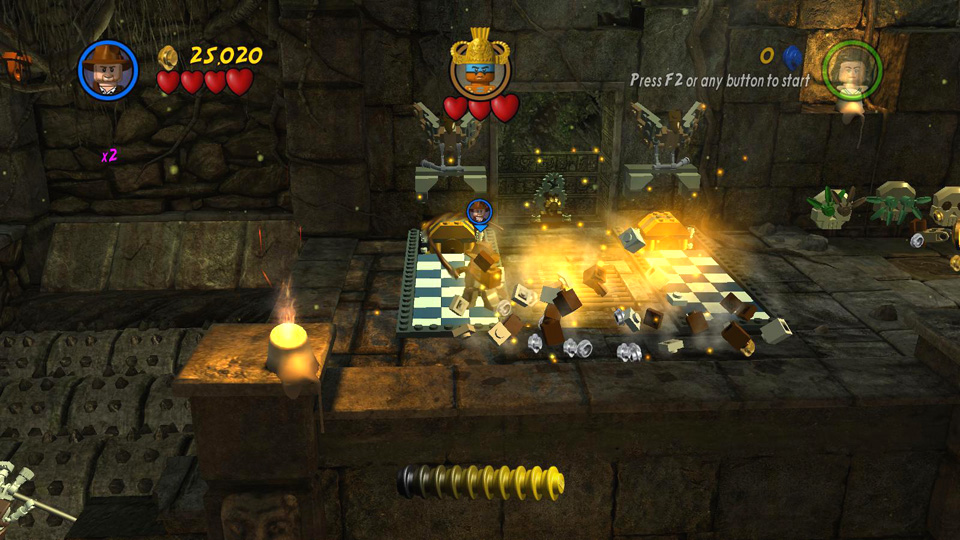 Smash 2 the tall ornaments to open the floor grate. |
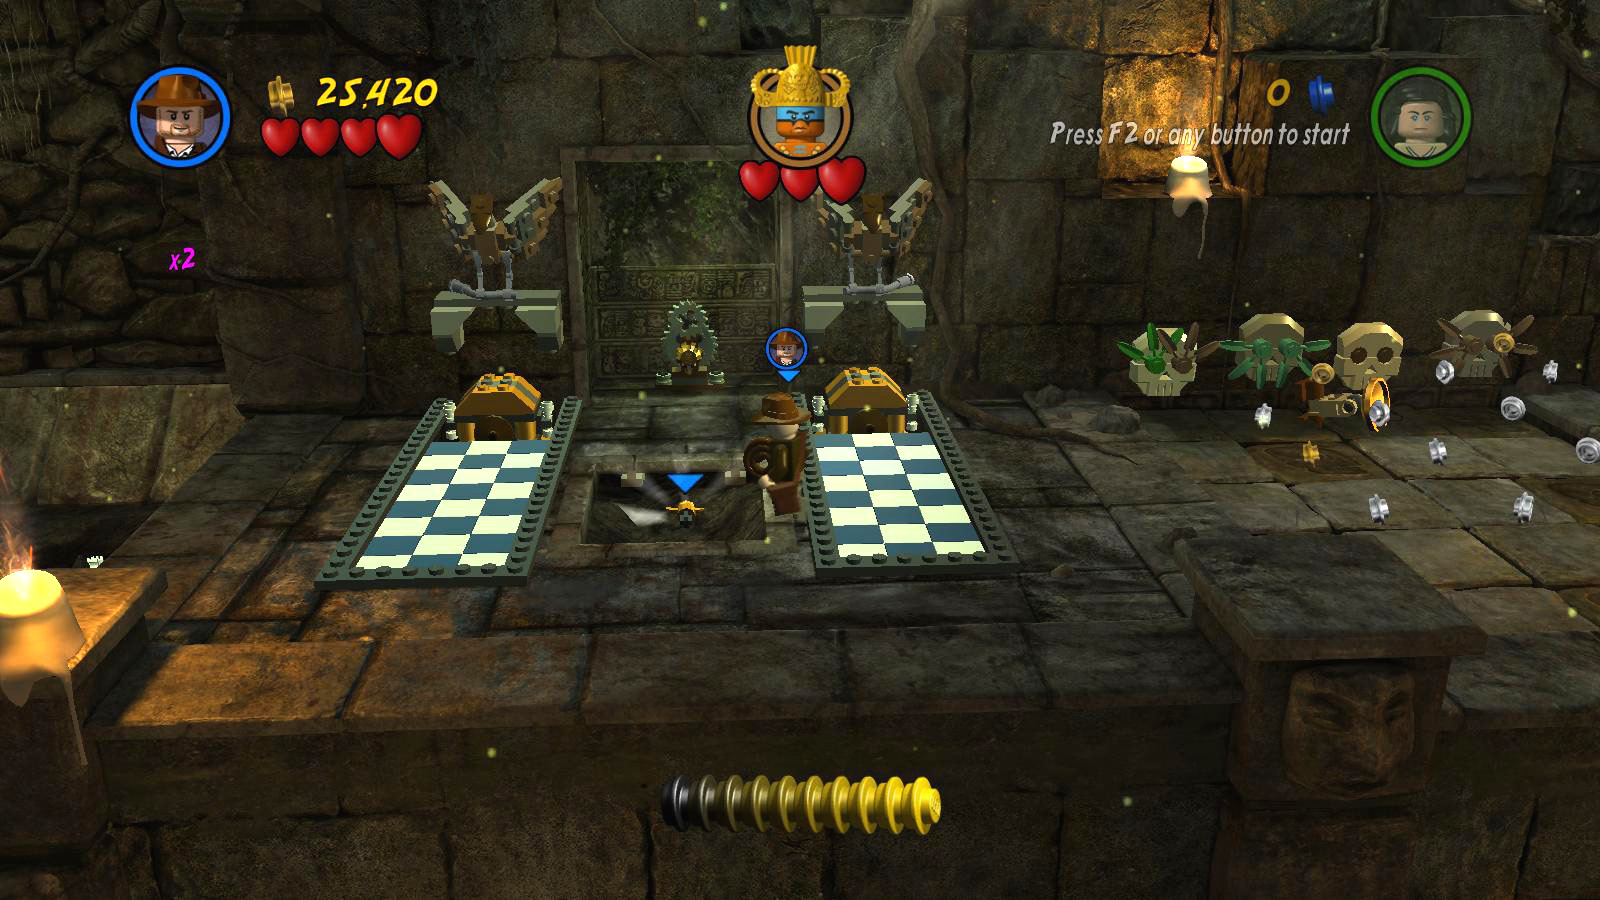 Take the key inside. |
|
 Use it to turn the mechanism, extending some blocks so Marion can join Indy. |
||
Continue to the right, avoiding the darker carved tiles, which cause darts to shoot out of the skulls along the wall. Pick up the gold mirror, carry it to the right and attach it to the green pedestal. Then push the green handle on the back wall to the right to rotate the mirror. Continue all the way to the right and pull the dangling chain to rotate a second mirror so the beam of light coming from the jewel on the wall hits the second mirror and is reflected onto the first mirror, then a third mirror on the back wall. This opens a secret panel, revealing a gold crown.
Take the crown and carry it back to the left. Watch out for the darts and spikes activated by stepping on the dangerous floor tiles. When you come to the center room with the Ugha King up above, place the crown on one of the green plates.
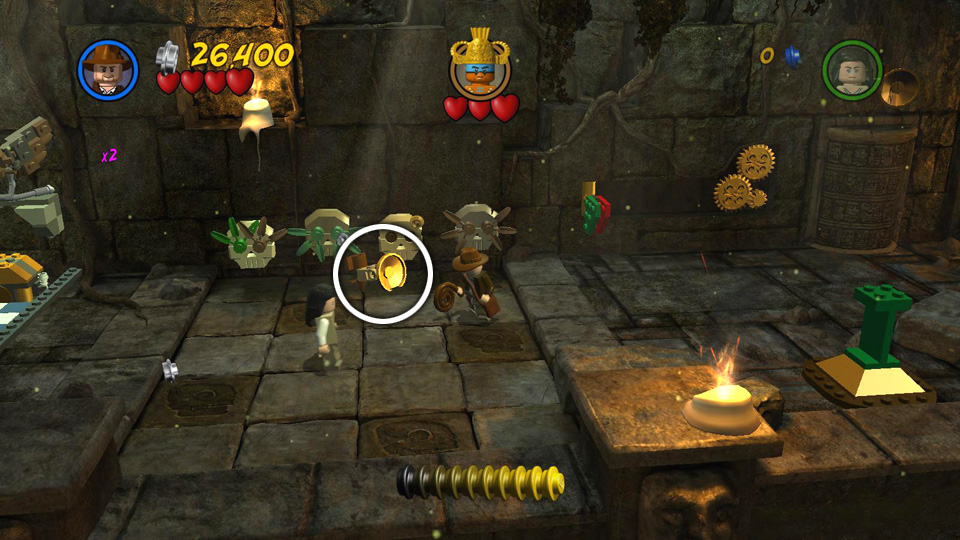 Watch out for the carved floor tiles as you pick up the mirror. |
 Attach the mirror to the green pedestal on the right. |
|
 Push the green handle to rotate the mirror. |
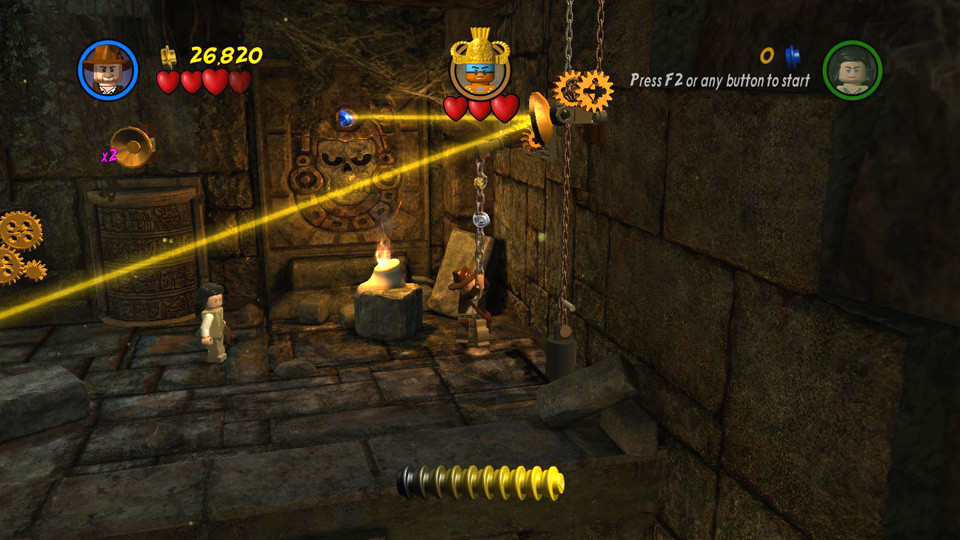 Pull the dangling chain to move another mirror and reflect the beam of light. |
|
 When the light hits the third mirror, a secret panel opens. |
 Take the gold crown, carry it back to the left and place it on one of the green plates. |
Now head to the left, once again avoiding the carved floor tiles, since stepping on them makes darts shoot out of the white skulls. Move Marion onto the swirly flower icon and jump from there to the ledge behind the waterfall. Turn the crank to raise a platform below. Switch to Indy and have him step onto it. Switch back to Marion and turn the crank again to move the platform across the gap. Indy can then hop off the platform on the left, and Marion can follow the ledge behind the falls and jump down.
Continue to the left, again avoiding the floor tiles with hidden spikes.
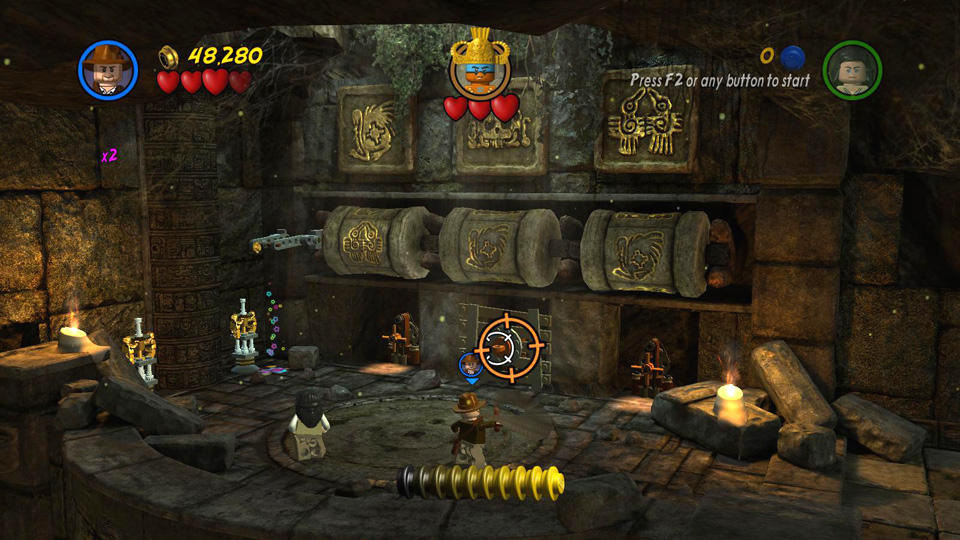
In the room on the far left there are 3 golden images high on the wall, 3 stone cylinders, also with golden pictures on them, and 2 cranks in alcoves below. Use Indy's whip to pull the orange ring to open an alcove with a third crank. Use each of the cranks to turn the stone rollers until the pictures facing out into the room match the ones on the wall above. Then have Marion jump up to grab the handle on the left and pull it down. This opens the secret panel on the left revealing a 2nd gold crown.
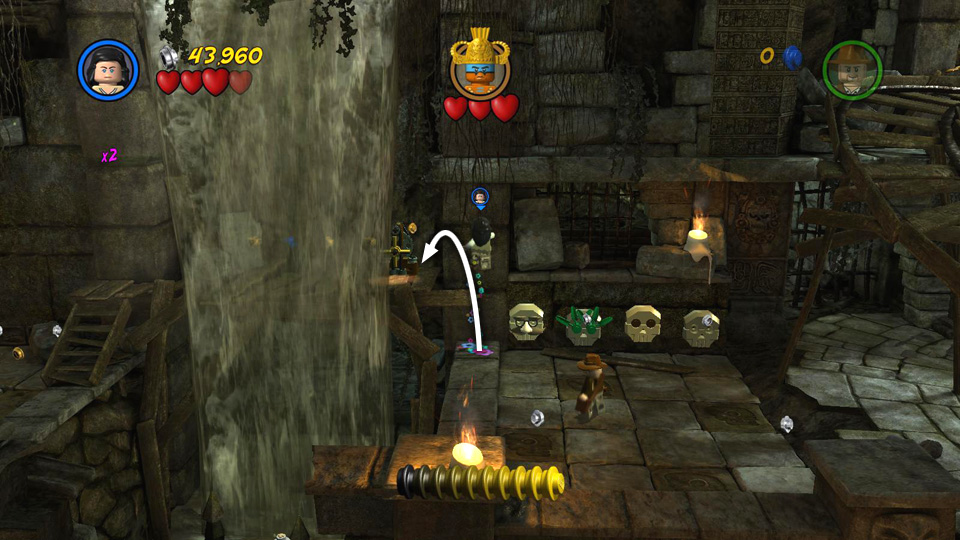 Use Marion to reach the ledge behind the waterfall. |
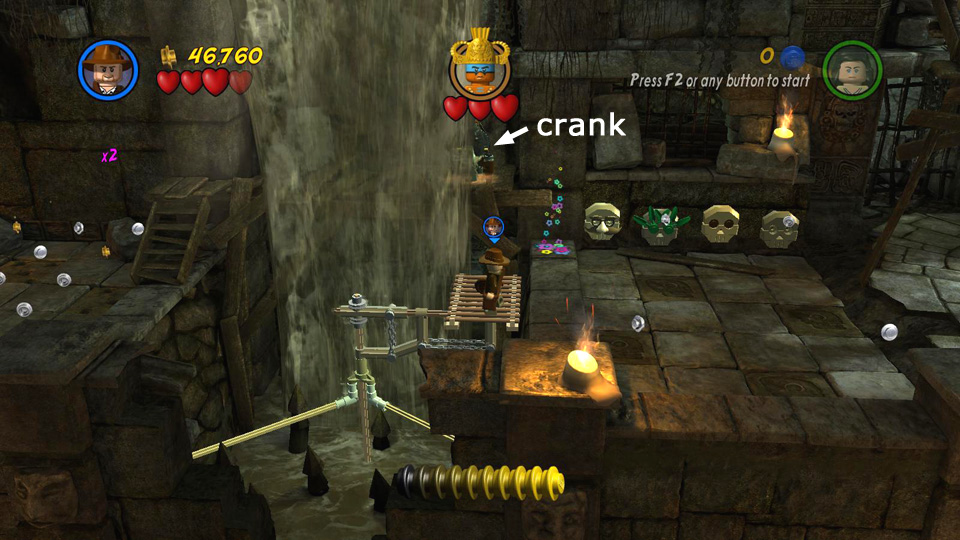 Turn the crank to raise a platform and have Indy step onto it. |
|
 Turn the crank again to move the platform to the left. |
 Whip the orange ring to reveal a 3rd crank. |
|
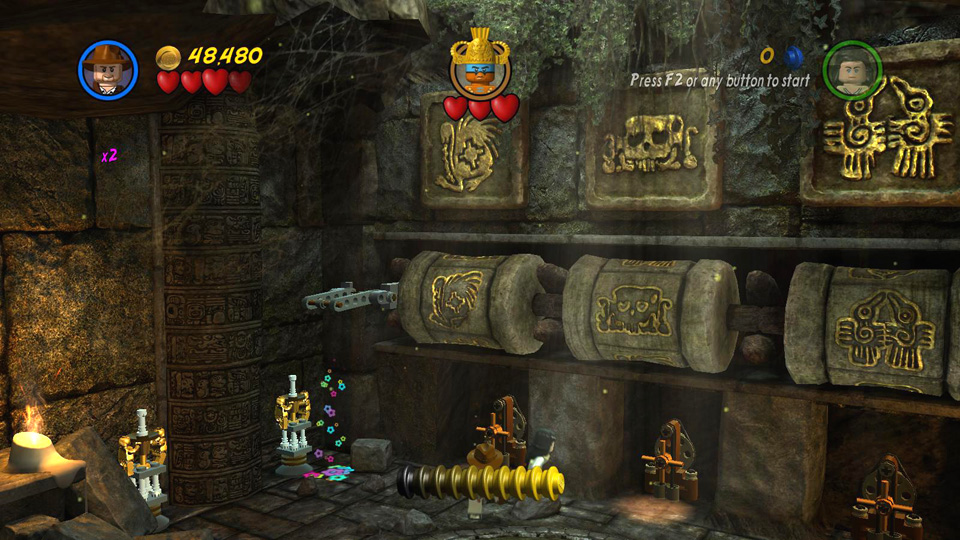 Turn each crank so the cylinder picture matches the wall picture above it. |
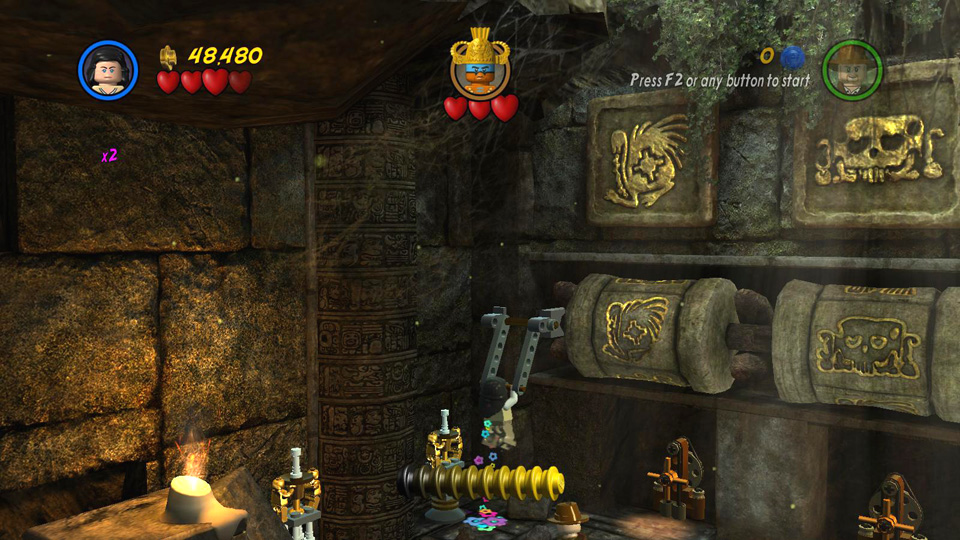 Have Marion jump up and pull the handle. |
|
 The secret panel opens revealing another crown. |
||
Have Indy pick up the crown and carry it to the right. When you come to the gap near the waterfall, have Indy step onto the platform. Switch to Marion and jump onto the ledge, walk behind the falls and turn the crank to move the platform, with Indy on it, over to the right. Switch back to Indy, continue to the room with the Ugha King, and place the crown on the second green plate.
 Have Indy carry the crown onto the moving platform near the waterfall. |
 Marion can jump onto the ledge and turn the crank to move Indy back to the right. |
|
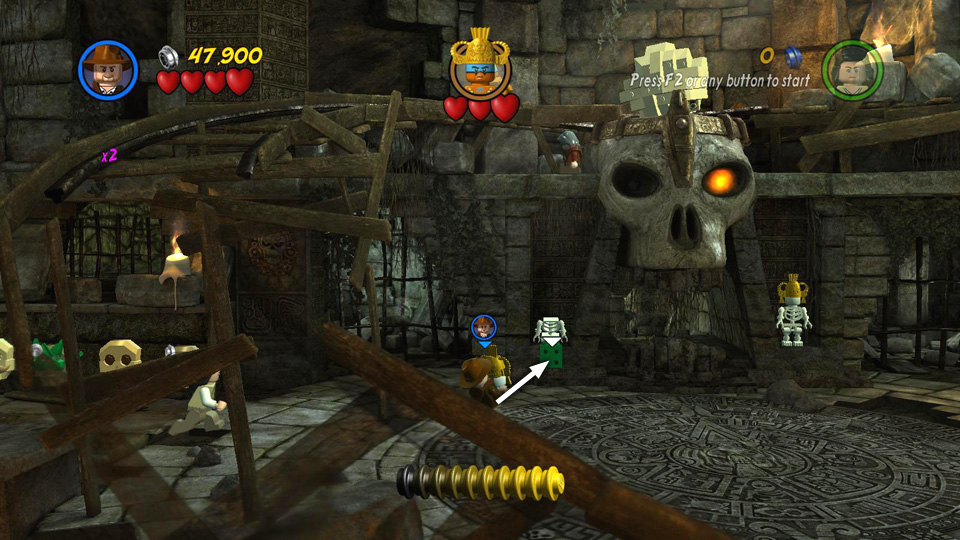 Place the crown on the second green plate below the king. |
||
In a brief cut scene, the king comes down from his high perch ready to fight.
You can't damage the king by punching or whipping him. So instead, use Indy's whip to tie him up. (Hold Attack to target, move the direction keys or analog stick to aim, then release Attack to lasso.) Then drag him over to the right onto one of the floor tiles with holes. When the spikes pop up, he'll lose one of his hearts and then run back to the left. Do this twice more to defeat the king and finish the level. ![]()
 To injure the king, lasso him with Indy's whip. |
 Then drag him onto the spikes on the right. |
| < < < Story Level 2 | Return to the Hub | Story Level 4 > > > |