
Raiders of the Lost Ark – Bonus Level 3: Hovitos Temple
True Adventurer: 50,000 studs
Bonus Level Characters: Indiana Jones, Sallah
Unlocks: Hovitos Tribesman
LEVEL ENTRANCE: Once you've unlocked a character with explosives, swim to the island in the upper right corner of the hub. Blow up the giant silver skulls blocking the entrance to the Hovitos Temple and you'll be able to go inside. (Check the Characters page, Hub Maps and Bonus Level Intro for details and screenshots.)
Large Underground Tomb with Lava
(Click any of the screenshots below to enlarge.)
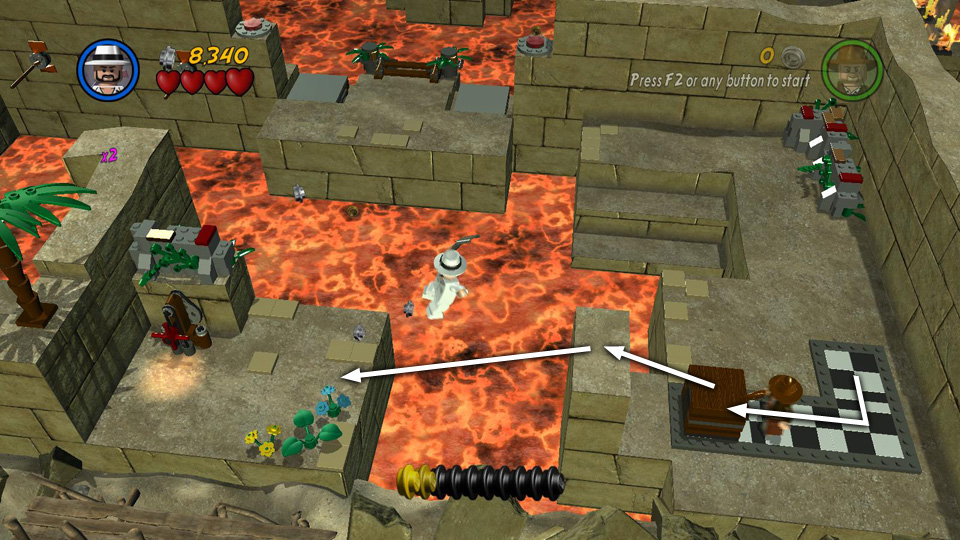
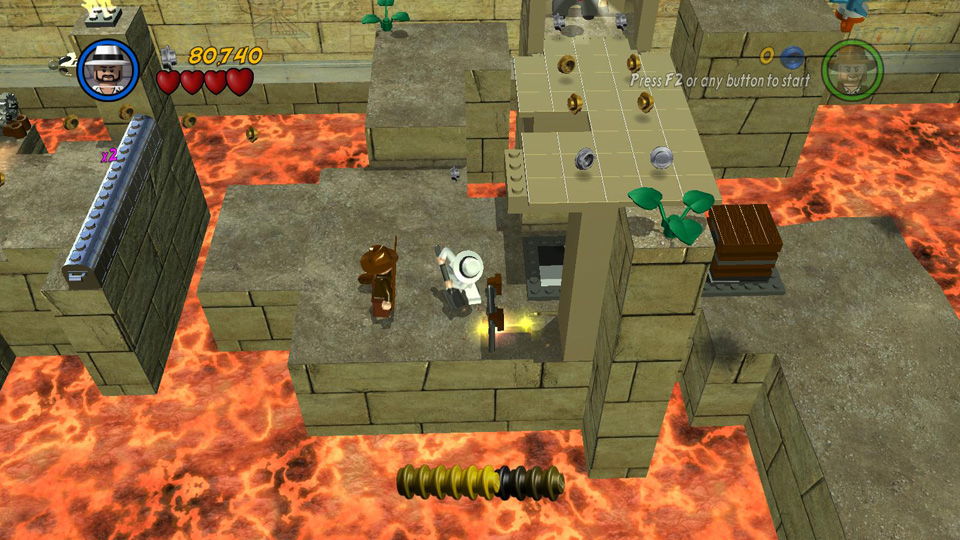
Smash the plants and collect the studs near the start. Then head up the stairs and around to the right. Watch out for the bullet-shooting LEGO head on the landing. Whip swing across the gap above the lava to the next ledge on the right. Grab the 3 spears from the rack and throw them into the sockets on the back wall.
Return to the landing and use the spears to jump across the lava to the ledge beyond. (Or if you're playing solo and trying to set a time record, switch to Sallah and have him head for the spears. Indy will follow automatically.)
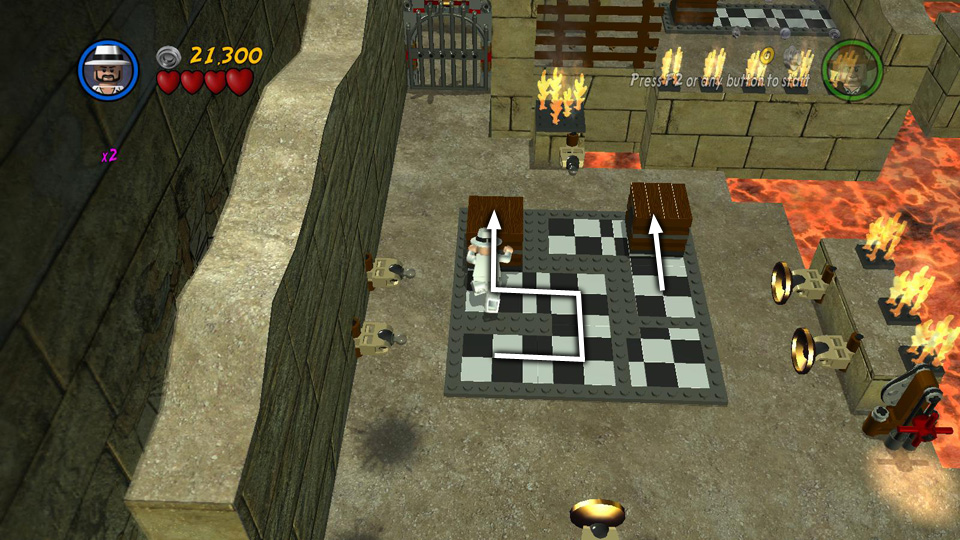
Ignore the buttons for now and jump over to the next ledge on the right. Use Sallah's shovel to dig out the buried sections of the checkerboard floor. Then push the brown box all the way to the left. Climb on top of it and jump onto the wall ahead and from there to the ledge on the left. Turn the crank there to raise 3 small platforms just ahead.
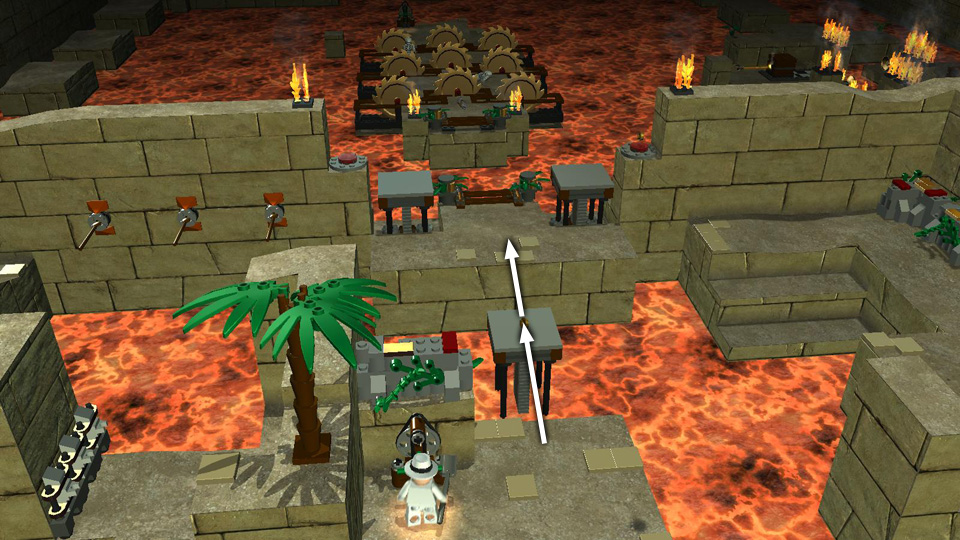
Use the nearest of the platforms you just raised to get back to the center ledge with the 2 red buttons. Then have one character hop up and step on each of the buttons. This raises a bridge leading to the next island in the lava pool.
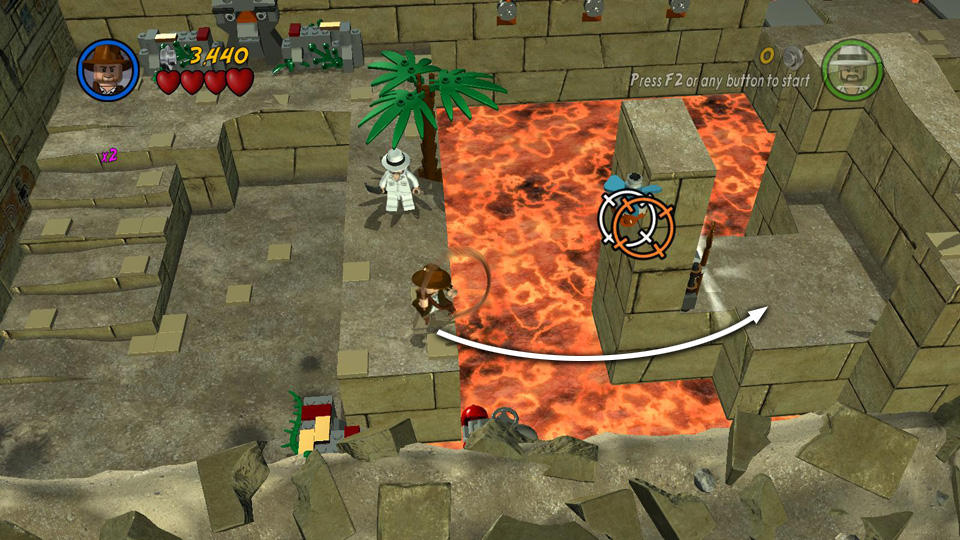 Whip swing across the lava to the ledge on the right. |
 Take the 3 spears and throw them into the sockets on the back wall. |
|
 Use the spears to cross the lava. |
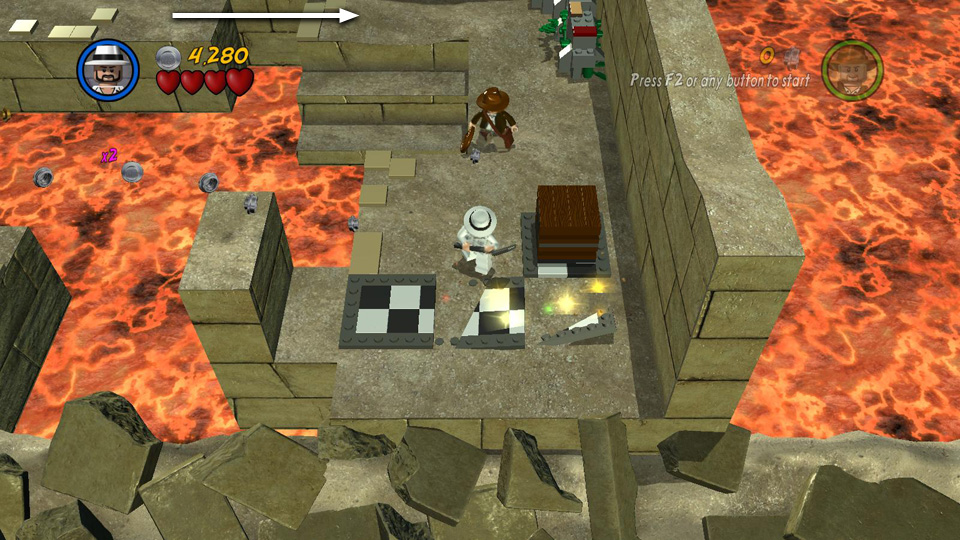 Then jump across to the next ledge and dig up the checkerboard floor. |
|
 Push the box to the left, climb onto the wall and jump down on the next ledge. |
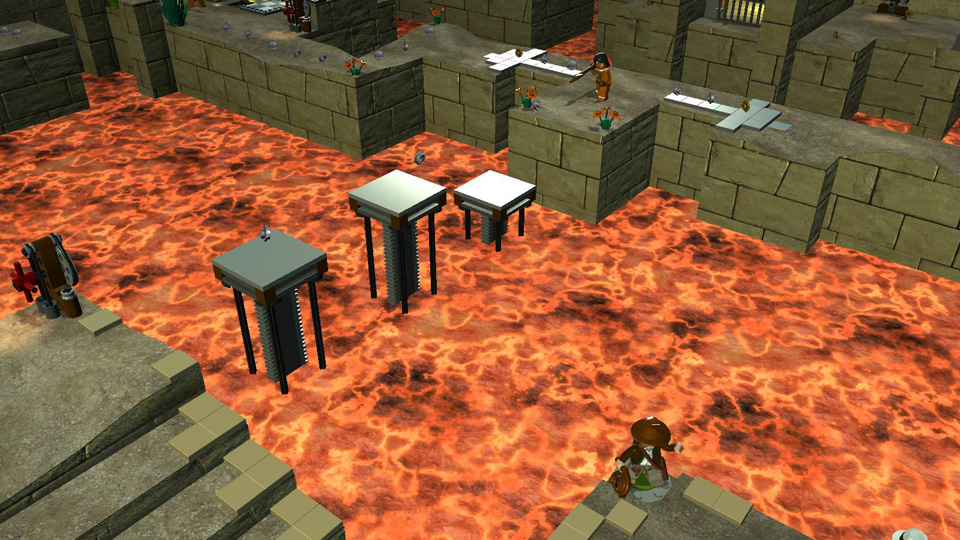
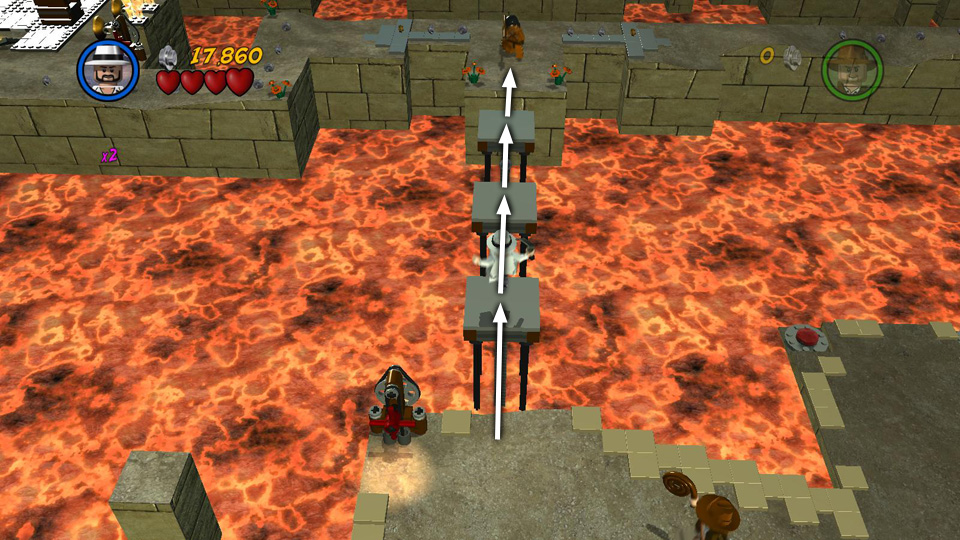
 Turn the crank to raise 3 small platforms. Then jump back to the center ledge. |
|
 Step on the buttons to raise a bridge to the next area. |
||
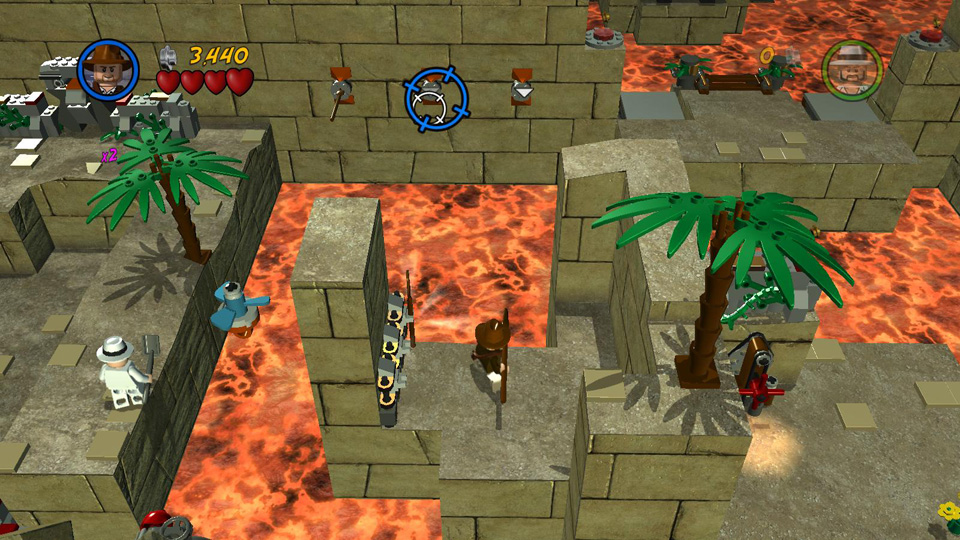
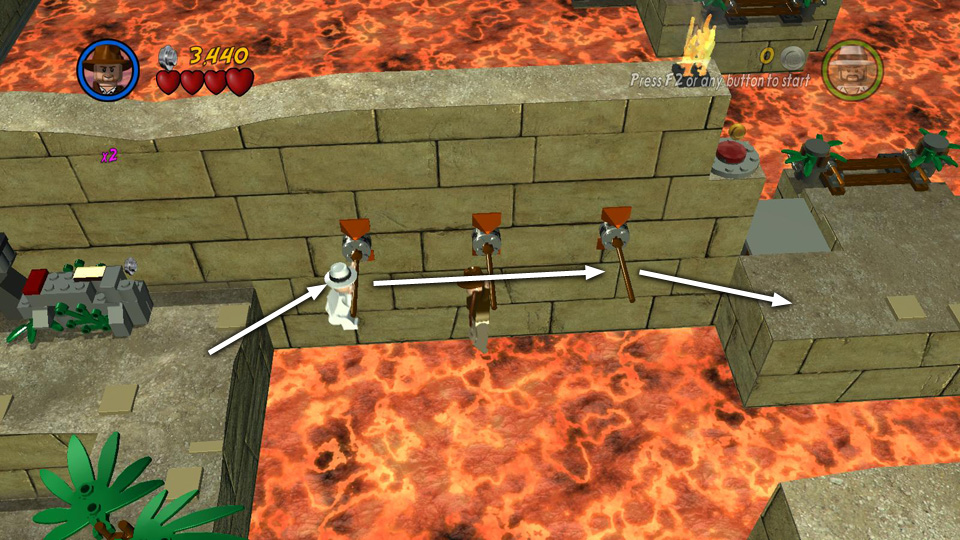
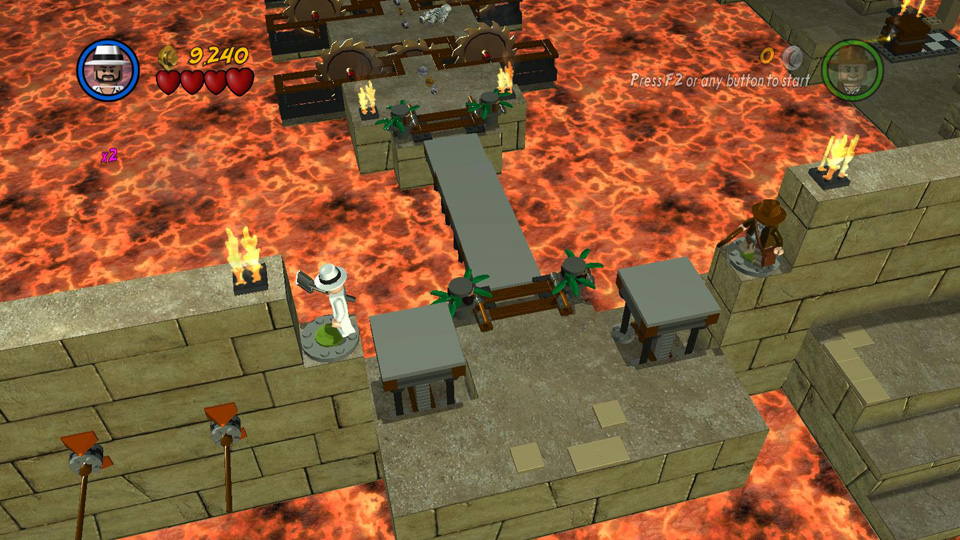
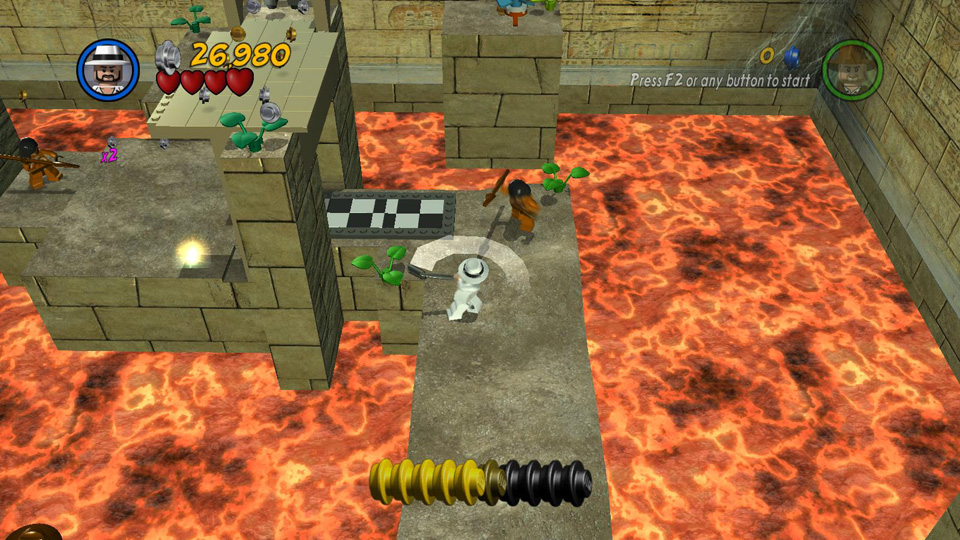
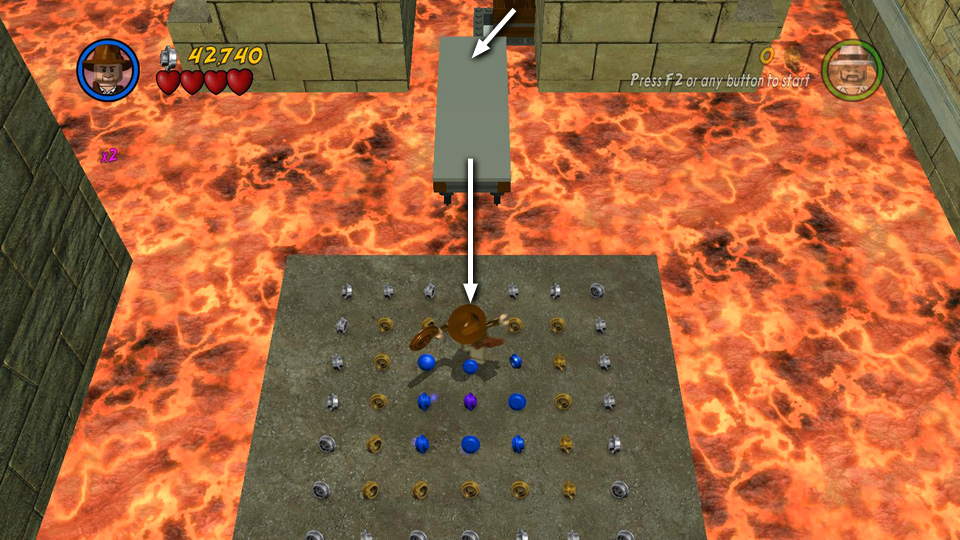
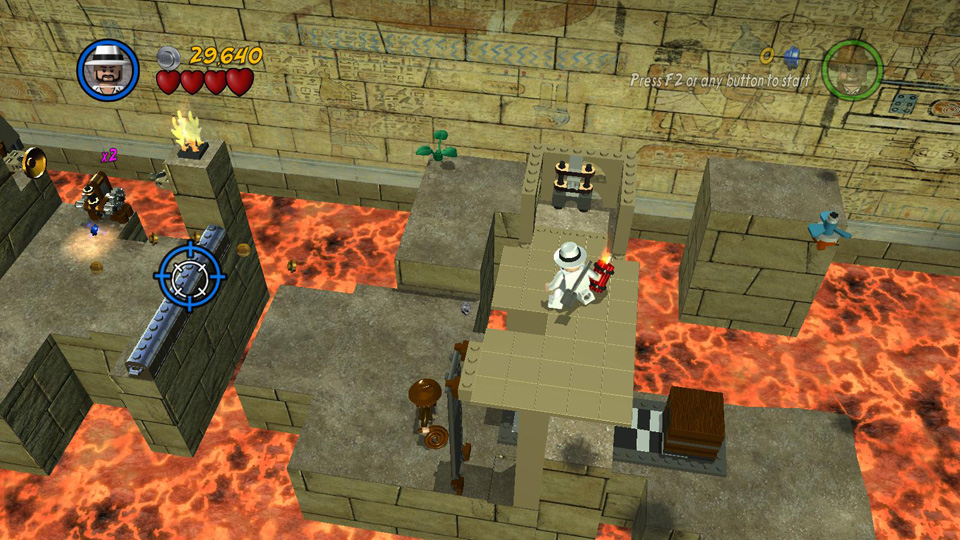
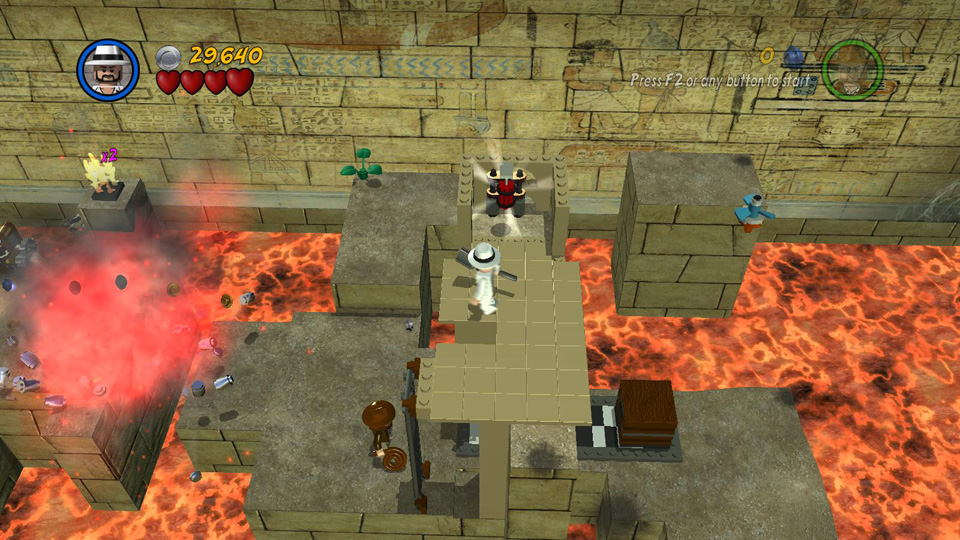
Cross the bridge and carefully jump over each of the 3 center saw blades as they retract. Turn the crank ahead on the left to lower the lava level, revealing a new section of walkway on the right. Move to the end of that walkway, smash the skeletons to reveal 2 red buttons and step on them to raise 3 platforms in the lava to the left.
Return to the top of the stairs, hop across the 3 platforms you just raised and fight the Hovitos tribesman on the other side.
 Cross the bridge and then hop over the 3 saw blades as they retract. |
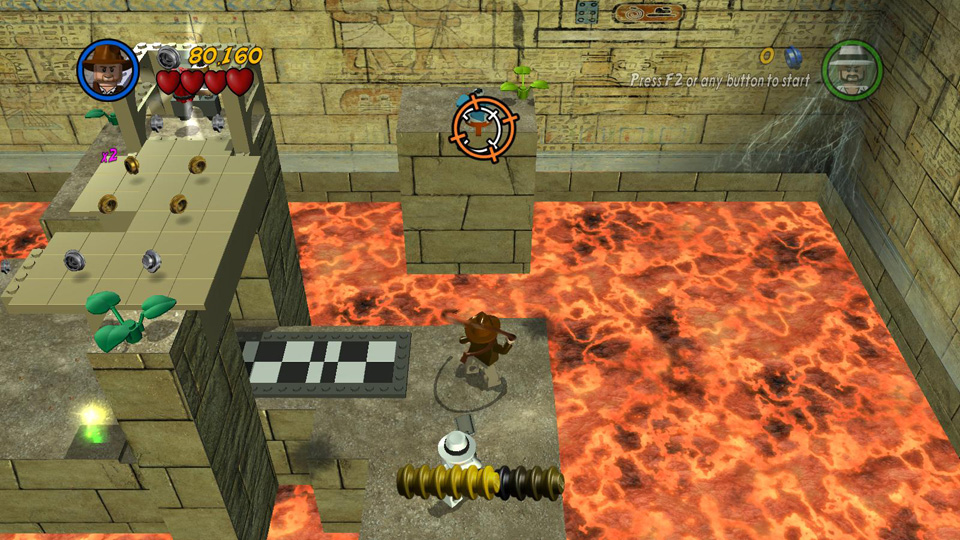
 Turn the crank to lower the lava level, revealing a landing on the right. |
|
 Smash the skeletons and step on the buttons to raise a set of platforms off to the left. |
 Jump across them and fight the Hovitos tribesman on the next ledge. |
Follow the long, crooked ledge to the left. There are 2 more warriors waiting in the next area. Take care of them. Then dig up the buried section of the checkerboard floor and slide the 2 brown boxes to the back left and right corners of the tiled area. Then turn the crank on the right to activate a set of laser beams. With the boxes moved out of the way, the 3 beams should shine on the 3 mirrors, opening the gate in the back left corner.
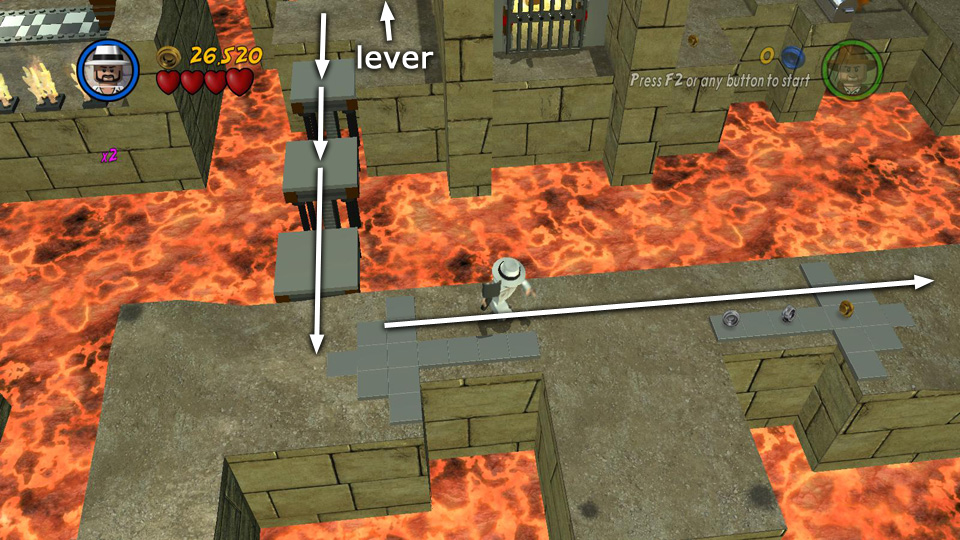
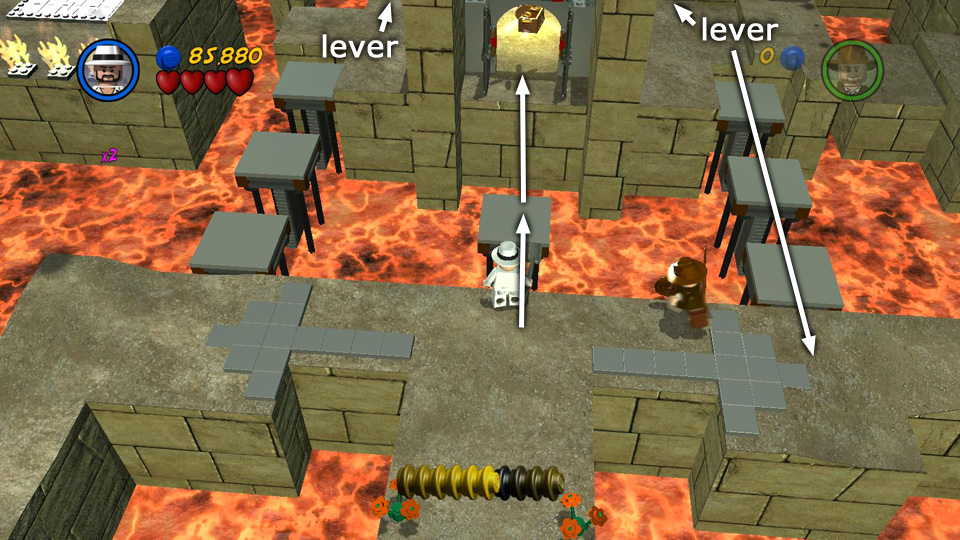
Go through the gate and push the brown box along the checkerboard tiles to the right. Use the box to climb onto the low wall. Then jump down onto the ledge below. Pull the lever there to activate another laser beam, which strikes the mirror next to it. This is one of 2 levers you must use to open the gate in front of the Artifact, which is just to the right.
Pulling the lever also raises 2 platforms in the lava, enabling you to jump back to the long, crooked ledge where you were before. This time, head to the right and fight another Hovitos tribesman at the end of the walkway.
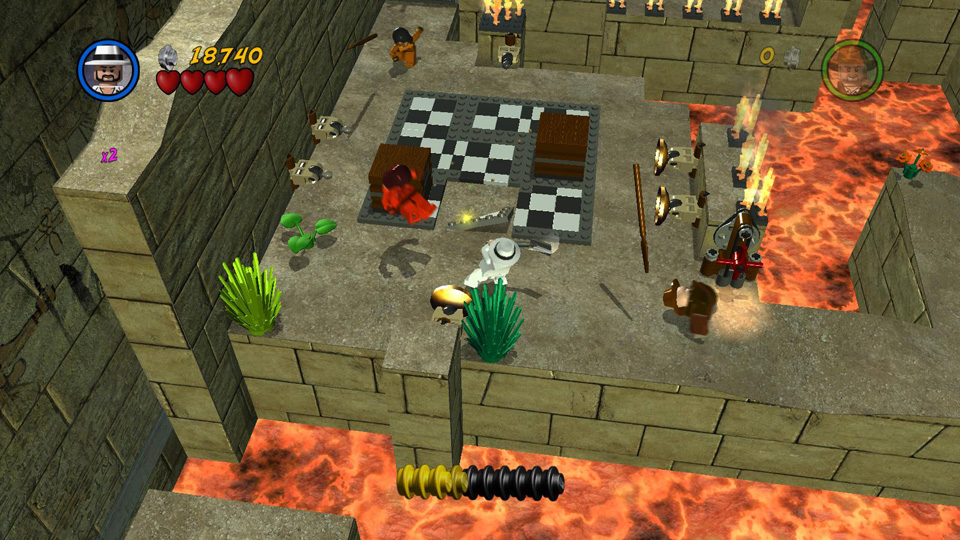 Follow the ledge to the left and fight 2 more tribesmen. |
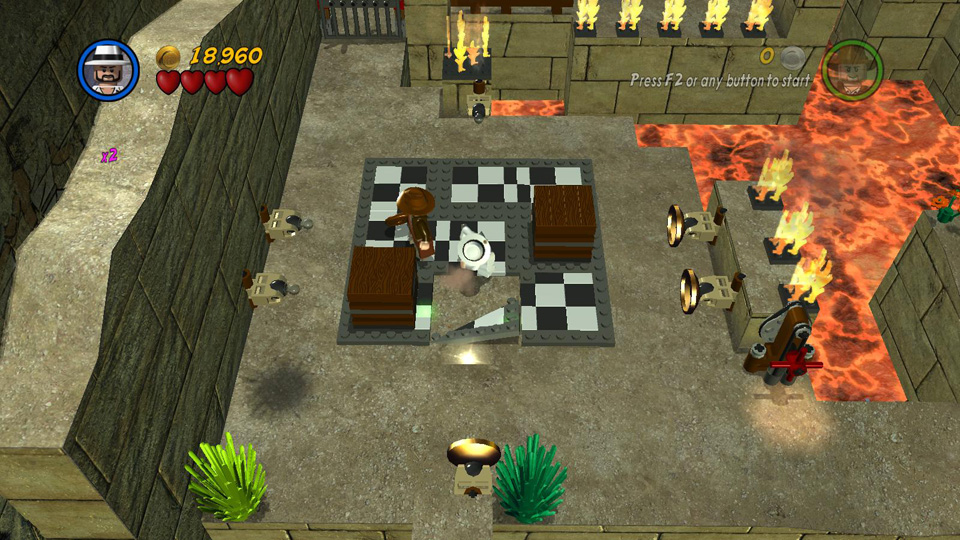 Dig up the buried section of checkerboard tile. |
|
 Push the 2 boxes into the back corners. |
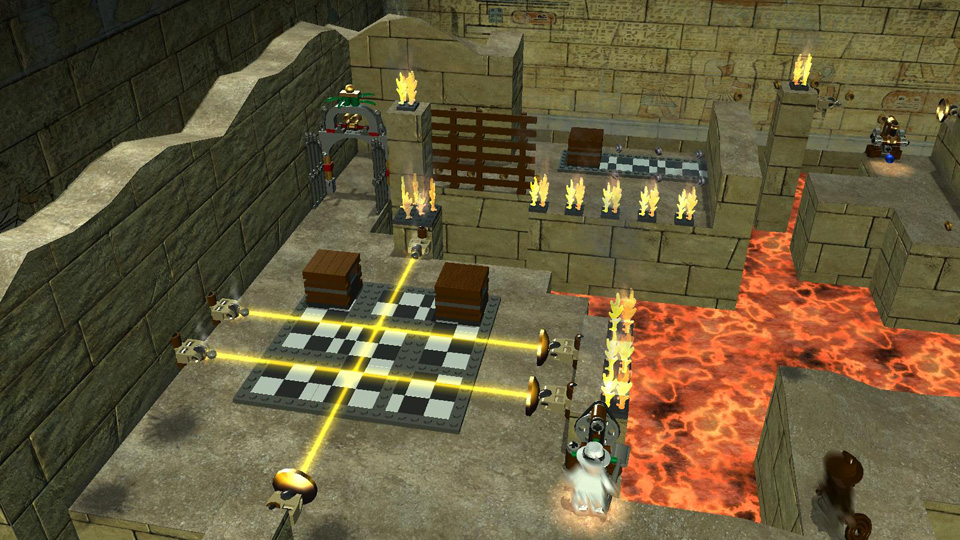 Then turn the crank to activate the 3 lasers and open the gate. |
|
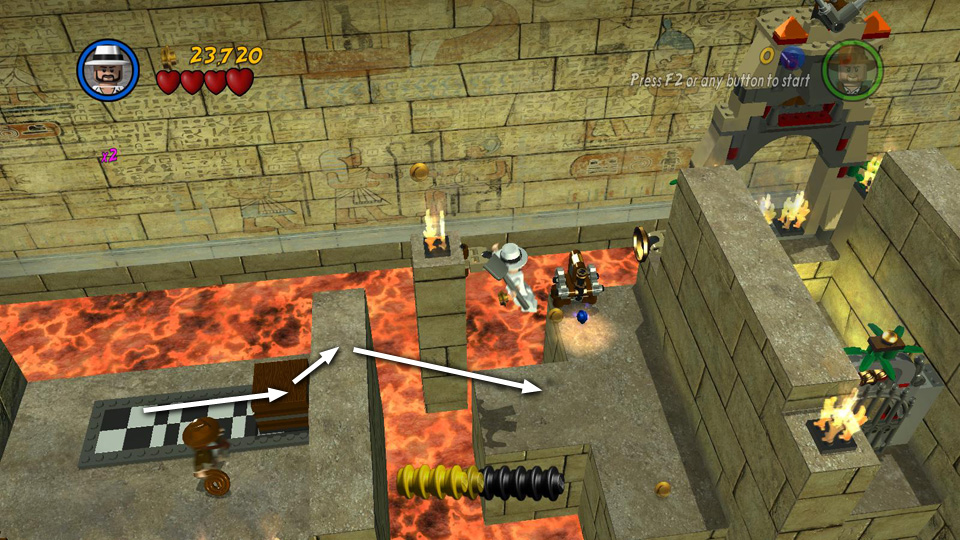 Go through and push the box against the wall. Climb up and jump down to the next ledge. |
 Pull the lever to activate one of the lasers that opens the Artifact room. |
|
 This lever also raises 3 platforms so you can get back over to the long ledge. |
 This time, follow it all the way to the right and fight another warrior. |
Now, if you're not interested in collecting all available studs, you can skip this next section and instead go right for the Artifact (below).
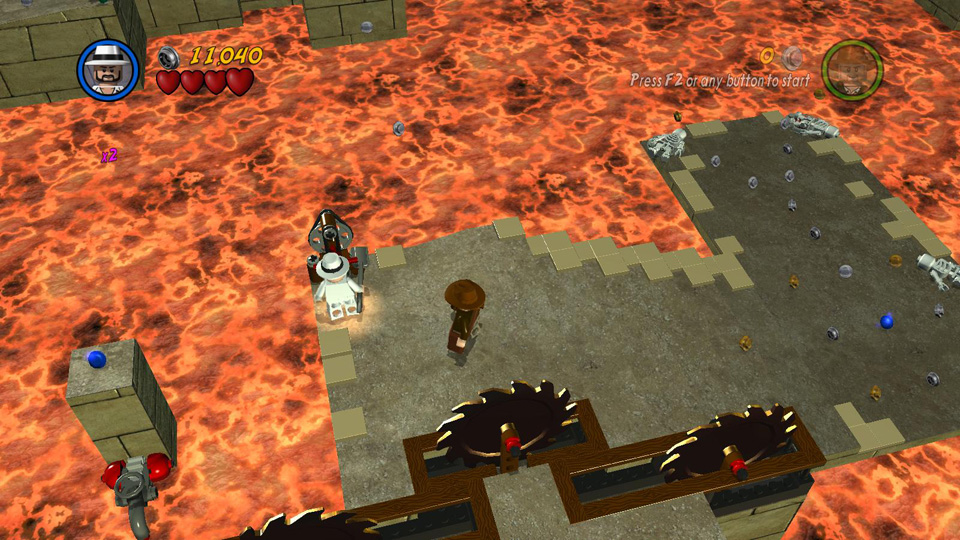
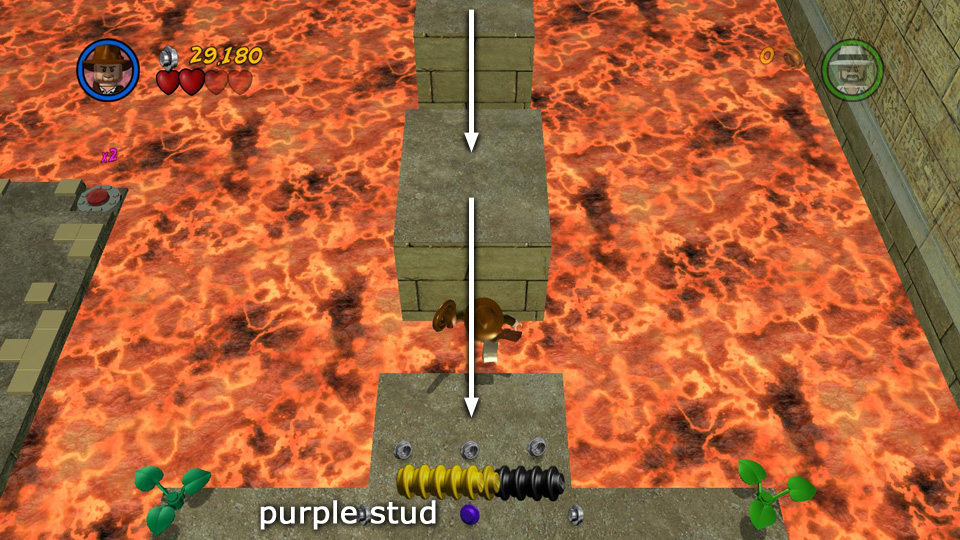
If you do want all the studs, backtrack along the crooked ledge to the near right corner and use Indy's whip to pull the orange ring on the square pillar to the right. This activates a moving platform in the lava below. When it rises, quickly hop across to the next solid stone platform in the foreground. Make your way across the stone platforms to the T-shaped one with the purple stud.
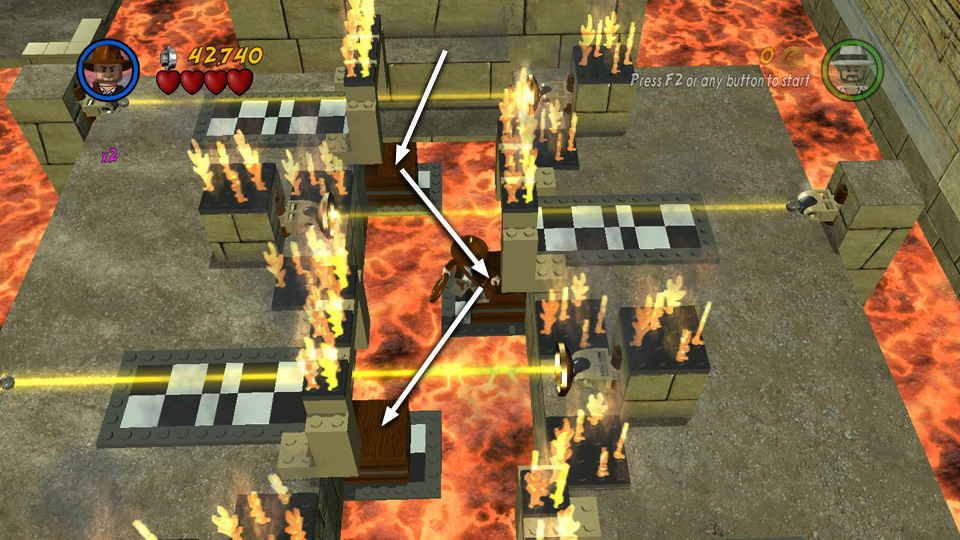
Jump from the lower left corner of the T-shaped ledge to the next ledge on the left. Here you'll find flames, laser beams and brown boxes on checkerboard tiles. Push the boxes along the tiles until they fall off the ledge and land on the smaller ledges below. Jump back to the T-shaped ledge. Then jump from the lower right corner of the T-shaped ledge to the next ledge on the right. Push the boxes there off the edge just as you did with the others. When all 4 boxes have been moved, and all 4 laser beams strike their respective mirrors, a platform rises out of the lava below.
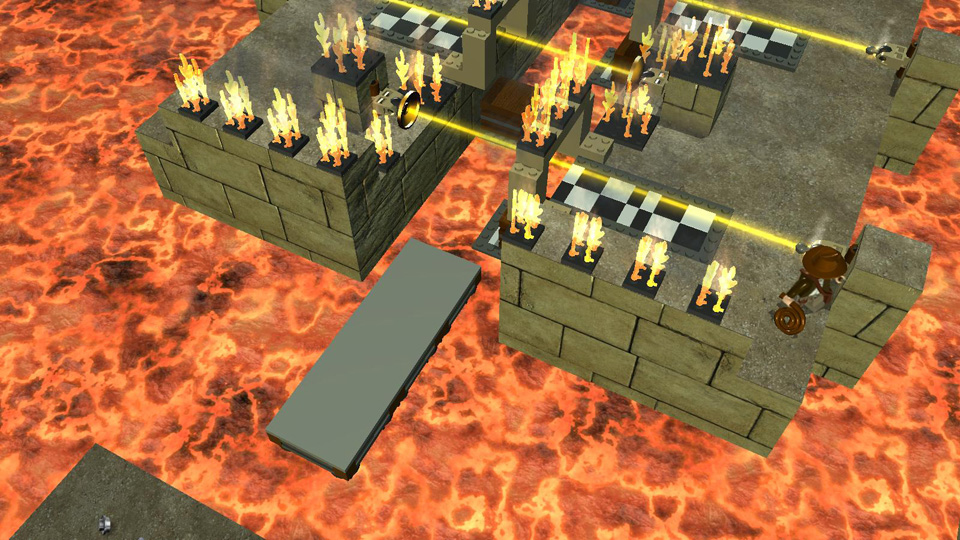
Jump back to the T-shaped ledge and hop down onto the step on the front side of the ledge. Jump from there onto the first brown box on the left. Then jump across the remaining boxes to the long, gray platform you just raised. Cross that platform and jump over to a large, square island with a purple stud and a few dozen others.
Now return across the long, gray platform, the brown boxes and stone ledges to the long, crooked ledge where you used the whip to pull the ring earlier.
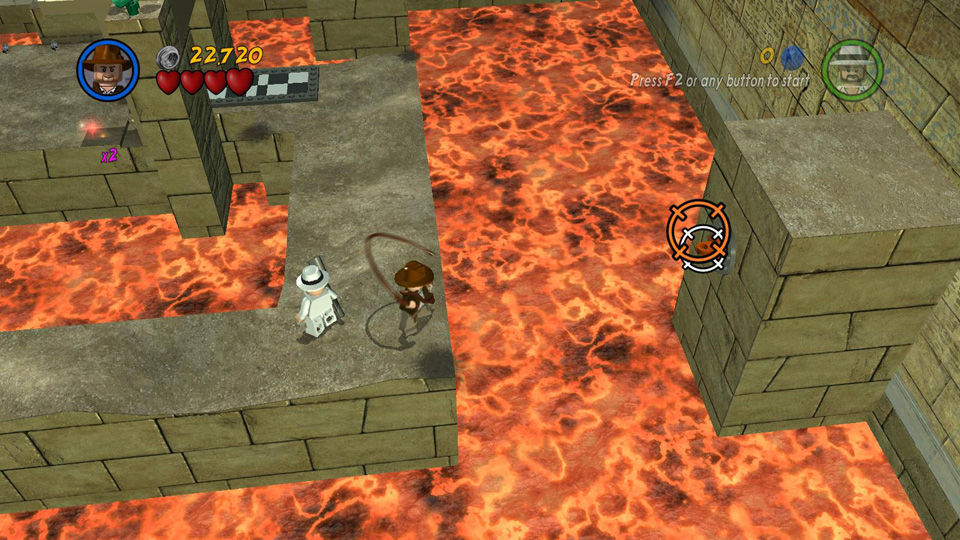 Use Indy's whip to pull the orange ring on the right. |
 This activates a moving platform that you can use to reach the stone ledges downscreen. |
|
 Hop across the stone ledges to the T-shaped one with the purple stud. |
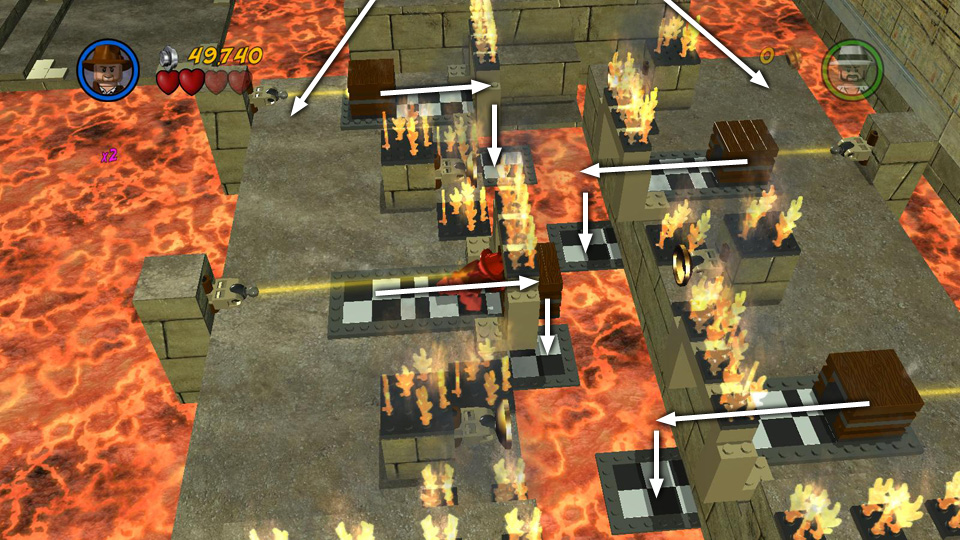 Push the 4 boxes on the left and right off the edge onto the small ledges below. |
|
 Pushing all 4 boxes and activating the corresponding lasers causes a platform to rise from the lava. |
 Jump from the step on the front of the T-shaped ledge to the first box, then across the remaining boxes. . . |
|
 . . . to the gray platform, then to the big island with the gazillion studs. From there, retrace your steps to the long, crooked ledge. |
||
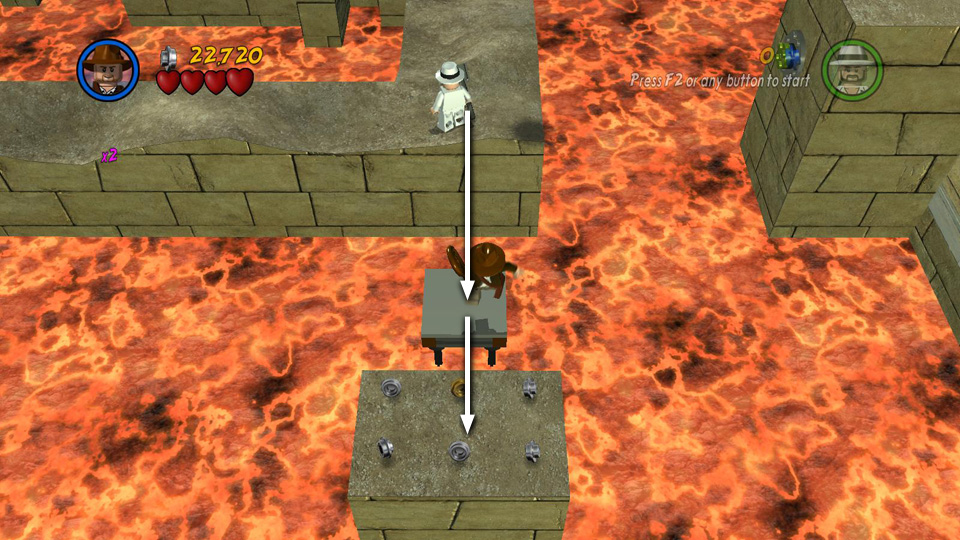
From the spot where that last Hovitos tribesman was standing, use Indy's whip to grab the orange ring above and swing over to the ledge in the background. Jump down to the next ledge on the left. (It's a bit difficult to see since it's partially hidden behind the tower with the dynamite.) From there, hop down to the ledge in the foreground and fight another Hovitos spearman. Then push the brown box along the checkerboard tiles to the right to clear the way so Sallah can enter.
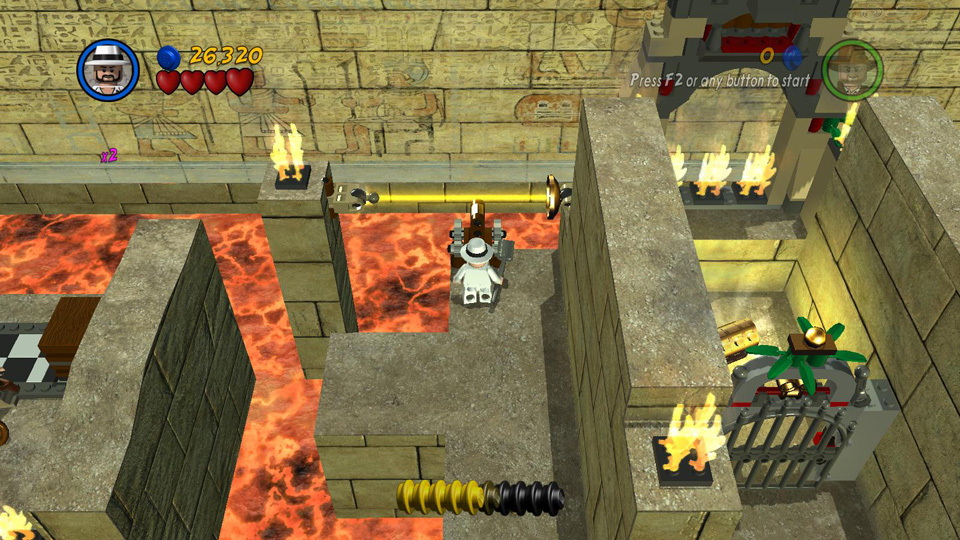
Switch to Sallah and dig up the sparkling patch on the ground to unearth a ladder. Climb to the top, grab a bundle of dynamite and throw it at the silver bar at the edge of the next ledge on the left. When this obstruction is destroyed, you can then jump over to that ledge and pull the second lever to open the gate in front of the Artifact.
Doing so also raises a series of small platforms that you can use to jump across the lava back to the long, crooked ledge, as well as a moving platform in front of the Artifact room. Hop across, go through the gate, which should be open if you've pulled both levers, and take the Artifact to end the level. ![]()
 Whip swing across the lava to the ledge against the back wall. |
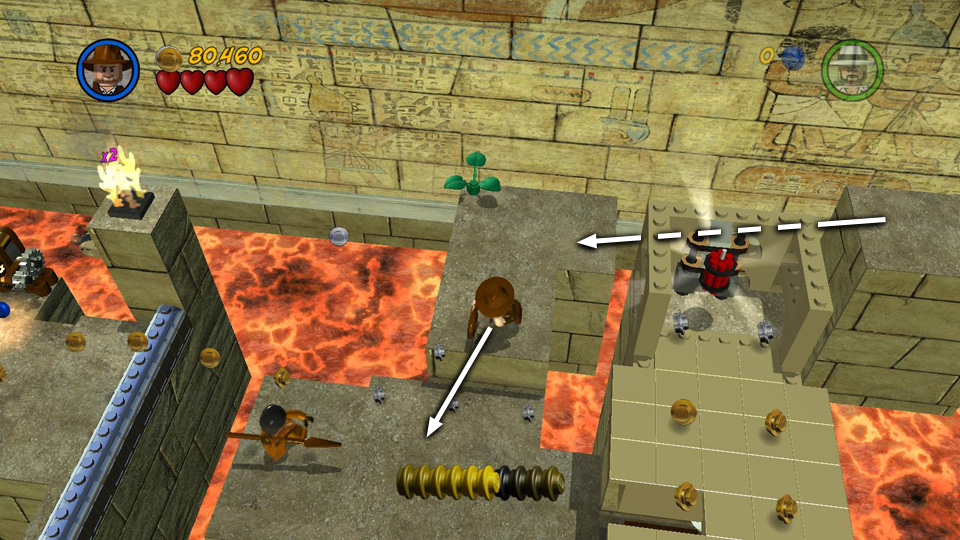 Jump down on the left and fight another Hovitos spearman. |
|
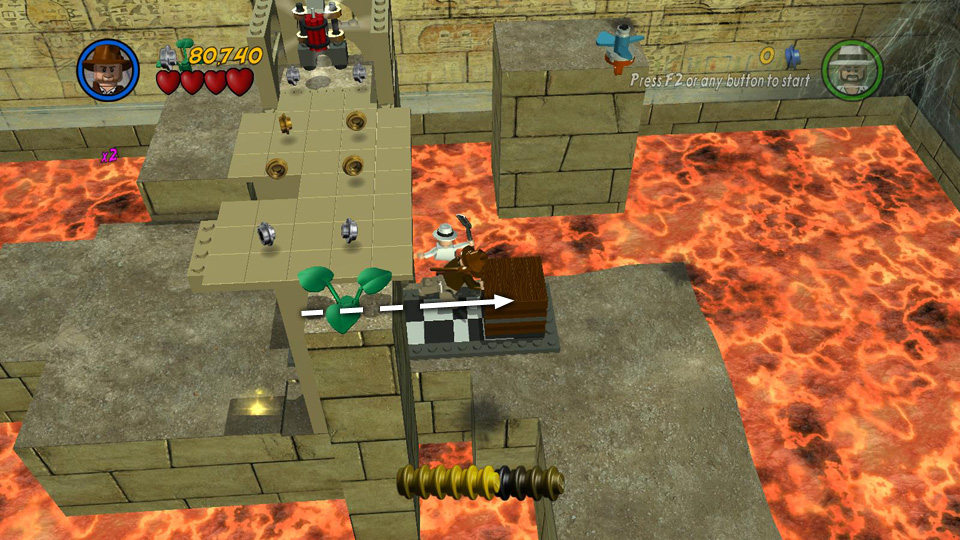 Push the box through the archway so Sallah can enter. |
 Dig a ladder out of the floor and use it to reach the ledge above. |
|
 Grab a bundle of dynamite and throw it at the silver barrier on the left. |
 Kerpow! |
|
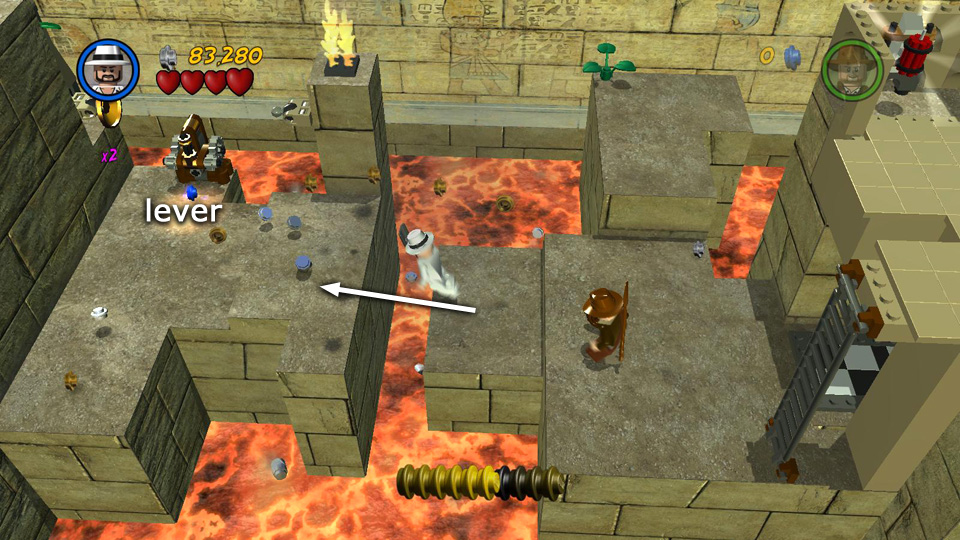 Now you can jump across to the ledge on the left and pull the lever there. |
 This opens the gate to the Artifact room and raises some platforms so you can reach it. |
| < < < Bonus Level 2 | Return to the Hub | Bonus Level 4 > > > |