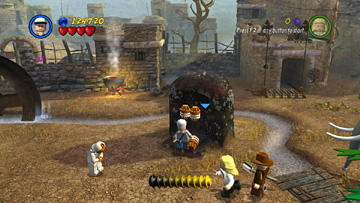
Temple of Doom – Story Level 2: Monkey Mischief
True Adventurer: 39,000 studs
Characters: Indiana Jones, Willie (Dinner Suit), Short Round
Unlocks: Thuggee
LEVEL ENTRANCE: After the 1st Story Level, Indy, Willie and Short Round appear at the top of the hub map beside a river. Jump into the yellow raft and ride downstream until a stone dam halts your progress. Climb the ladder on the left riverbank. Head into the village and enter the building with the green arrow next to where the Village Elder is standing. (Check the Hub Maps and Story Level Intro if you're not sure where to go.)
Indian Village Square
(Click any of the screenshots below to enlarge.)
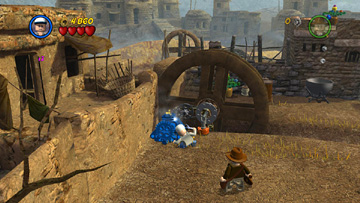
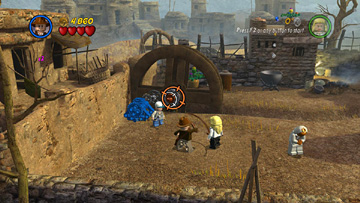
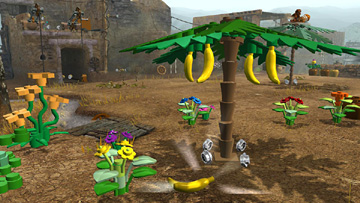
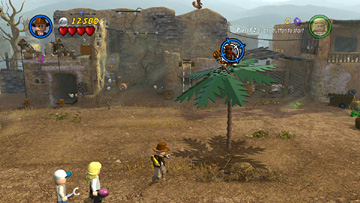
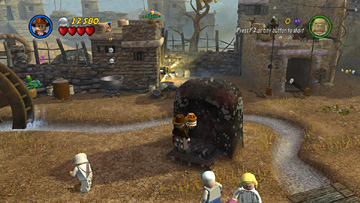
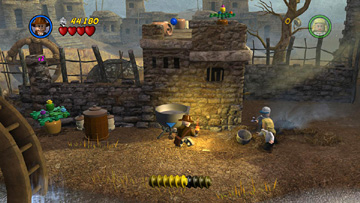
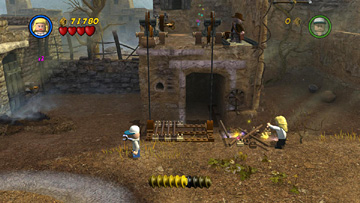
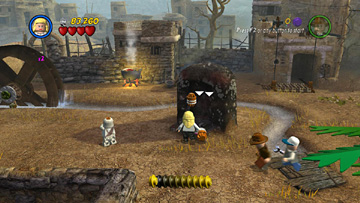
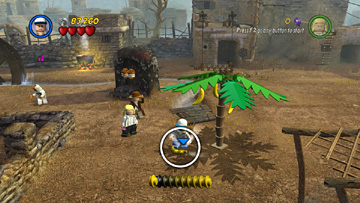
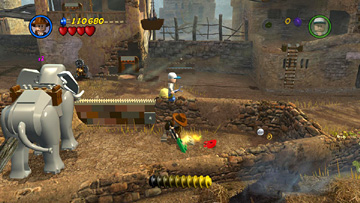
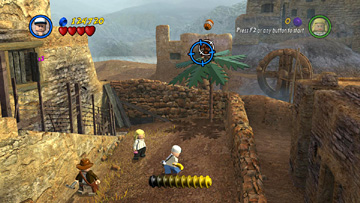
Use Short Round to repair the motor on the left. Switch to Indy and use his whip to pull the orange ring on the water wheel. This activates the wheel and starts the water flowing through the irrigation channel, causing flowers and a banana tree to grow nearby. Smash the flowers for studs. Then pick up the banana and throw it to the monkey perched in the next tree. The monkey will throw down the sacred stone (1/3) it's holding. (Just like aiming with a weapon, if you target the monkey with the banana and the reticule is red, you're either too close or too far away. Adjust your position and try again.)
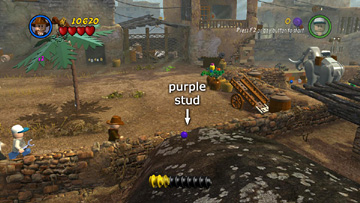
If you're going for "True Adventurer" be sure to get the studs hidden behind the low wall in the foreground near the monkey. One of them is a valuable purple stud. Then carry the sacred stone back to the shrine near the Village Elder and put it in its proper place.
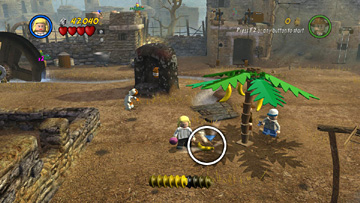
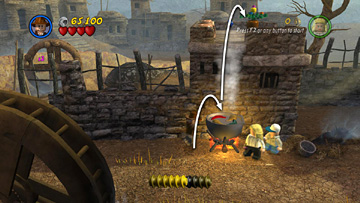
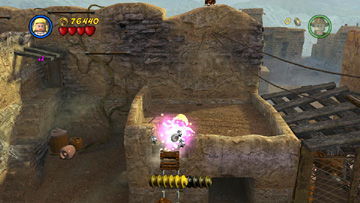
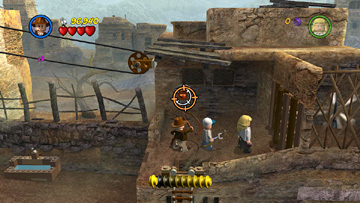
Have Willie grab another banana from the same spot where you found the first. Then switch to Indy and head for the alley next to the building in the back left corner of the village. Grab the burning torch from the sconce and use it to light the cooking fire under the kettle just to the left. After gathering all the studs that pour out of the boiling kettle, jump into the steam rising from it and float up onto the roof.
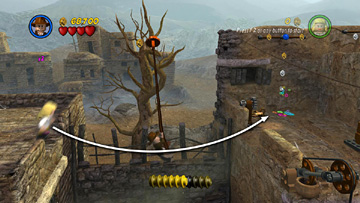
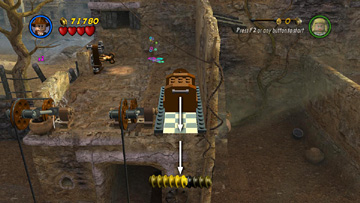
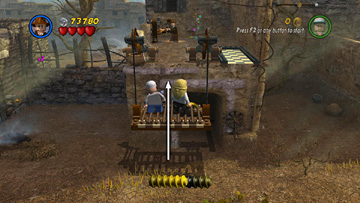
Use the orange ring in the tree to whip swing across to the next roof on the right. Push the brown box along the checkerboard tiles and off the edge. Switch to Willie or Short Round and use the broken bits to build a lift platform. Switch back to Indy and turn the mechanism to raise the lift. If you're playing co-op, have the player controlling Willie step onto the lift first. If you're playing solo, Willie and Short Round should get on automatically to ride up.
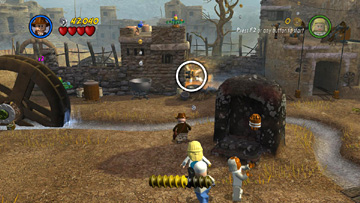
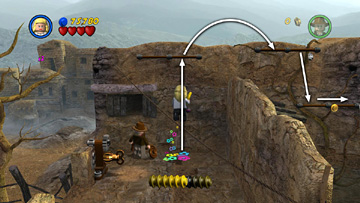
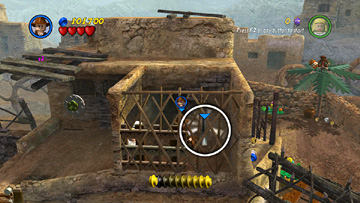
Switch to Willie and jump to grab the handrail above the swirling flower icon near the back wall. Climb and jump along the handrails to the next roof on the right. Throw the banana to the second monkey perched on the high wall, and he'll throw down another sacred stone (2/3).
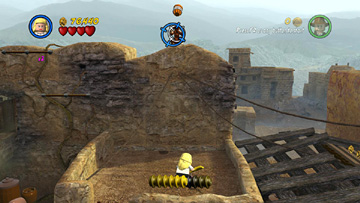
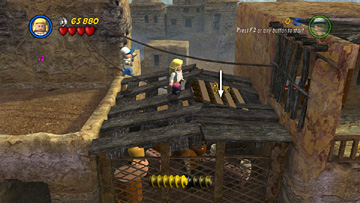
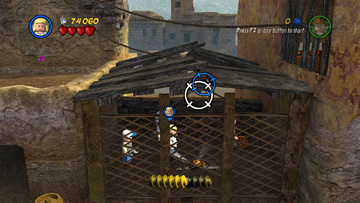
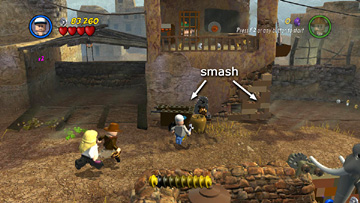
Punch the ladder attached to the edge of the roof to extend it so the other characters can climb up. Then move onto the wooden roof to the right and fall through the rickety LEGO planks into the shed below. Smash the various boxes and trunks for studs. Then grab the sword and use it to cut the cable holding the shed door closed. Before moving out, pick up the golden key lying on the floor. Then return the sacred stone to the shrine where it belongs.
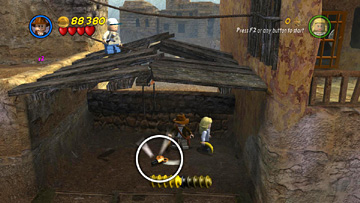
Pick up another banana from the ground under the tree. Return to the building to the right of the shed and smash the clay jar in front of the mechanism, as well as the corner wall made of LEGO bricks. This releases a bunch of studs. Gather them up and then use the leftover bits to build a watering trough. (This isn't necessary, but it gets the bits out of the way and gives you a few extra studs.)
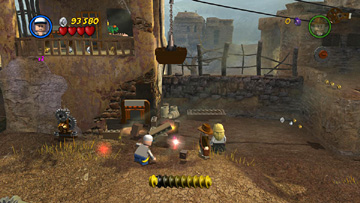
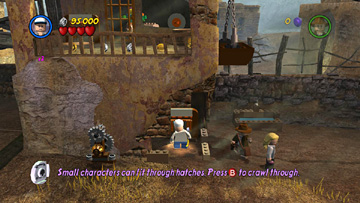
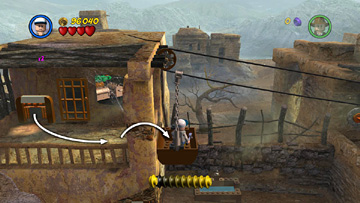
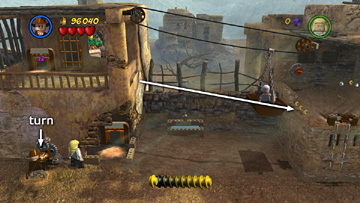
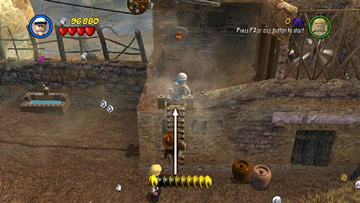
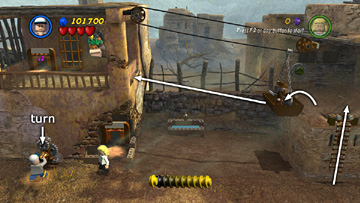
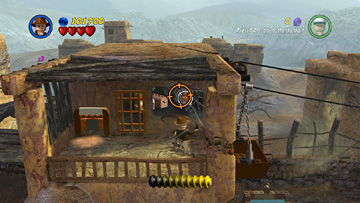
Switch to Short Round and crawl through the hatch to emerge on the balcony above. Jump into the bucket dangling from the cable that runs from this building to the next. Switch back to Indy or Willie, insert the golden key into the mechanism and turn it to move the bucket along the cable to the right. If you're playing alone, Short Round will automatically jump out of the bucket into the next building. Switch back to him and punch the ladder to extend it for the others.
Have Indy climb up and whip the orange ring to open the door on the right. Go inside, smash the door so you can get into the back room, where you'll find various breakable items. Then take the shovel leaning against the wall.
This next bit is optional, but if you want all the available studs, switch to Short Round or Willie and return to the mechanism with the key. Turn it to move the bucket over to the building on the right. If you're playing co-op, have the player controlling Indiana Jones climb up and jump into the bucket. If you're playing solo, Indy should do this automatically. Then release the mechanism and let the bucket move back to the left with Indy still inside. Switch to Indy and use his whip to pull the orange ring in the back room. This opens the door so you can enter and break up the storage trunks for studs.
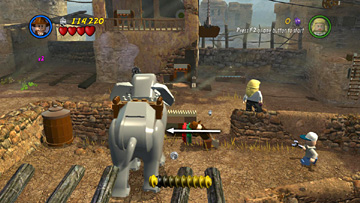
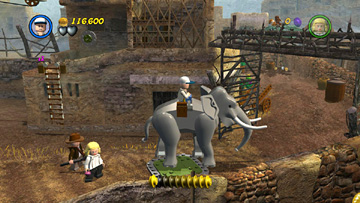
Now for the third and final sacred stone: Hop over the gate into the elephant pen. Use the shovel you found earlier to dig up the sparkling patch of earth. Use the red and green bits to build a handle. Push the green side of the handle to open the pen. Hop onto the elephant and ride to the right. Smash the LEGO boulders concealing the large, orange button and walk the elephant onto it to open the gate just ahead.
At the end of the alley there's a third monkey sitting in a tree. Toss a banana to him and he'll throw down the last sacred stone (3/3). (If you forgot to pick up a banana earlier, you'll find one under the same tree where you got the others.) Return to the shrine near the Village Elder and put the third stone in its place to end the level. ![]()
| < < < Story Level 1 | Story Level 3 > > > |
