Crystal Skull Part 2 – Bonus Level 4: Temple Tussle
True Adventurer: 28,000 studs
Bonus Level Characters: Indiana Jones, Mutt
Unlocks: Nothing
LEVEL ENTRANCE: In order to enter this bonus level you'll need the Cemetery Warrior (see Characters). When you have him, return to the coastal road on the right side of the hub map. The level entrance is on the path running along the left side of the road. Have the Warrior throw a spear into each of the round brackets flanking the doorway. Then hang on each spear to open the door. (The Bonus Level and Hub Map pages have more info.)
Another Concrete Bunker with Lava
(Click any of the screenshots below to enlarge.)
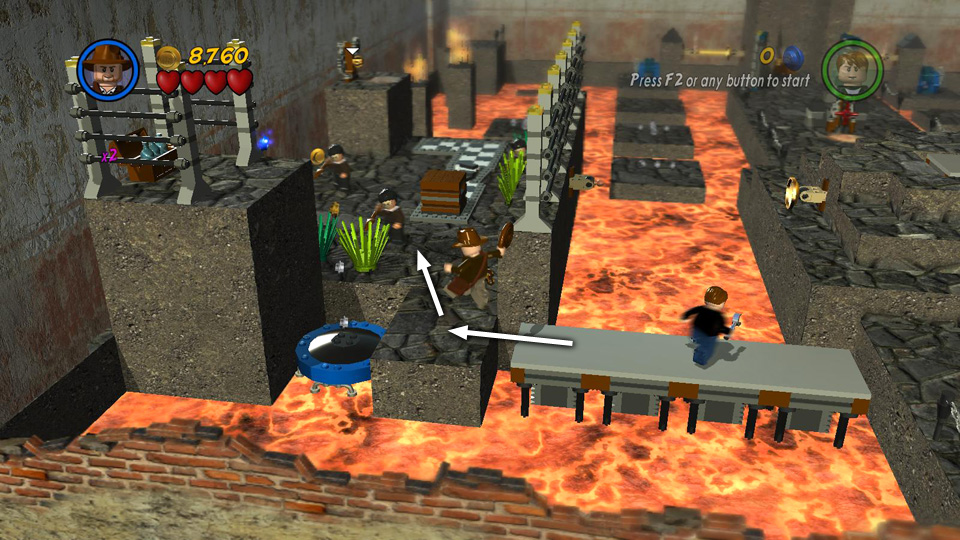
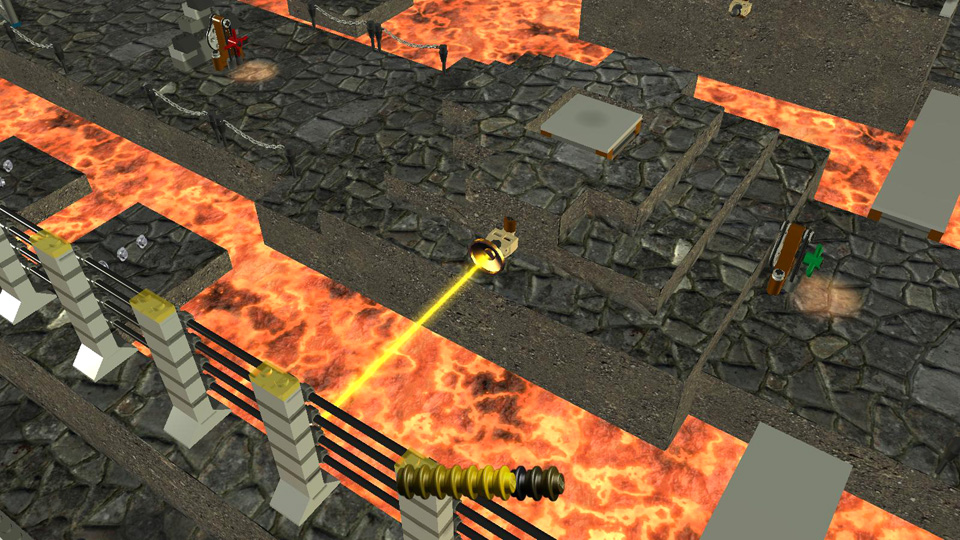
A huge lava pool covers almost the entire floor of this room. So be careful as you maneuver around. The Artifact is floating right above the starting area, but you can't reach it yet. Move forward along the ledge and fight the 4 cemetery warriors. Then turn the crank to lower the level of the lava, exposing a number of little stone islands.
Have Mutt hop across the islands and repair the 2 generators to the left and right of the barred alcove. Doing so activates 2 laser beams and opens the doors. Go in and take a gold key from the chest.
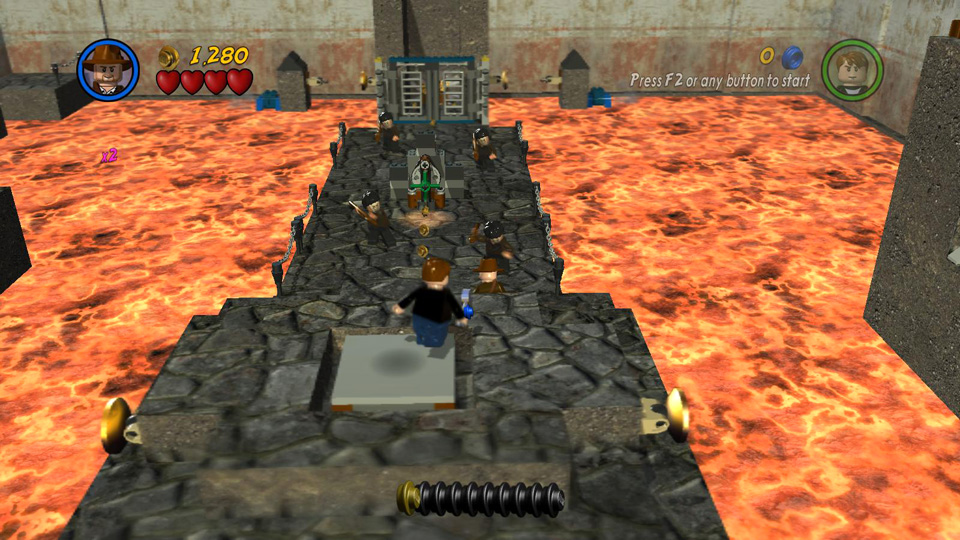 Move forward along the ledge and fight 4 cemetery warriors. |
 Turn the crank to lower the lava, revealing several small islands. |
|
 Have Mutt jump across and repair the 2 blue engines. |
 This opens the bars so you can get a golden key. |
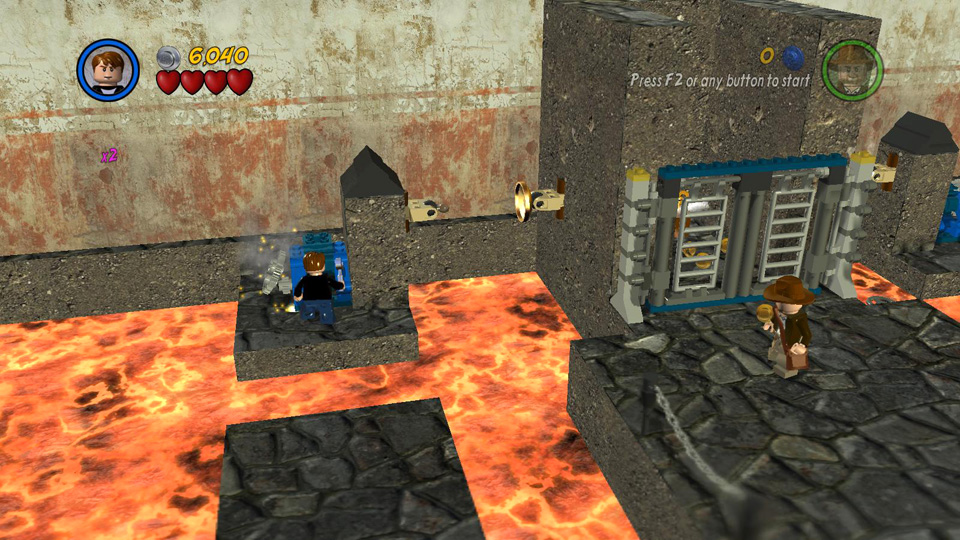
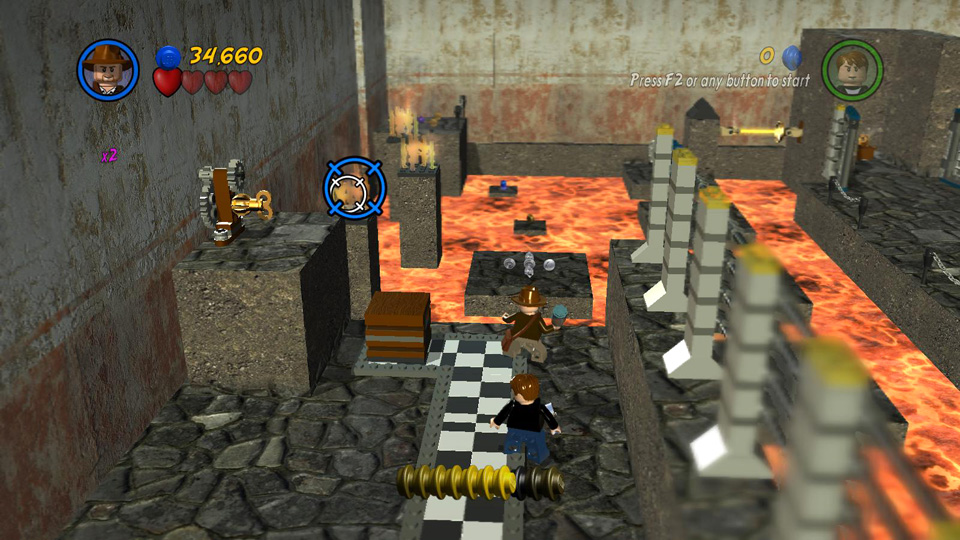
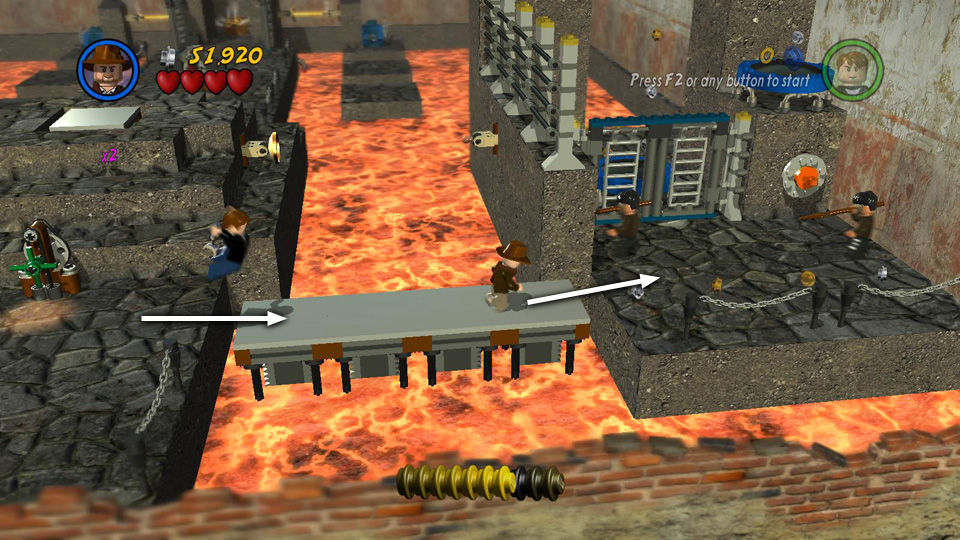
Return to the front of this ledge where you started. Turn the crank there to raise 2 long platforms just to the left and right. It doesn't matter which way you go first, but let's jump across to the left for now. Deal with the 3 cemetery warriors on the ledge. Then smash the plants and gather studs, including a purple stud hidden behind the wall on the left.
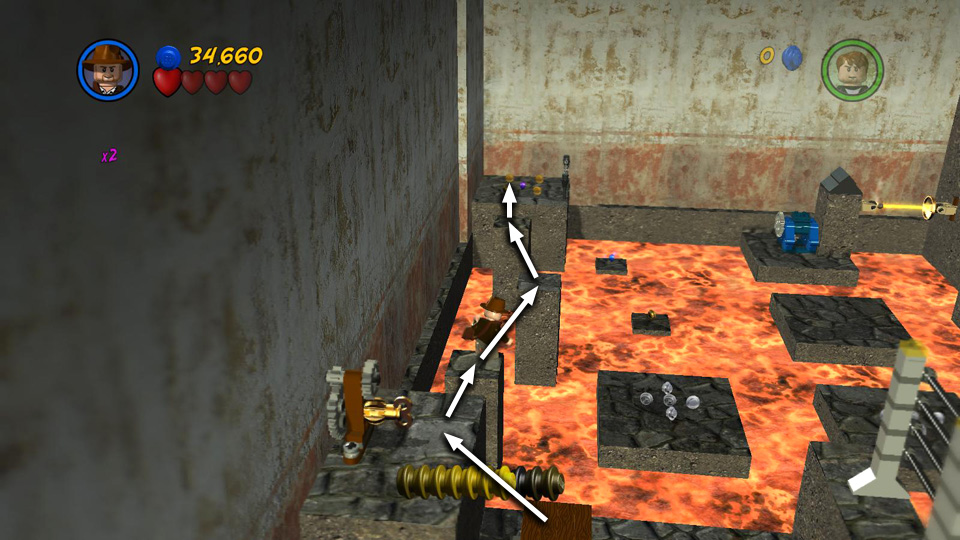
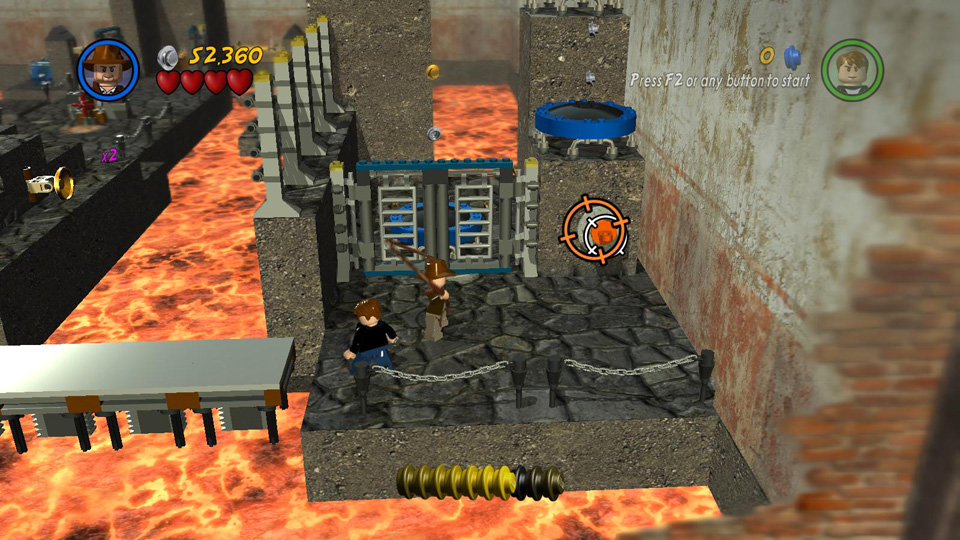
Use the loose tiles to rebuild the checkerboard floor. Then push the brown box all the way to the end. Use it to climb onto the ledge on the left, insert the key into the mechanism and turn it to turn on a laser beam directed at one of the mirrors on the ledge where you started.
 Return to the start and turn the crank to raise platforms on each side. |
 Jump across to the left and fight more warriors. |
|
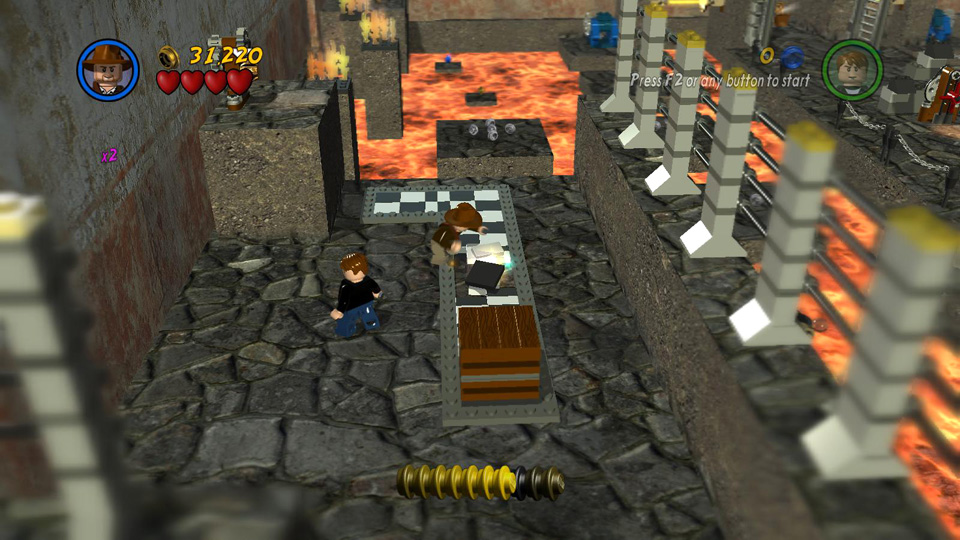 Rebuild the checkerboard tile floor. |
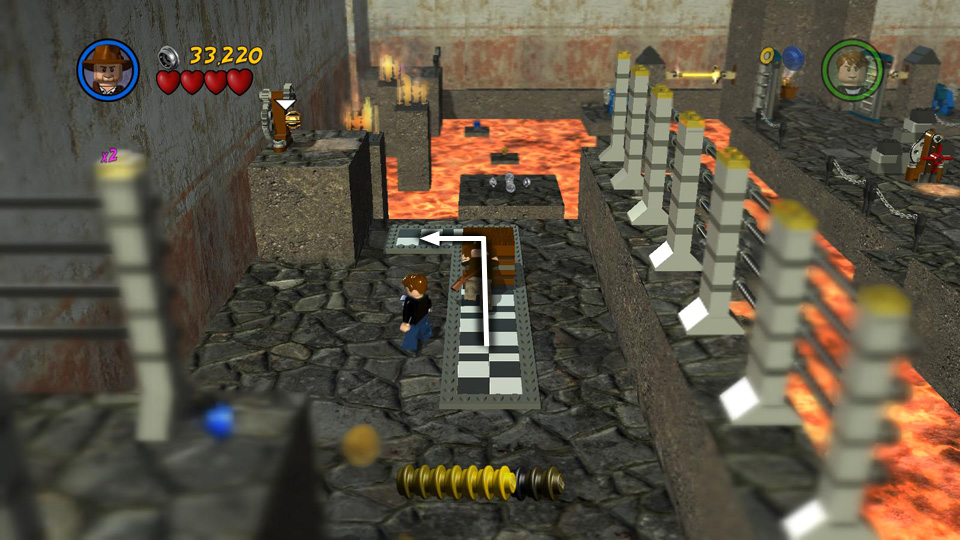 Push the box against the ledge. |
|
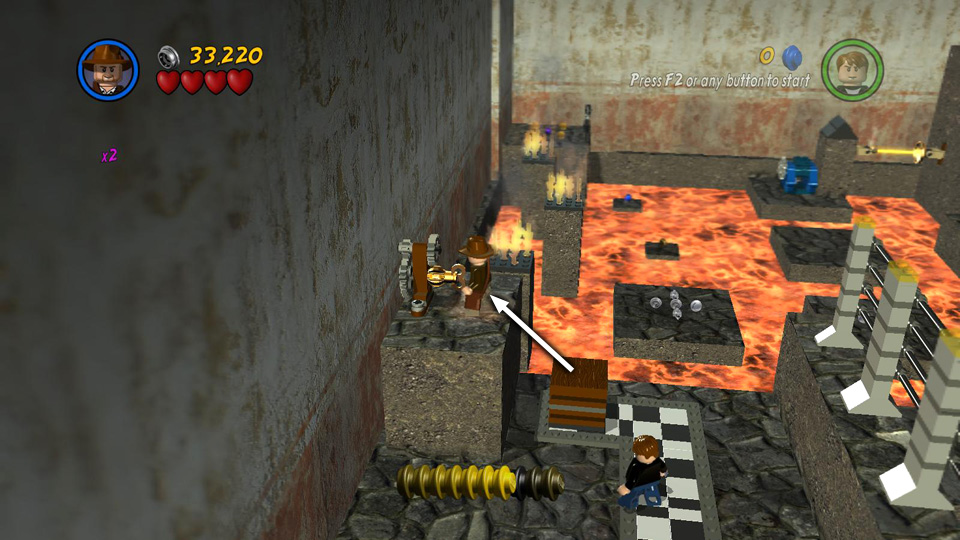 Climb up and use the gold key to turn the mechanism. |
 This activates one of the 2 laser beams that will allow you to reach the Artifact. |
If you just want to complete the level as quickly as possible, you can skip this next part, jump back to the start and head for the right side of the room (and skip the next paragraph).
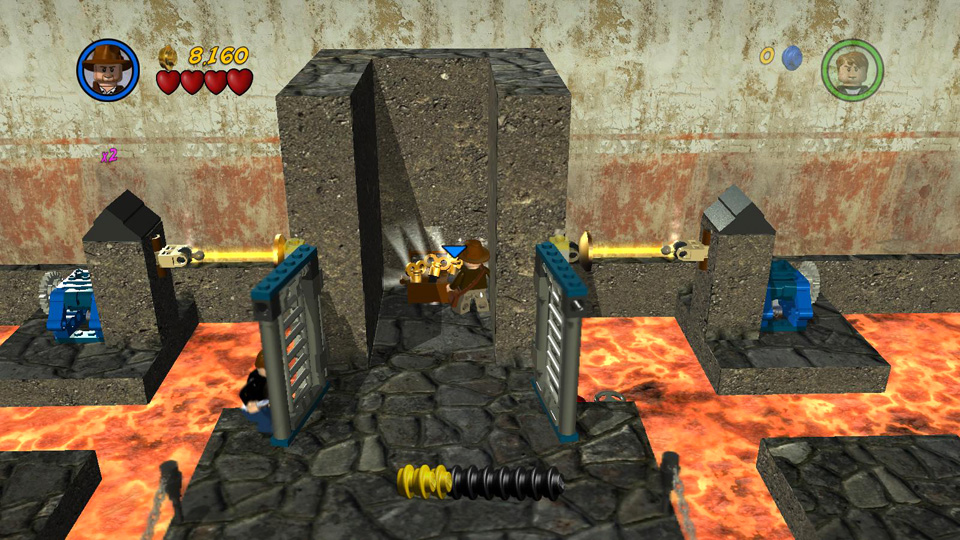
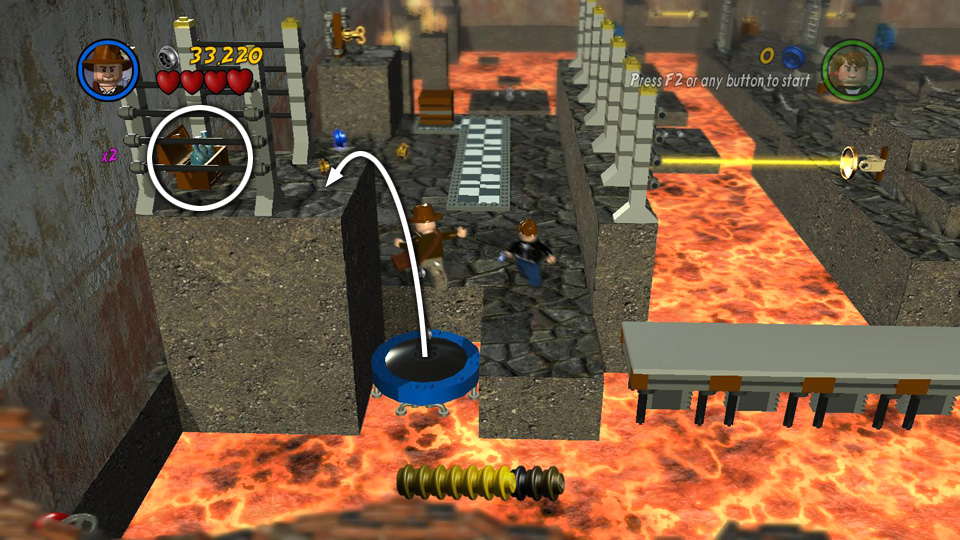
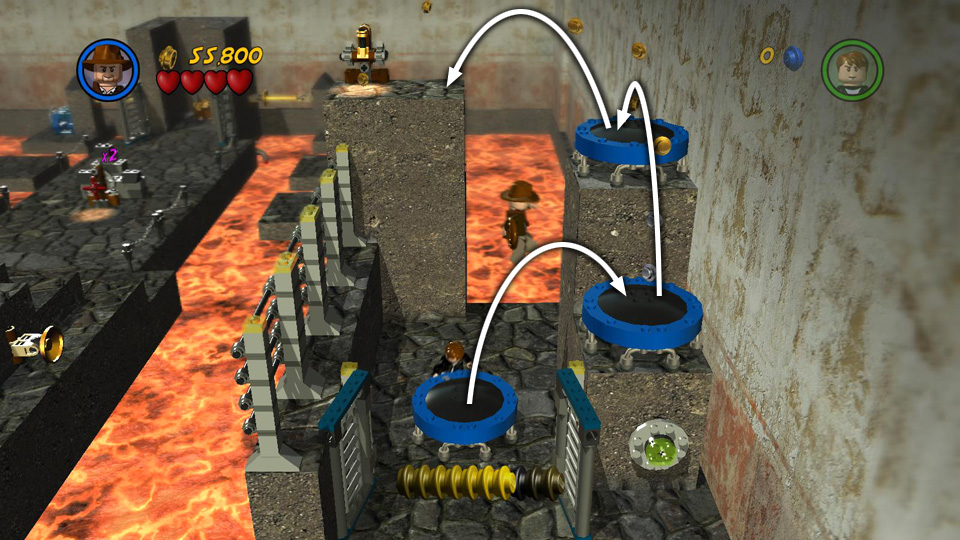
Otherwise, to collect some more valuable studs, move to the front of this ledge and use the trampoline to bounce up onto the ledge on the left. Grab a bottle of water, hop down and head toward the back of the ledge where the brown box is. Throw the water bottle at the flames on top of one of the 3 pillars in the background. Repeat this twice more to extinguish the other 2 fires. Then climb onto the ledge with the mechanism and hop across the pillars to the ledge in the back left corner, where you'll find a purple stud plus a few others.
Jump back to the nearest pillar and then jump down onto the small island in the lava on the right. If you didn't pick up the studs on all the little islands earlier, now is a good time to do that. Then return to the center ledge and move toward the crank in the foreground.
 Use the trampoline to reach the ledge with the water bottles. |
 Throw a bottle at each of the flaming pillars to extinguish the fire. |
|
 Hop across the pillars to the ledge with the studs in the background. |
 Jump down to the islands to gather more studs. Then return to the center ledge. |
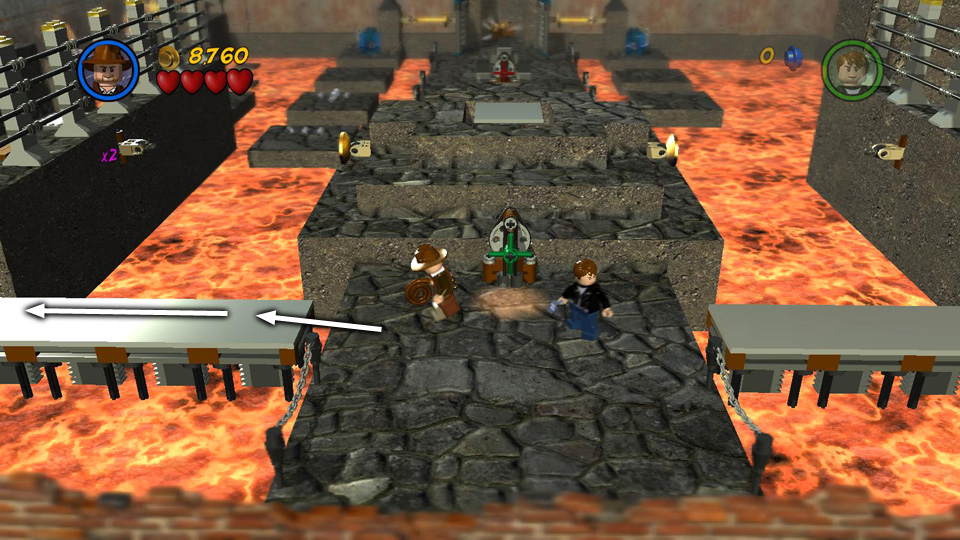
Now jump across the long platform to the ledge on the far right. Fight 2 more warriors there. Then use Indy's whip to pull the orange ring and open the gate. Use the 3 trampolines to bounce up and over to the high pillar on the left. (When jumping from the third trampoline to the pillar, it helps to maneuver your character to the edge of the trampoline before bouncing across the gap.) Pull the lever on top of the pillar to activate a second laser beam.
With both lasers on, the platform beneath the Artifact begins to move. Jump back down to the central ledge, which is below on the left, and ride the platform up to the Artifact. ![]()
 Jump across to the area on the right and fight 2 more warriors. |
 Whip the orange ring to open the gate. |
|
 Bounce on the trampolines to reach the pillar with the lever. |
 Pull the lever to turn on another laser beam. Jump down on the left. |
|
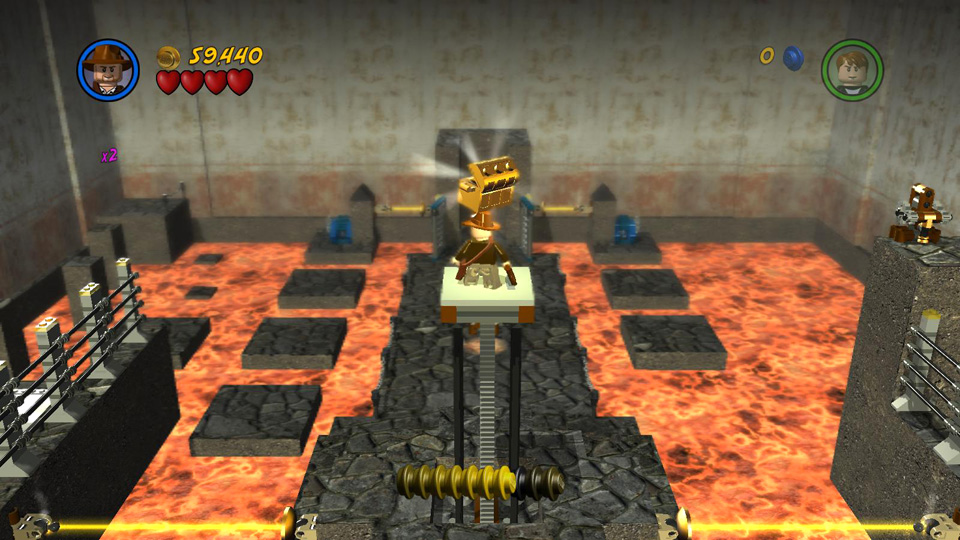 Ride the moving platform up to the Artifact. |
||
| < < < Bonus Level 3 | Return to the Hub | Bonus Level 5 > > > |