
Last Crusade – Race Screenshots
An introduction for each race appears on the main Last Crusade Hub Map page. These screenshots show each course in detail.
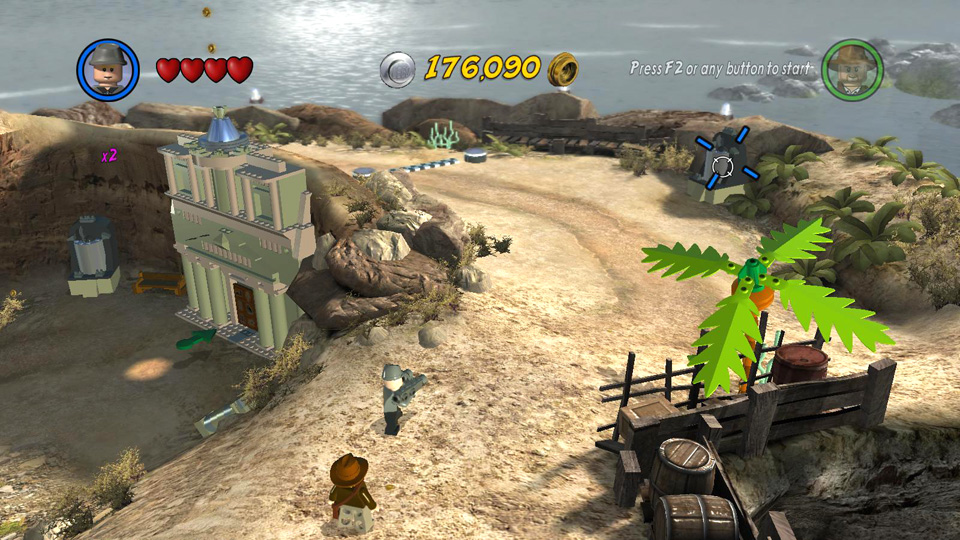
Speedboat Race
(Click any of the screenshots below to enlarge.)
 Smash the potted shrub near the 2nd Story Level entrance. |
 Take the gold key from the plant pot. |
|
 Head out the castle gate and to the left. |
 Use the key to open the gate between the canal and the open water. |
|
 Take the green speedboat, which is anchored near the Venice Library. |
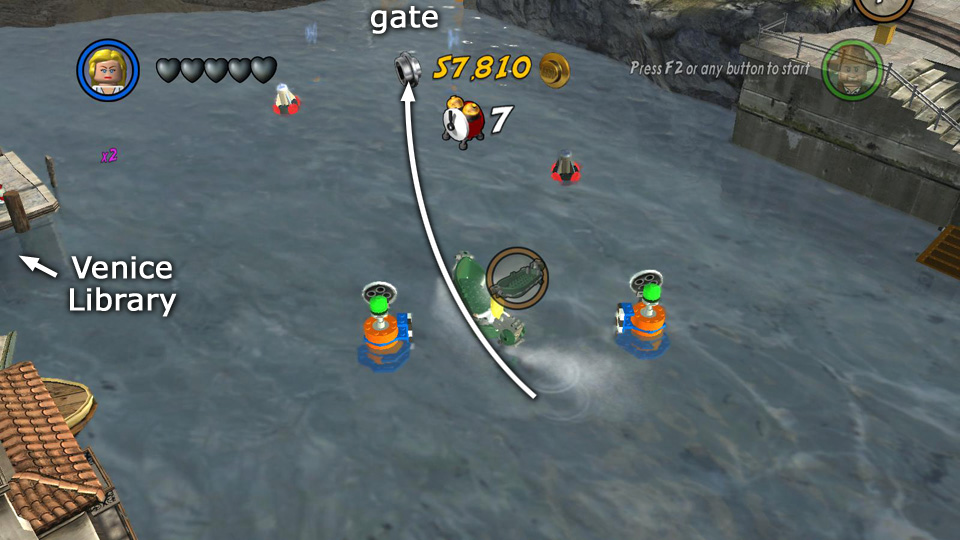 Drive through the starting gate heading toward the upper left. |
|
 Avoid the mines and continue up through the gate you opened with the key. |
 Follow the channel up through the next set of markers. |
|
 Steer around to the left between the mines, then the next set of race markers. |
 Stay to the left of the next 2 mines. Then pass between another set of markers. |
|
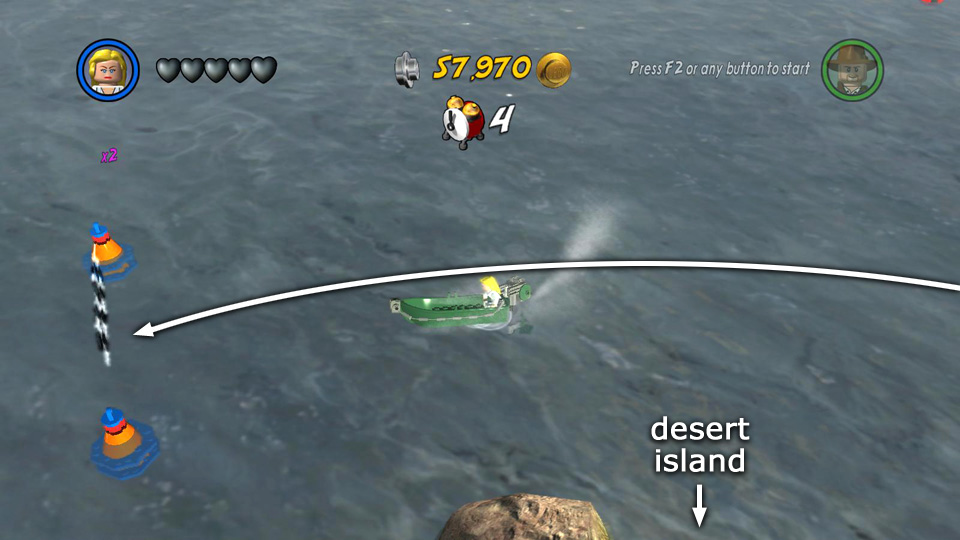
 Steer around or through the next single mine as you head for the markers beyond. |
 Curve down and left to the next set of markers. |
|
 The finish line is just a little farther to the left. |
||
[Return to Main Hub Page | Jump to Top of This Page]
Bike 'n' Side Race
(Click any of the screenshots below to enlarge.)
 Cross the starting line moving down and to the right. |
 Cross the road and head down the embankment into the grassy area in front of the Super Bonus Level entrance. |
|
 Curve down and around to the left to clear the next set of markers. . . |
 . . . and the next, before steering back onto the road. |
|
 Continue left along the road toward Venice. |
 The finish line is just beyond the end of the road. |
[Return to Main Hub Page | Jump to Top of This Page]
Biplane Race
(Click any of the screenshots below to enlarge.)
 Use the Bazooka Trooper to blow up the silver bars near the fountain in Venice. |
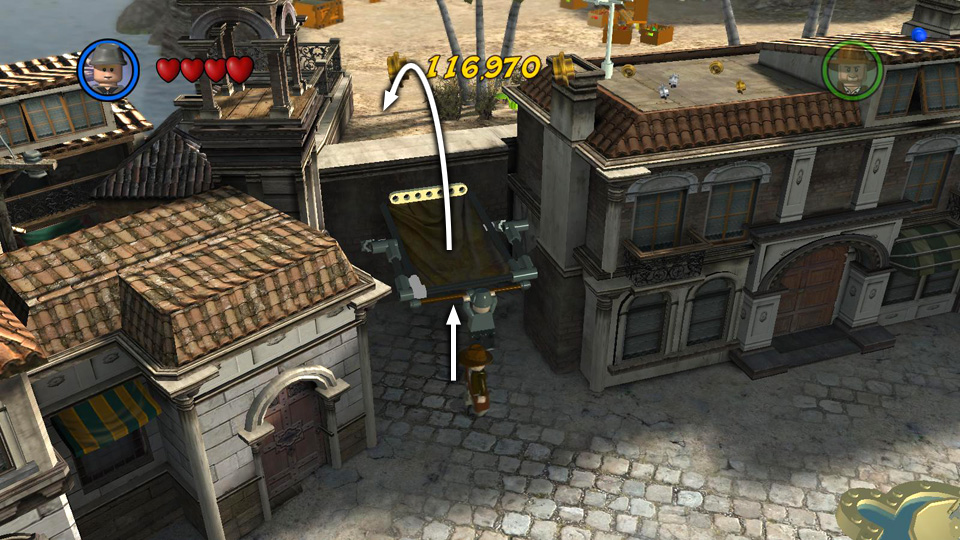 Jump onto the awning then over the wall to the desert island. |
|
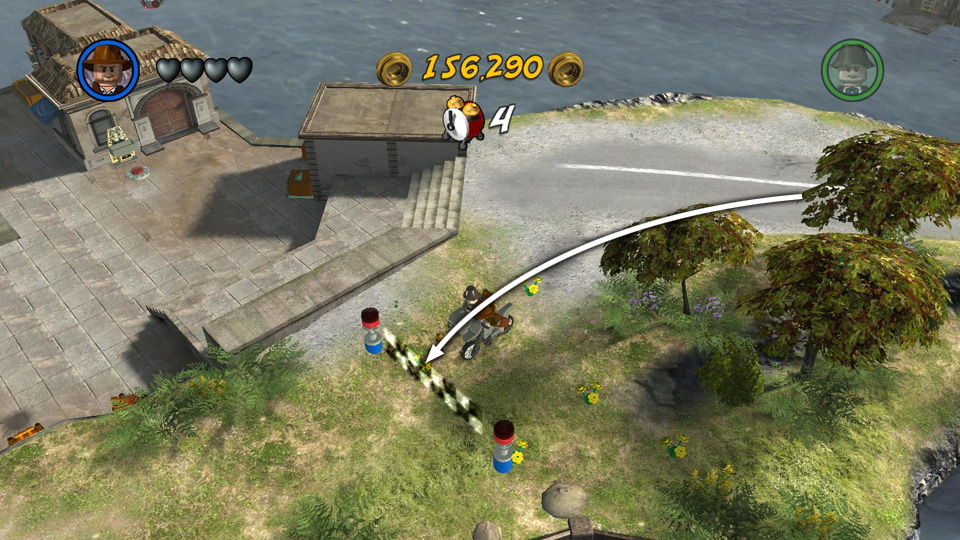
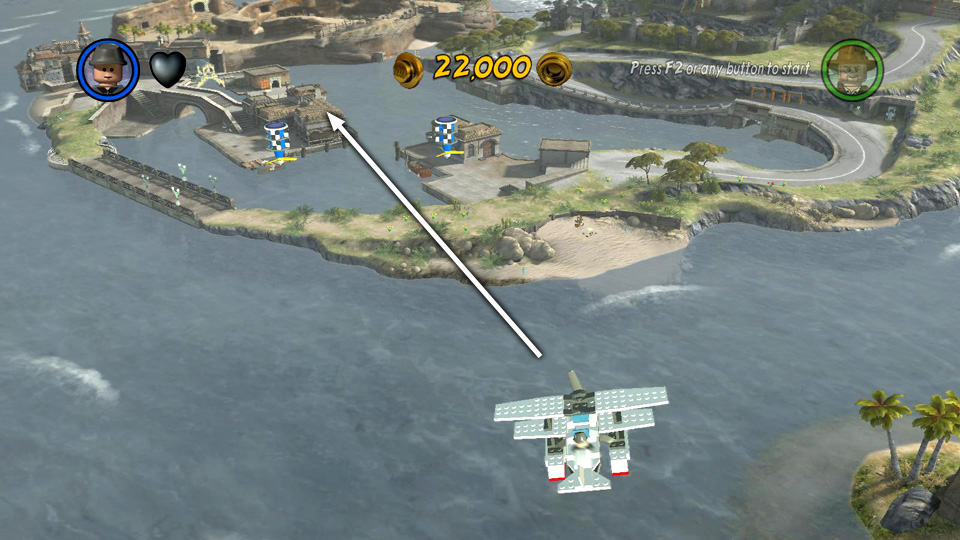
 Head past the 4th Level entrance to find the biplane anchored near the beach. |
 Use the bazooka to free the red-and-white platform. |
|
 Turn the crank several times to lower the platform and unlock the plane. |
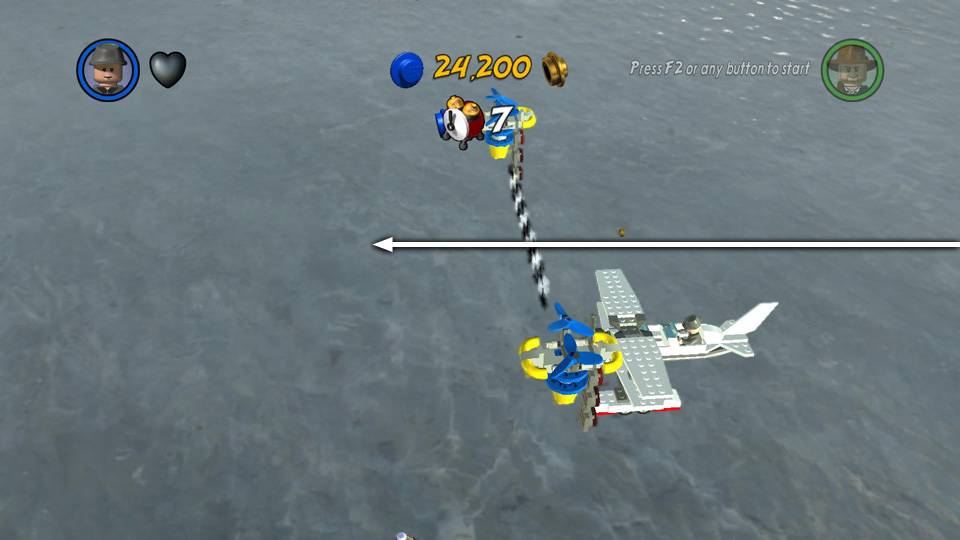
 The starting line for the race is here near the bottom of the map. Fly between the markers heading up toward Venice. |
|
 Continue straight on between the next set of markers. Then turn right. |
 Now head toward the castle to clear the next set of markers. |
|
 Then turn a bit to the left to clear the next. |
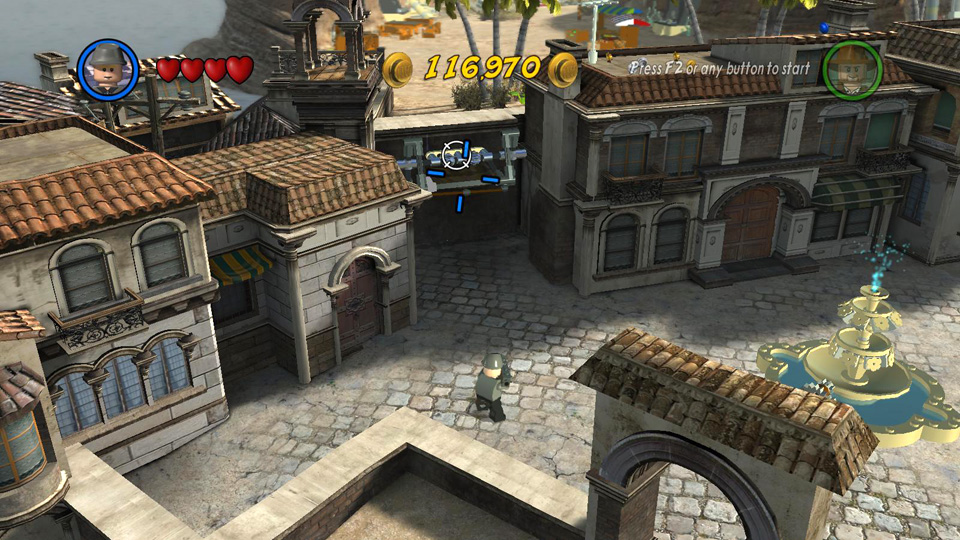
 Continue more or less straight ahead to the next gate, which is just to the left of the castle. |
|
 Curve around to the left, following the floating studs and you'll soon see the next set of markers. |
 Continue forward and left to the next gate. As you pass through it, turn left. |
|
 The finish line is just a short distance ahead. |
||
[Return to Main Hub Page | Jump to Top of This Page]
Target Practice
(Click any of the screenshots below to enlarge.)
 Use the Bazooka Trooper to blow up the gate blocking the road. |
 Destroy the silver barriers as well. |
|
 To start the challenge, stand here and blow up the silver cylinder on the right. |
 This reveals a statue, raises 4 more cylinders and starts the 35-second countdown. |
|
 After the cut scene, immediately turn left and shoot the next 2 cylinders, shown here. . . |
 . . . and here. |
|
 Now run up the road to the right. |
 From this spot you should be able to target the 4th and 5th cylinders, shown here. . . |
|
 . . . and here. If you don't make it in time, the statues reset and you can start again. |
||
[Return to Main Hub Page | Jump to Top of This Page]
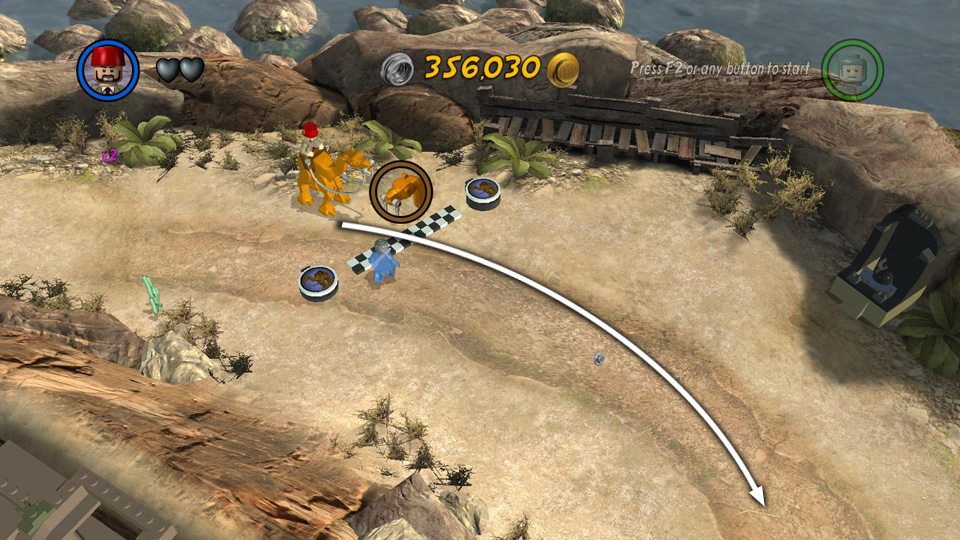
Camel Race
(Click any of the screenshots below to enlarge.)
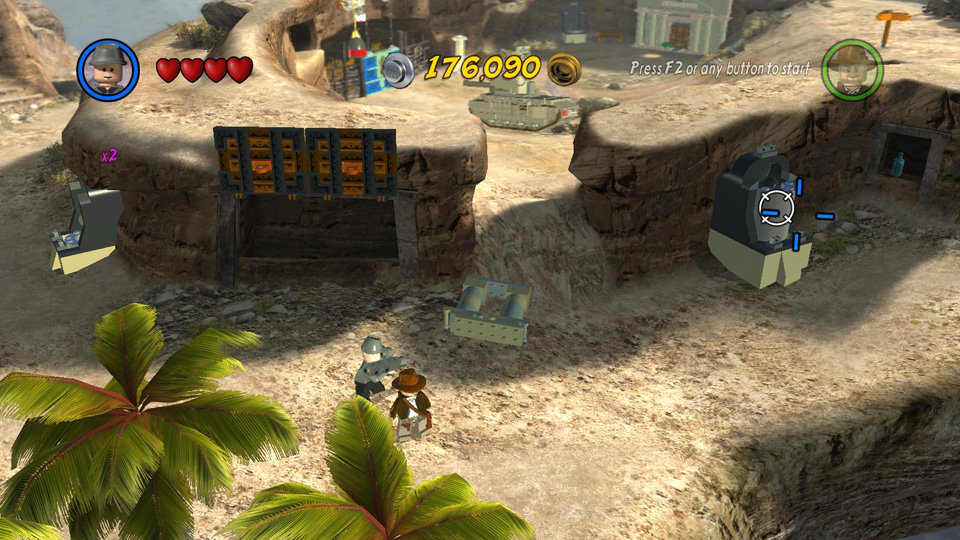
 Using the tank or the Bazooka Trooper, destroy the silver barriers along the racecourse. . . |
 . . . and open the blue and silver gate on the lower right side of the island. |
|
 Use a sword to cut the cable and open the camel pen. |
 Hop on a camel and ride up the hill to the starting line. |
|
 Cross the starting line and continue down the road that runs along the right side of the island. |
 Where the road splits, take the lower fork. |
|
 Pass through the gate and continue up and around through the next 2 sets of markers. |
 The finish line is just ahead, near the 4th Level entrance. |