Raiders of the Lost Ark – Story Level 5: Belloq Battle
True Adventurer: 25,000 studs
Characters: Indiana Jones (Army Disguise), Marion (Night Gown)
Unlocks: Colonel Dietrich, Belloq (Priest)
LEVEL ENTRANCE: After the previous Story Level, gate between the 4th level entrance and the dock is now open. Approach the downward-pointing green arrow at the edge of the dock. Smash the 2 brown crates and place the 2 LEGO parts inside on the green plate. Rebuild the winch, which will then pull Captain Katanga's ship in toward the dock. Jump onto the ship to sail to the next island on the left, where you'll find the entrance to the final Story Level. Check the Hub Maps and Story Level Intro for screenshots.
Island Canyon
(Click any of the screenshots below to enlarge.)
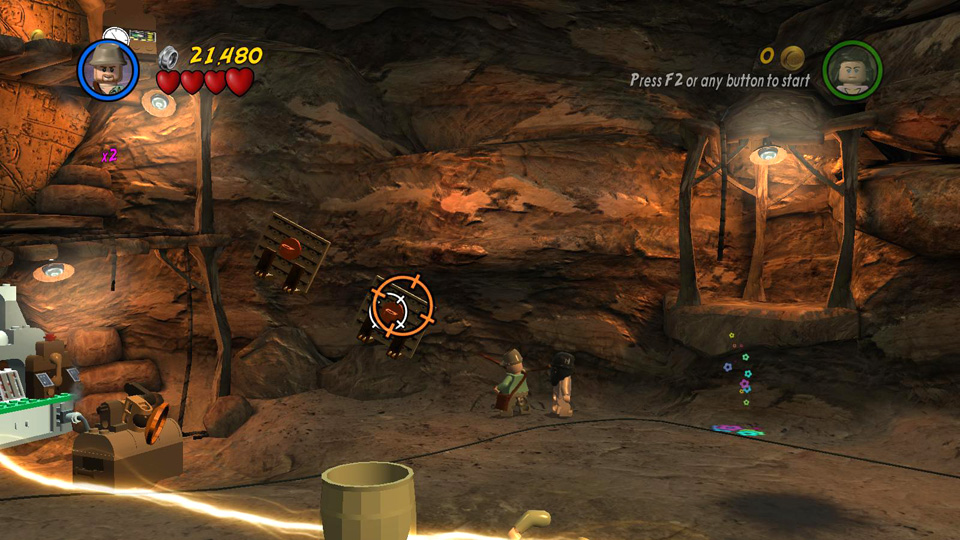
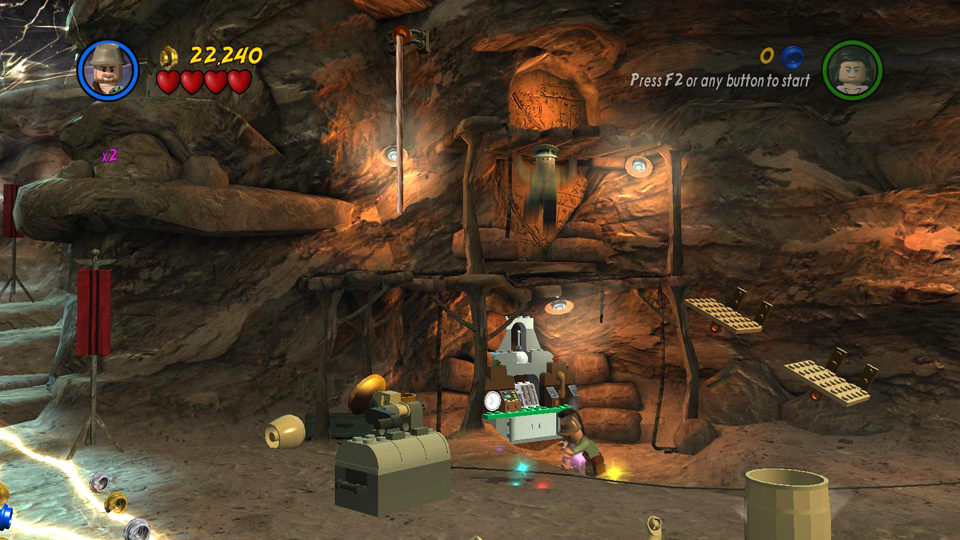
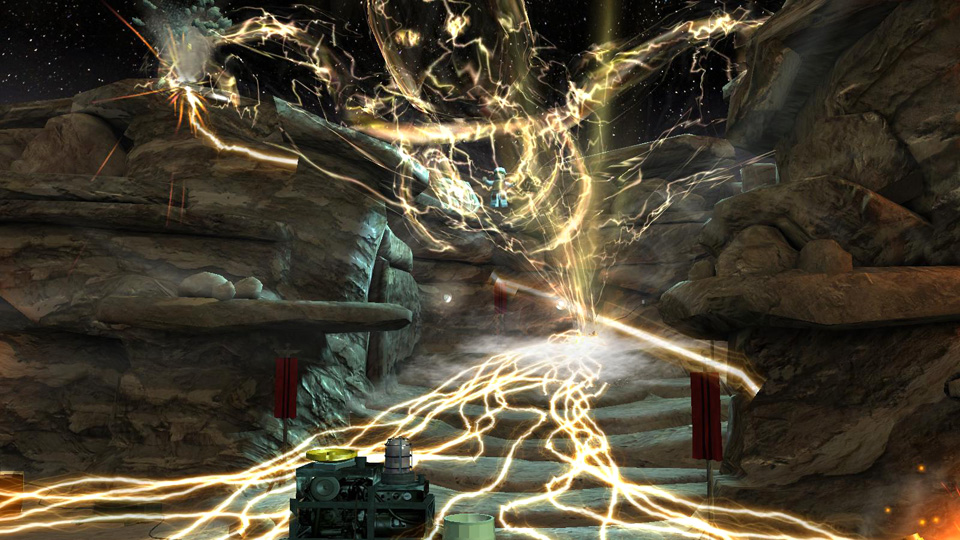
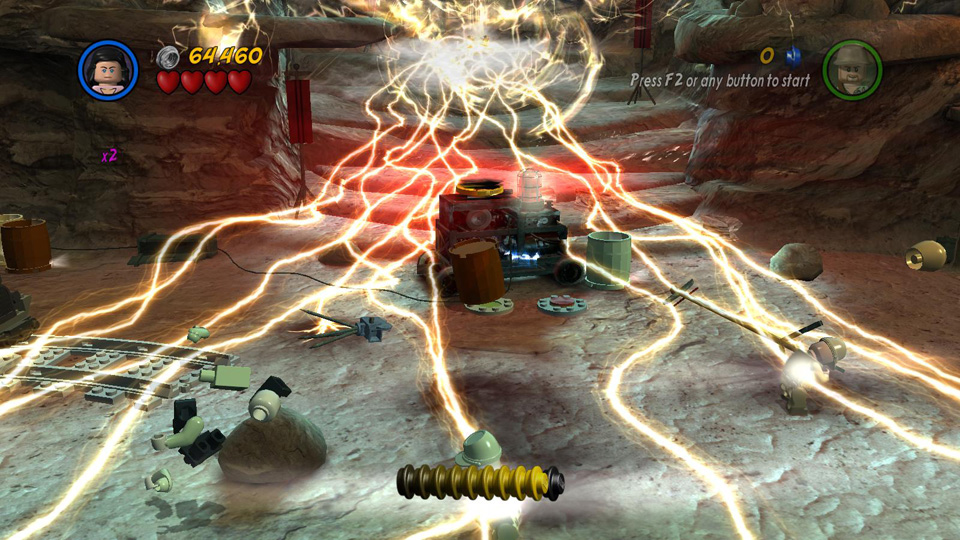
During the introductory cut scene, Belloq controls a huge monster that sends tendrils of lightning snaking out across the canyon. Approach one of the barrels sitting near the starting point and press the Use button to hop into it. Once inside the barrel, it will protect your character as you move through the lightning.
Head to the right first. Once you've moved past the area with the lightning, you can get rid of the barrel. There's no need to worry about the enemy soldiers running around here. They're too busy freaking out to bother you very much. Grab the purple stud inside the little green outhouse. Then use Marion to jump onto the ledge above the swirling flower icon to retrieve the machine part there. Carry it to the left and attach it to the green plate on the control panel under the wooden scaffolding.
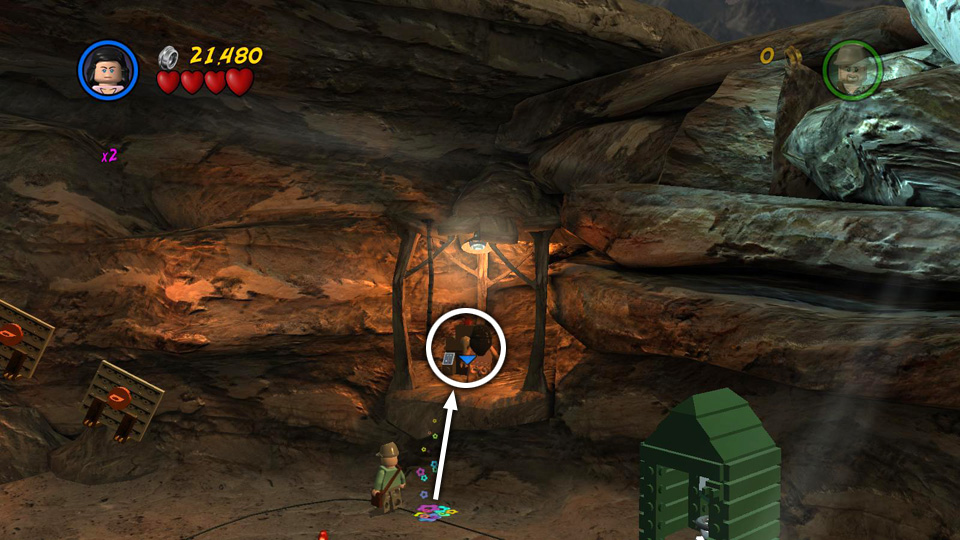
Now use Indy's whip to pull the 2 orange rings to extend 2 ledges just to the right of the control panel. Climb the ledges to the dangling rope above on the left and use it to reach the next higher ledge, where you'll find another part for the control panel. Grab it, hop down and attach the part to the green plate.
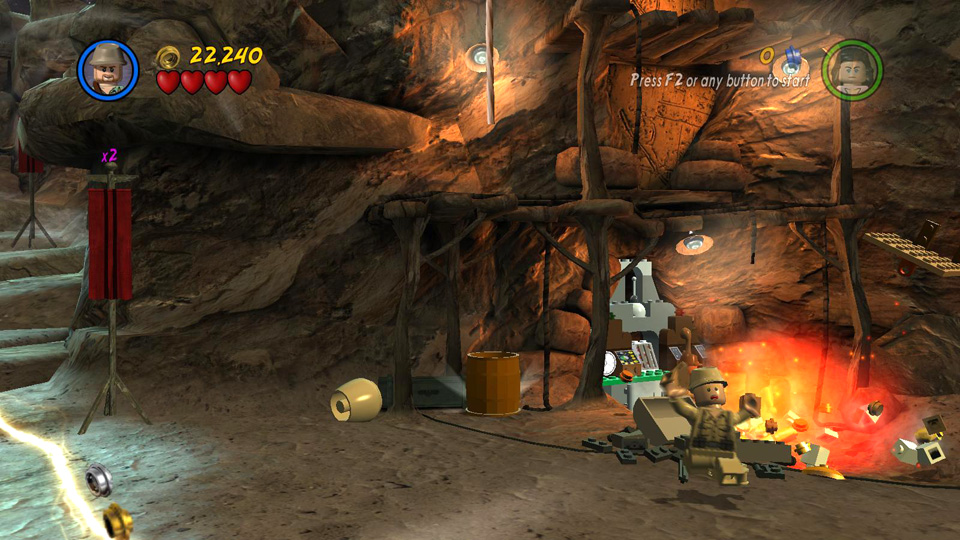
When you complete the control panel, the nearby storage trunk explodes, leaving behind a pile of LEGO pieces. Use them to build a pedestal with a mirror, which then reflects Belloq's lightning back at him, causing him to lose his grip on one of the canyon walls.
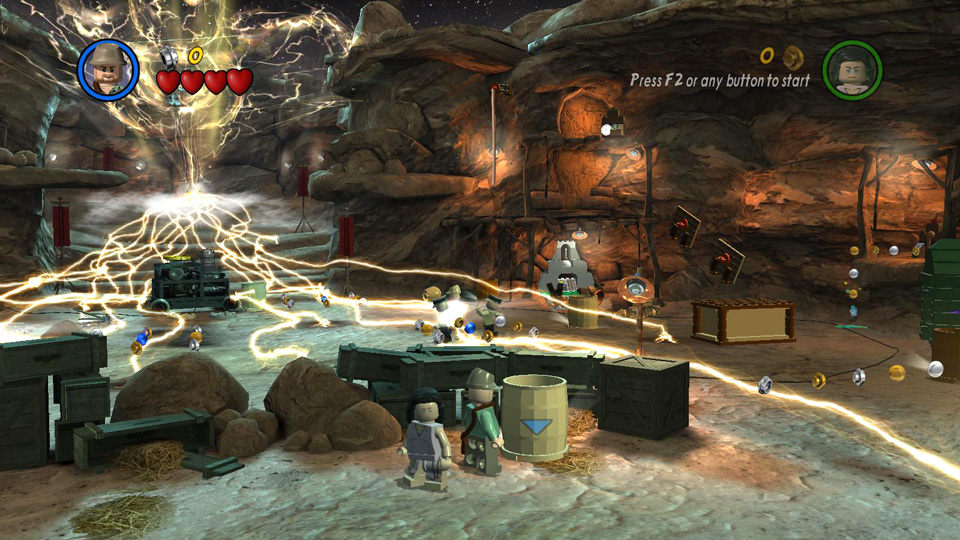 Press the Use button to jump into one of the barrels. It will protect you from lightning. |
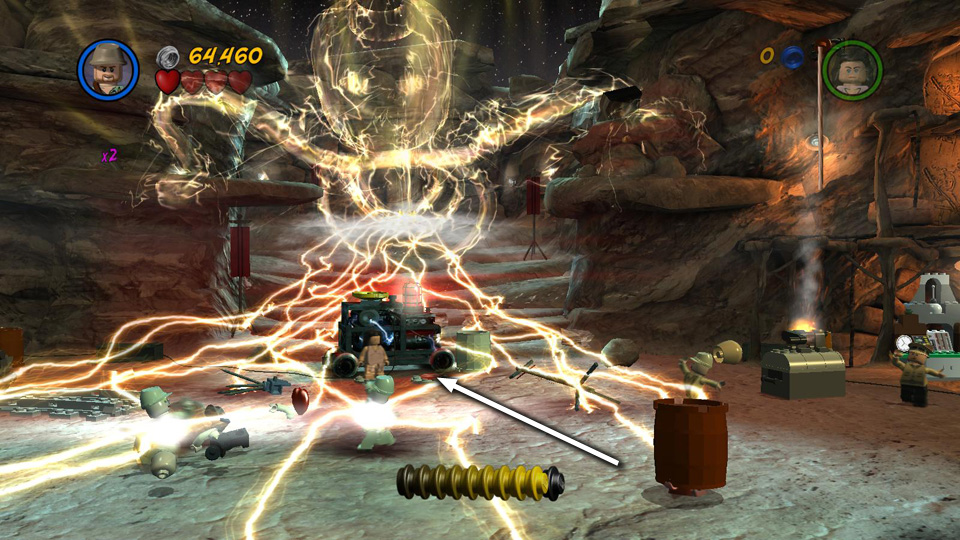
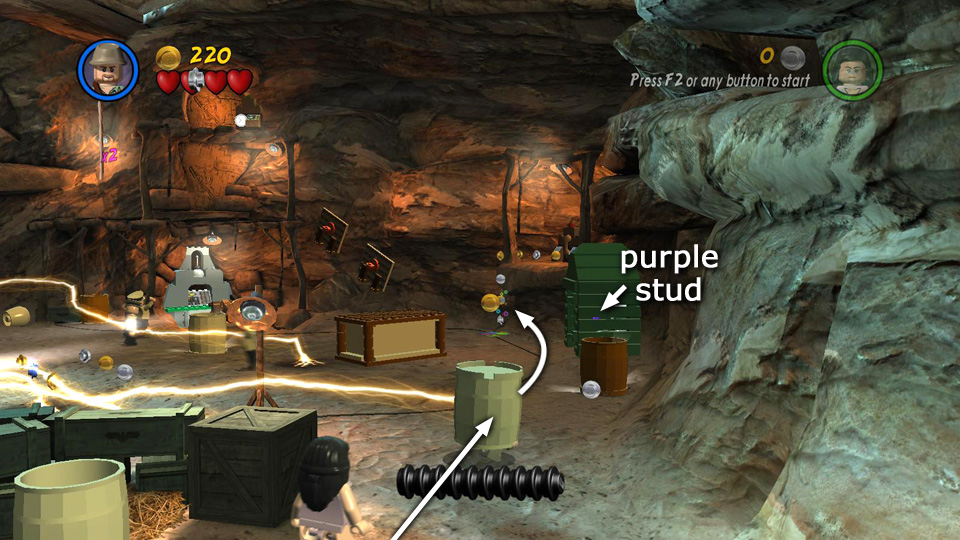 Move to the right side of the canyon. (Be sure to get the purple stud in the outhouse.) |
|
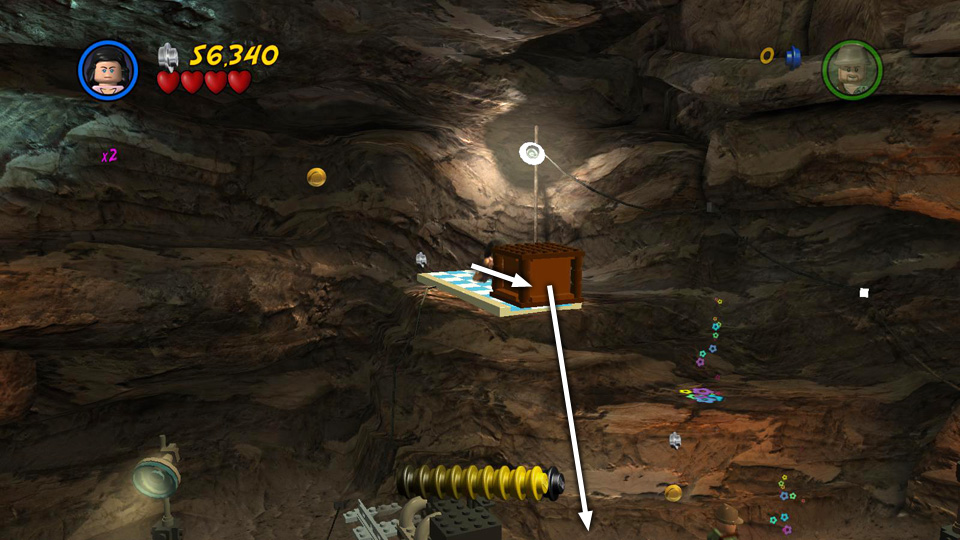
 Use Marion to high-jump onto the ledge and get the first machine part. |
 Attach the part to the control panel in the shallow pit on the left. |
|
 Use Indy's whip to yank the orange rings and extend a pair of ledges. |
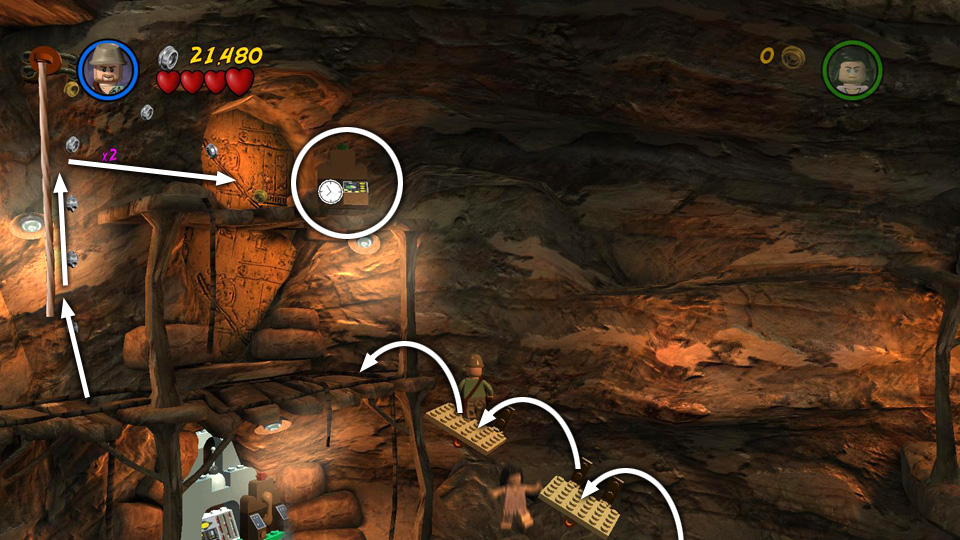 Use these ledges and the dangling rope to reach the second machine part. |
|
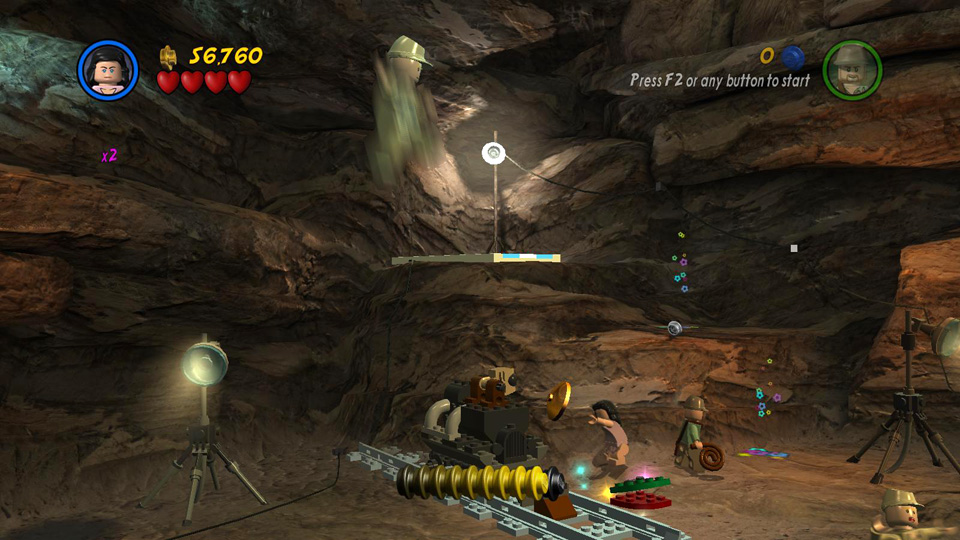
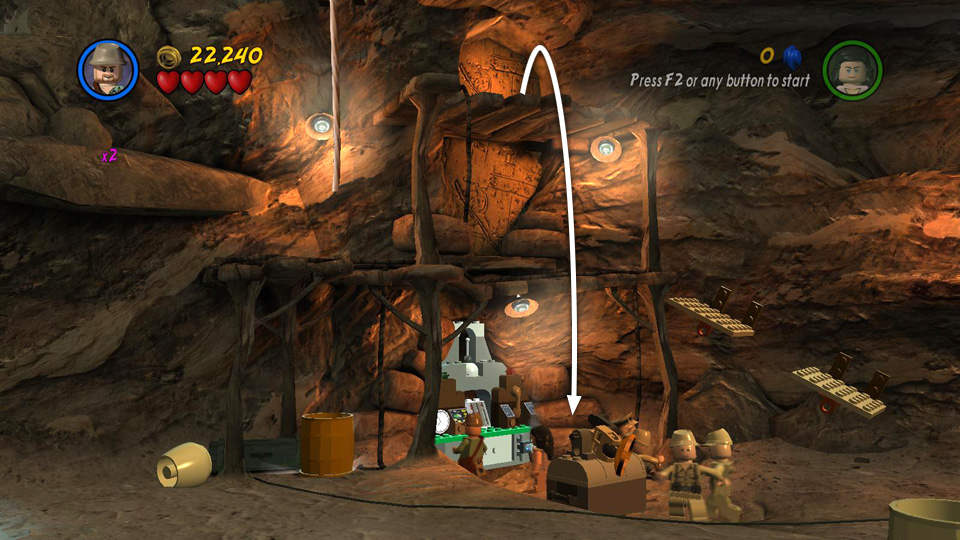 Drop down and attach the part to the control panel. |
 This causes the nearby storage trunk to explode. |
|
 Use the leftover bits to build a pedestal with a mirror. |
 The mirror reflects the lightning back at Belloq. . . |
|
 . . . causing the lightning monster to lose its grip on the canyon rim. |
||
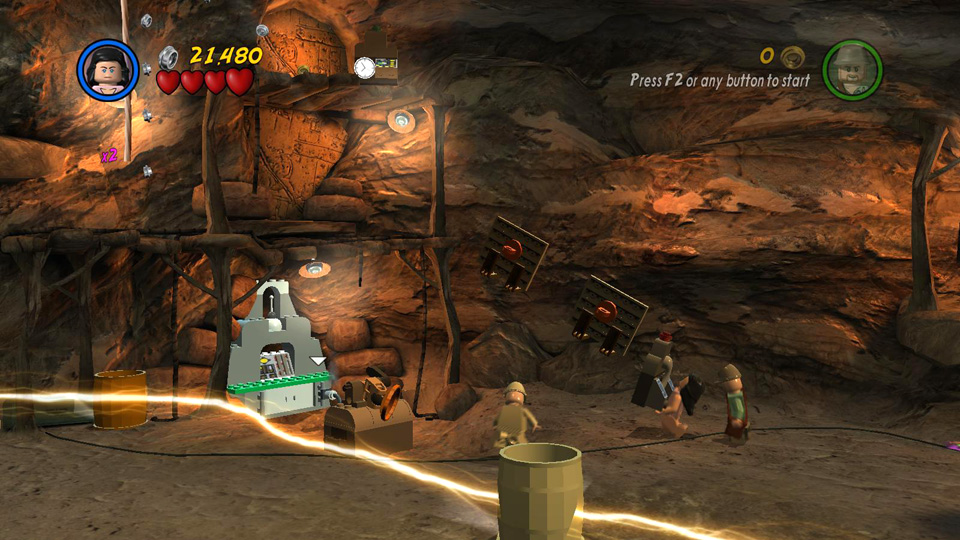
Now find another barrel, jump inside and make your way across to the left side of the canyon. Have Marion jump up the ledges with the flower icons and push the box along the checkerboard tiles so it falls off the edge and smashes. Use the leftover bits to add a mirror and handle to the engine on the train tracks. Then push the green side of the handle to move the engine to the right.
The second mirror then reflects Belloq's lightning back at him, causing him to collapse a little more. During the cut scene that shows this happening, the camera lingers on the 2 buttons near the generator in the middle of the canyon. Yep, that's where you're headed next.
 Climb into another barrel to safely cross the canyon to the left side. |
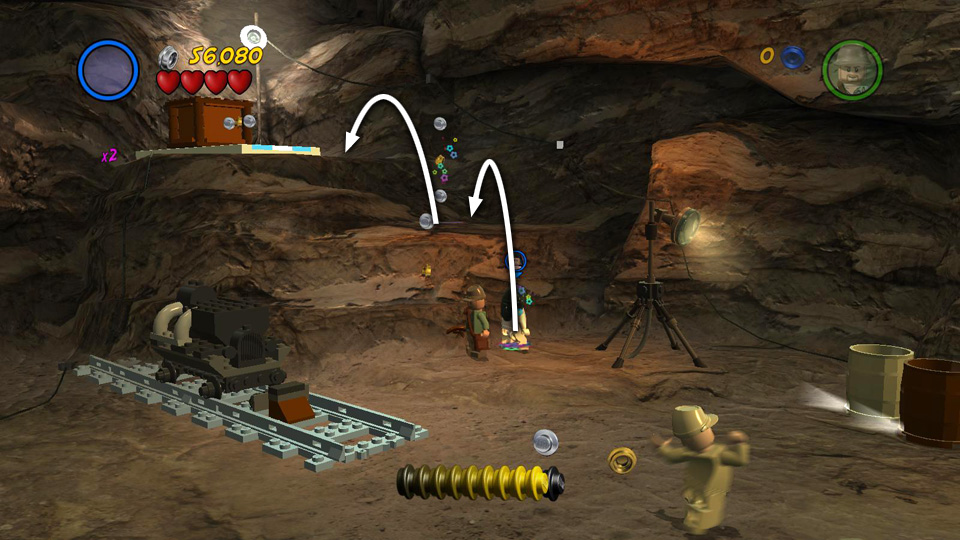 Use Marion to climb the ledges. |
|
 Push the box along the checkerboard tiles and off the edge. |
 Use the leftover bits to add a mirror and handle to the engine on wheels. |
|
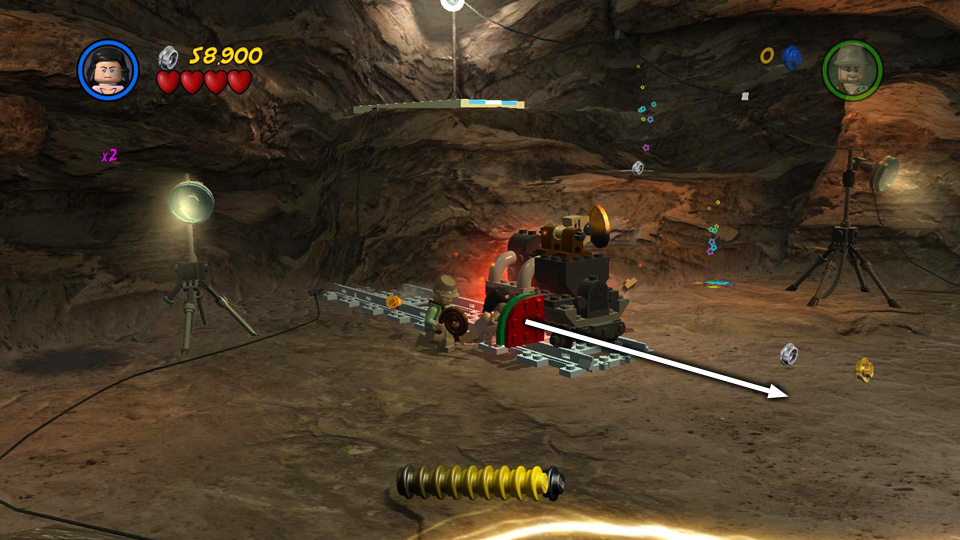 Push the handle to move the engine to the right. |
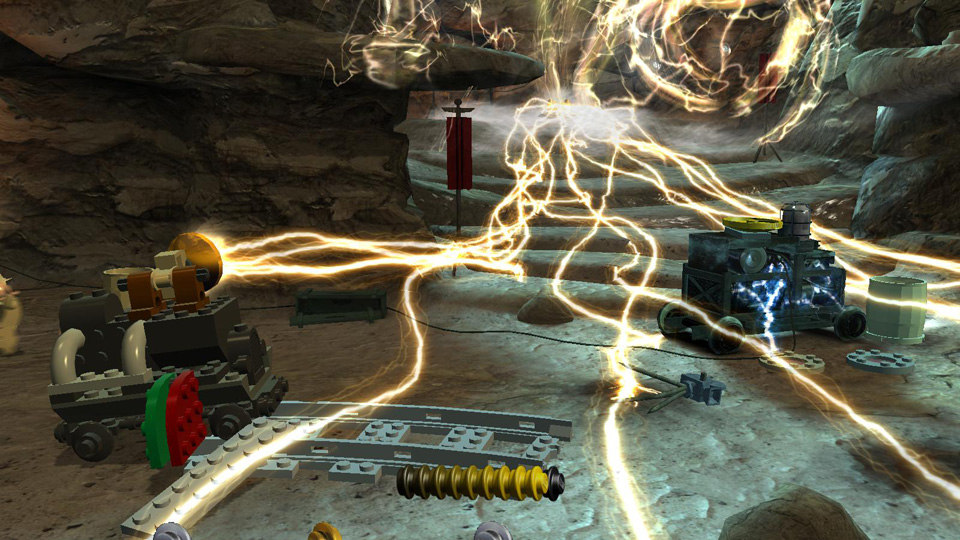 The mirror reflects the lightning back at Belloq's monster, injuring it further. |
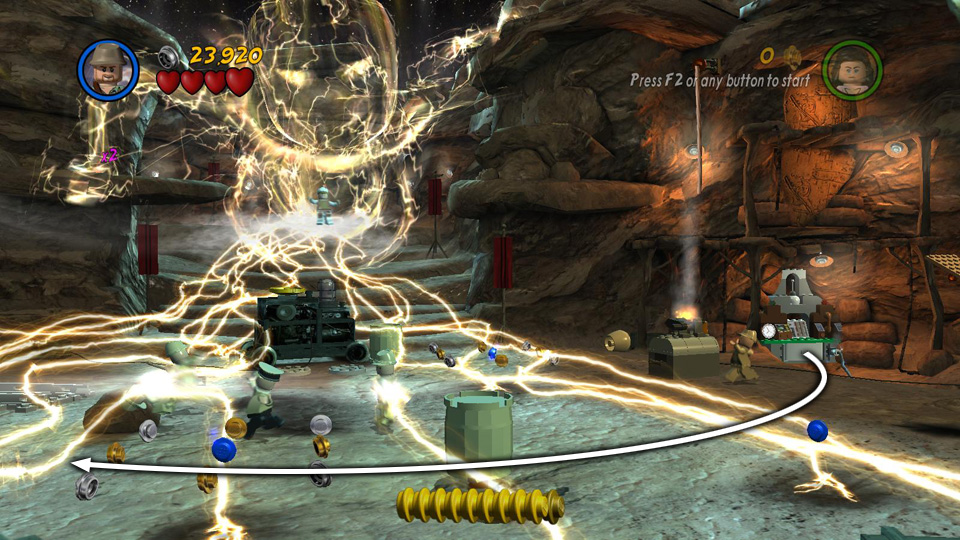
Hop inside another barrel and make your way through the swirling electricity to step on one of the 2 orange buttons. Then switch to the second character, get inside another barrel and move onto the second button. (If you're playing co-op, you can naturally do this at the same time.) When both buttons are pressed at the same time, the mirror mounted on the generator flips up, reflecting Belloq's lightning back at him a third time, defeating him for good.
Beating this level unlocks the Temple of Doom playset. Once you've opened that playset, you can dive right into the new story or return to the Raiders playset to play the Treasure and Bonus Levels. ![]()
 Use a barrel for protection to reach the red buttons behind the generator. |
 Repeat with the second character. |
|
 When both buttons are depressed, Belloq and his monster are beaten. |
||
| < < < Story Level 4 | Return to the Hub | Treasure Level 1 > > > |