Raiders of the Lost Ark – Treasure Level 2: Cairo Conundrum
True Adventurer: 24,000 studs
Character types needed: Spear, Staff of Ra
Unlocks: Nothing
LEVEL ENTRANCE: You'll need the Hovitos Tribesman and Belloq, the only characters with the spear and Staff of Ra, to play this level. (See the Characters page if you need help unlocking either of them.) Once you have these two, proceed to the marketplace entrance at the top left side of the big island—the same spot where you entered the 2nd Story Level. (Check the Hub Maps and Treasure Level Intro for screenshots.)
Outdoor Marketplace After Dark
(Click any of the screenshots below to enlarge.)
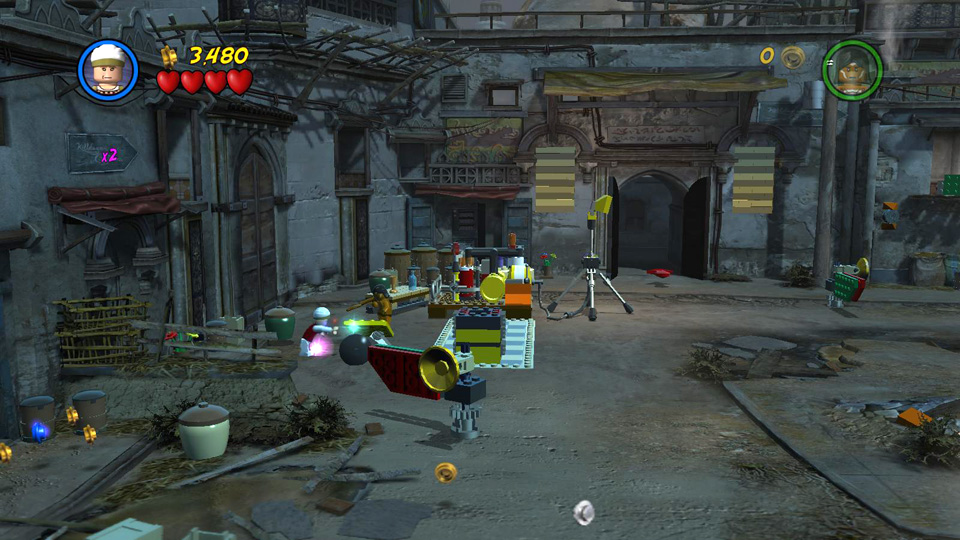
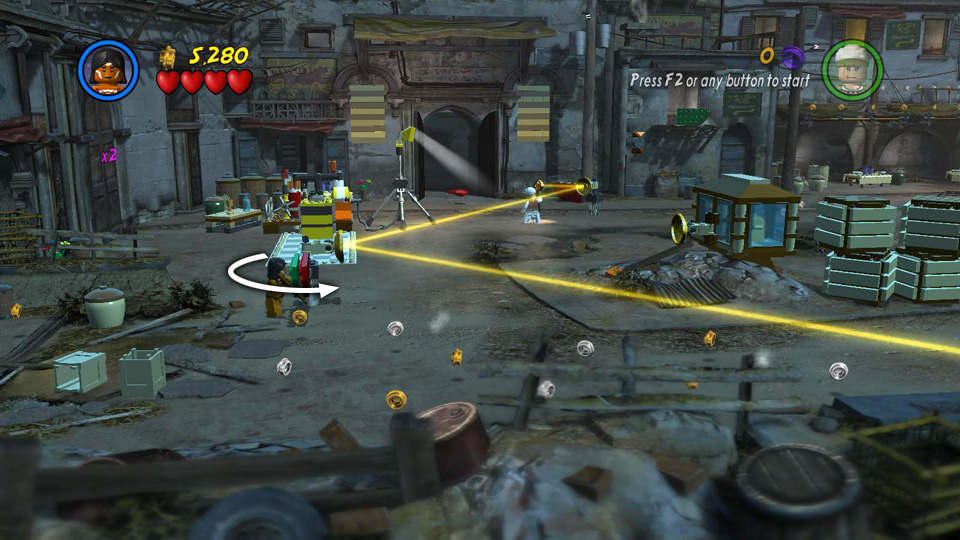
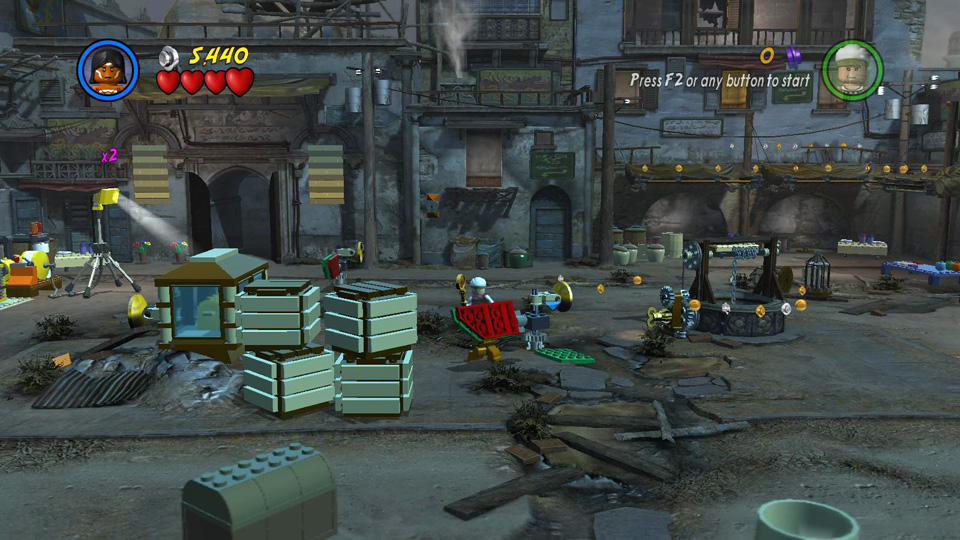
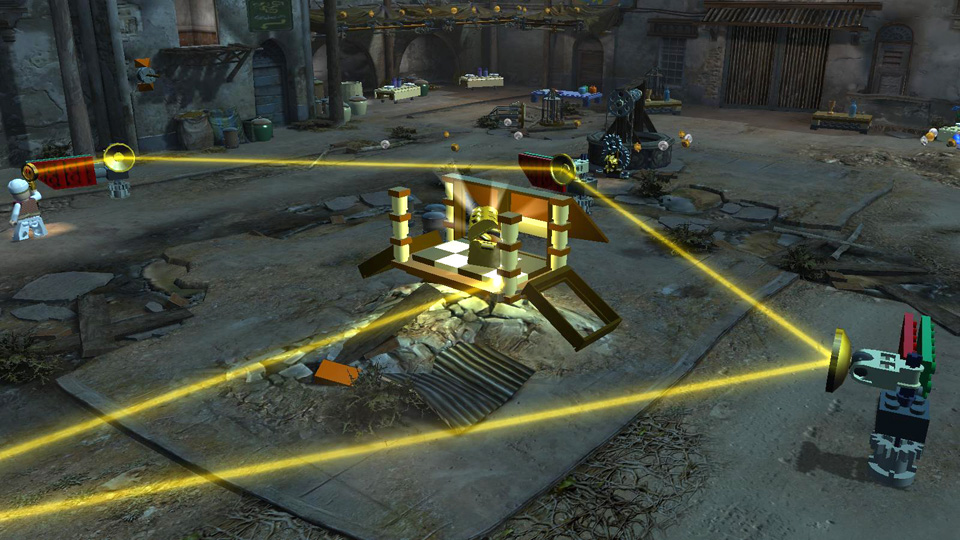
It's possible to beat this level very quickly using a shortcut: Start by smashing the trunk to the left of the strip of checkerboard tiles. Use the leftover bits to build a black-and-yellow box. (I'm not sure what this is supposed to be.) Push it along the checkerboard tiles as far as it will go. This turns on a spotlight, which shines on the ground to the right.
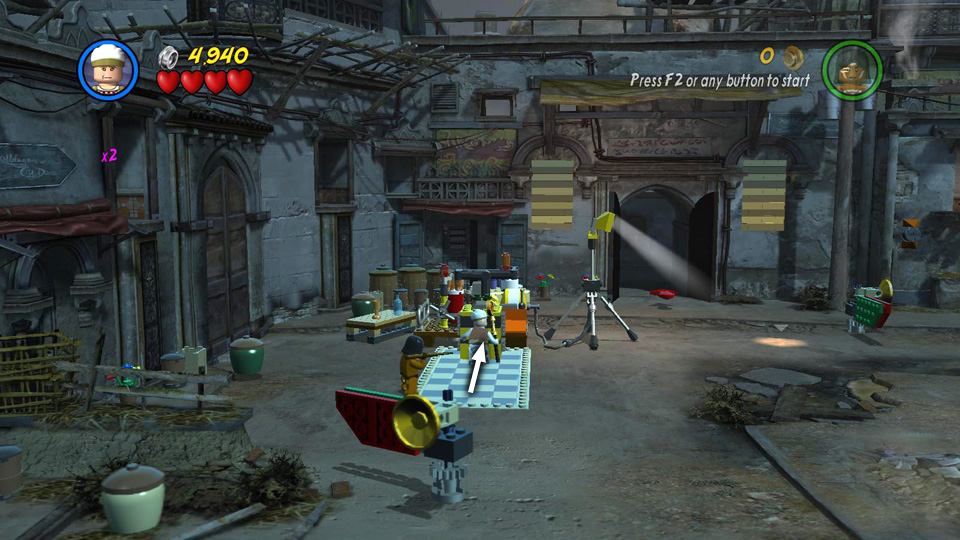
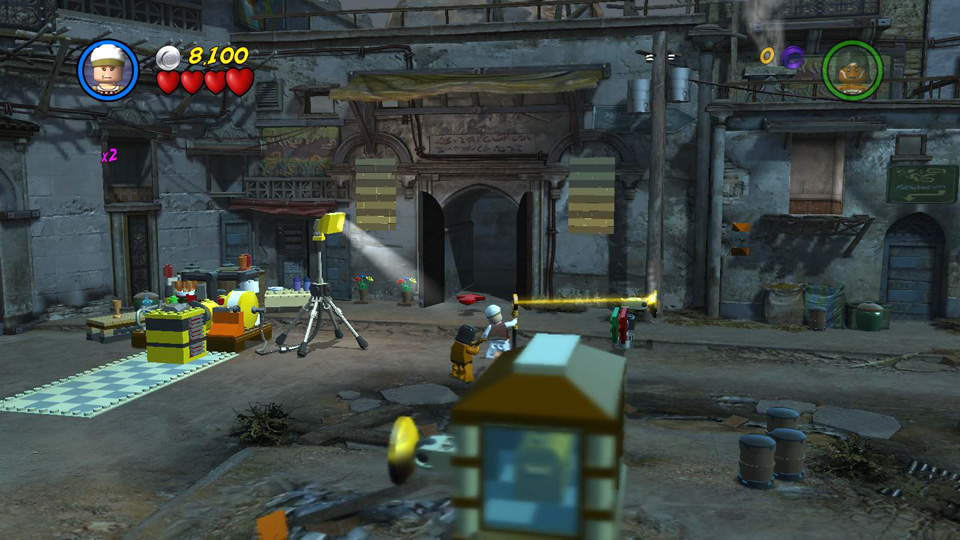
Have Belloq stand in the spotlight and use the Staff of Ra to shine a beam of light on the mirror just to the right. (The beam won't reflect off the mirror yet, since it's facing the wrong way.) Switch to the Hovitos Tribesman and have him push the green side of the nearby handle to rotate the mirror until it reflects the beam of light back to the left, toward the end of the checkerboard floor.
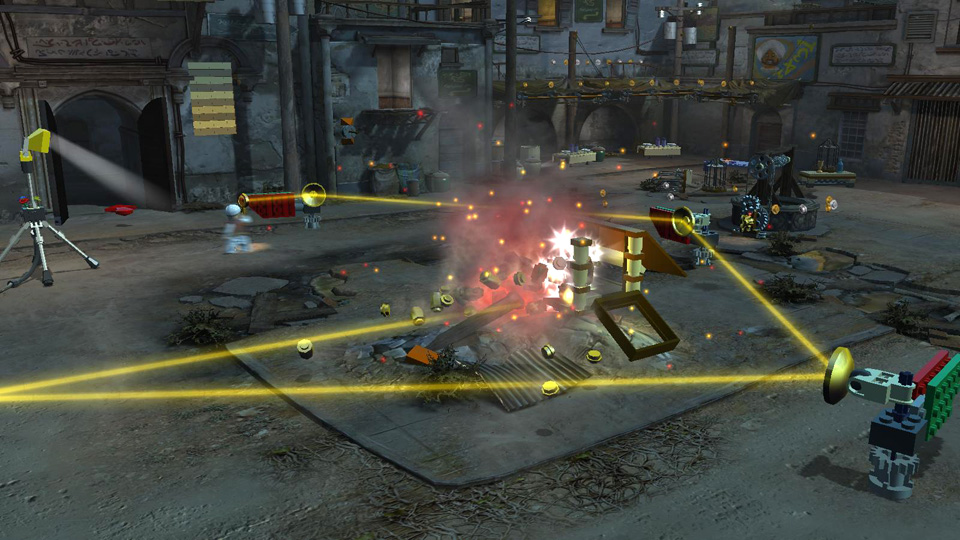
Leave Belloq where he is and have the Tribesman move to the second handle, in the near left corner. Push the handle to rotate the mirror so it reflects the beam of light toward the glass case in the middle of the area. The beam will then smash the glass, allowing you to get the Artifact inside. Of course, you'll want to smash everything before getting the Artifact to achieve "True Adventurer."
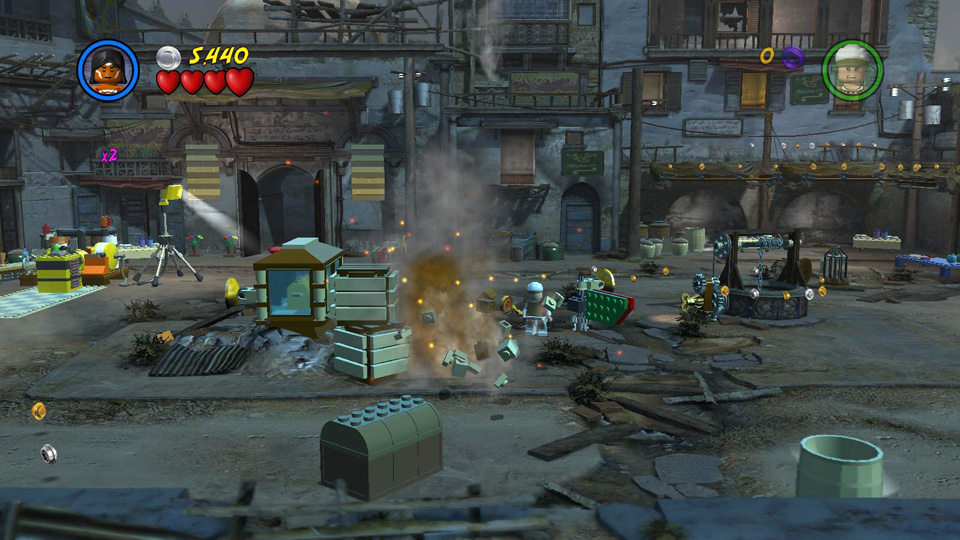
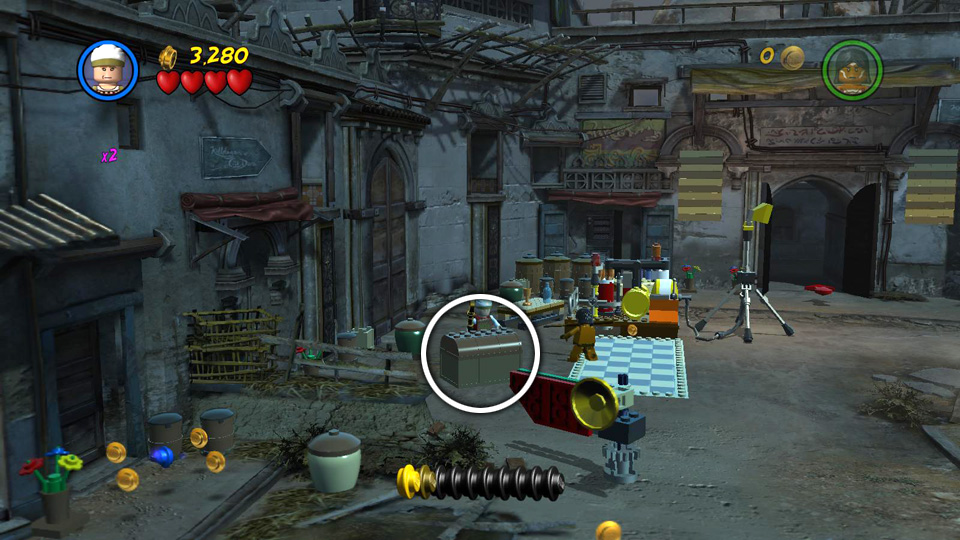 Smash the chest near the checkerboard tiles. |
 Use the bits to build a box. |
|
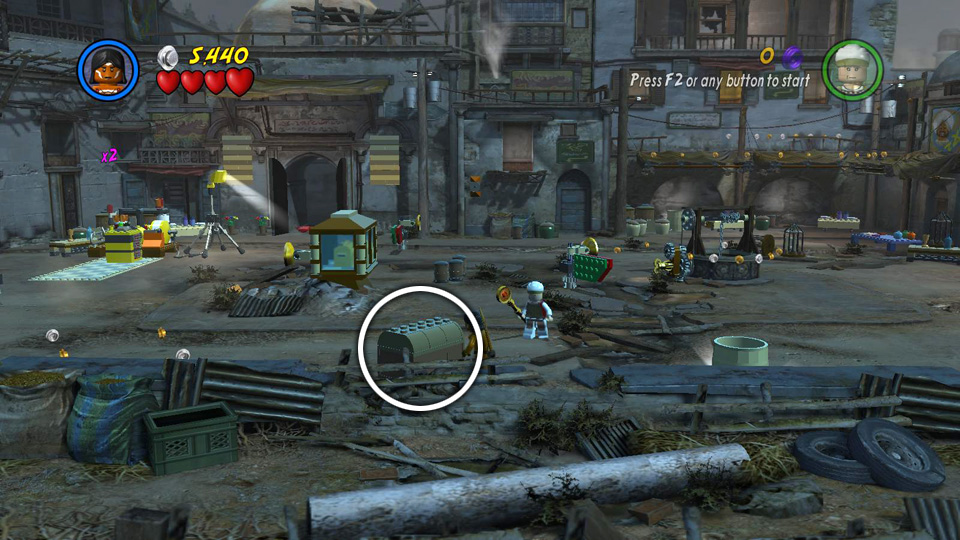
 Push the box along the tiles until a spotlight shines on the ground to the right. |
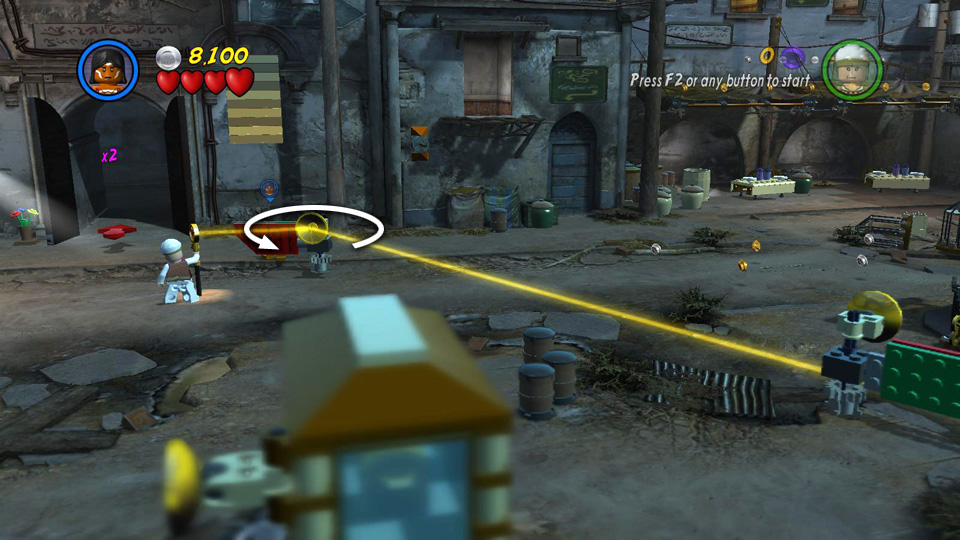
 Use Belloq's staff to focus the beam of light on the mirror to the right. |
|
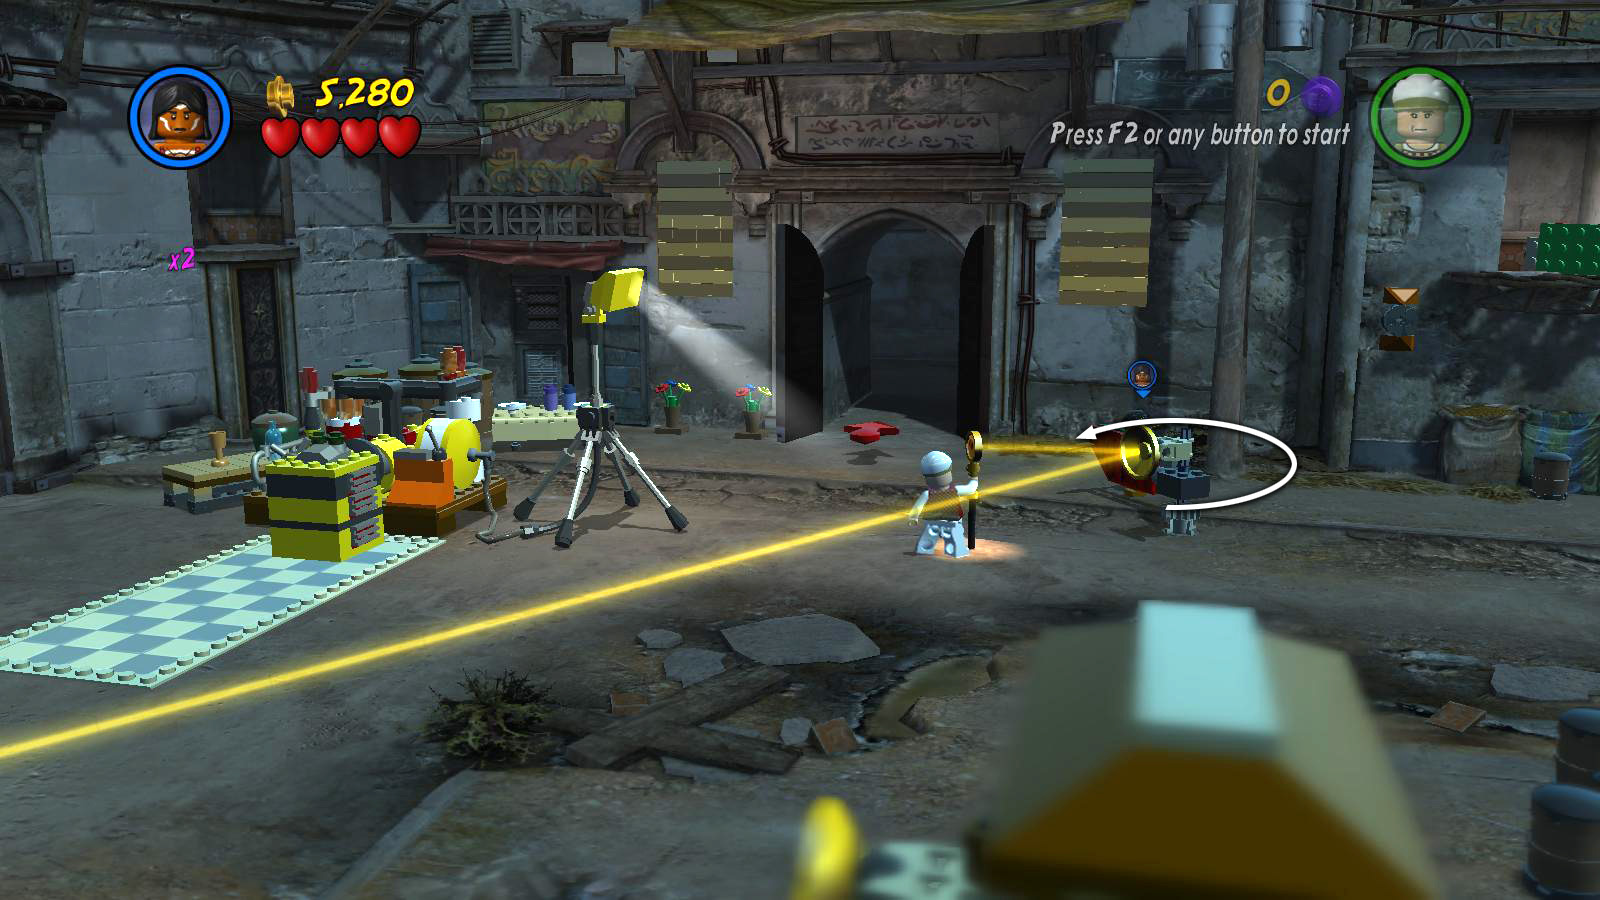 Switch to the Tribesman and rotate the mirror to reflect the beam off to the lower left. |
 Move the Tribesman to the second handle and turn it to reflect the beam onto the glass case. |
|
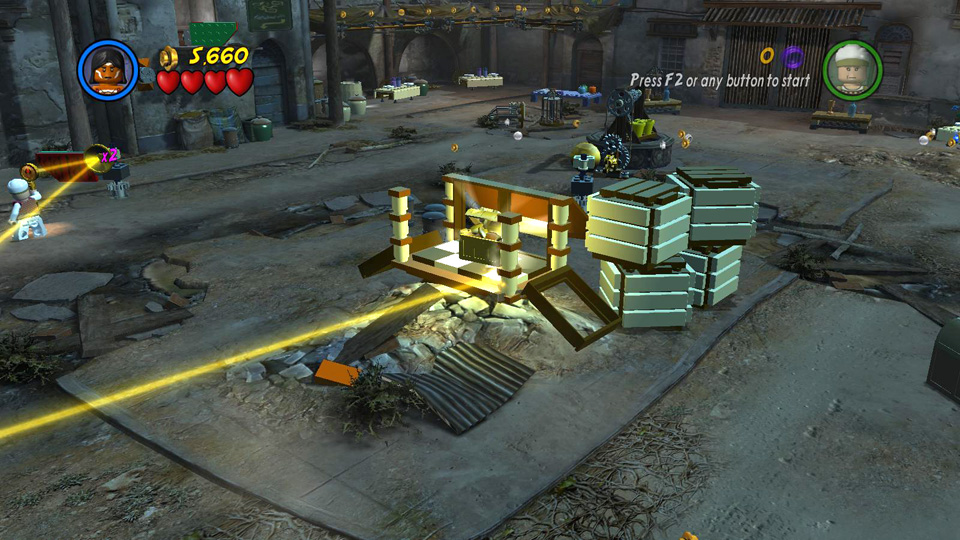 This shatters the glass so you can get the Artifact. |
||
If the shortcut doesn't work for you, here's the sequence the designers probably intended: Smash the trunk, build the black-and-yellow box and push it along the checkerboard tiles to turn on the spotlight, as described above.
Move to the back wall and have the Tribesman throw a spear into the socket. Then use the spear to climb up and get the handle sitting on the ledge. Hop down and attach the handle to the mirror with the green plate near the well. While you're here, break up the 4 stacked crates just to get them out of the way. Then, if you like, you can turn the mechanism on the well, to haul up some pails of water which you can then smash for studs, but this isn't necessary to solve the puzzle.
Smash the 2nd trunk, in the foreground in front of the glass case, and use its parts to build another handle with a mirror on top.
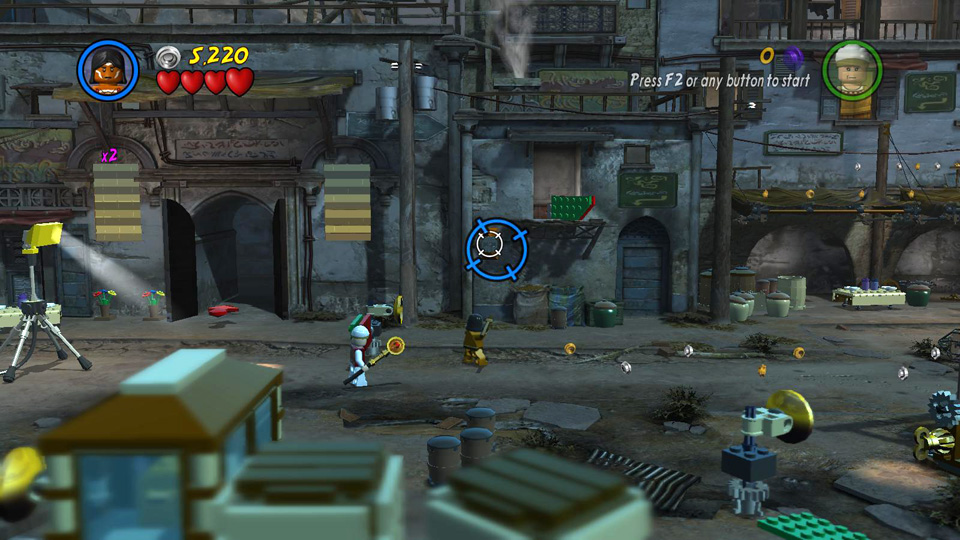 After turning on the spotlight, as shown above, throw a spear into the socket on the back wall. |
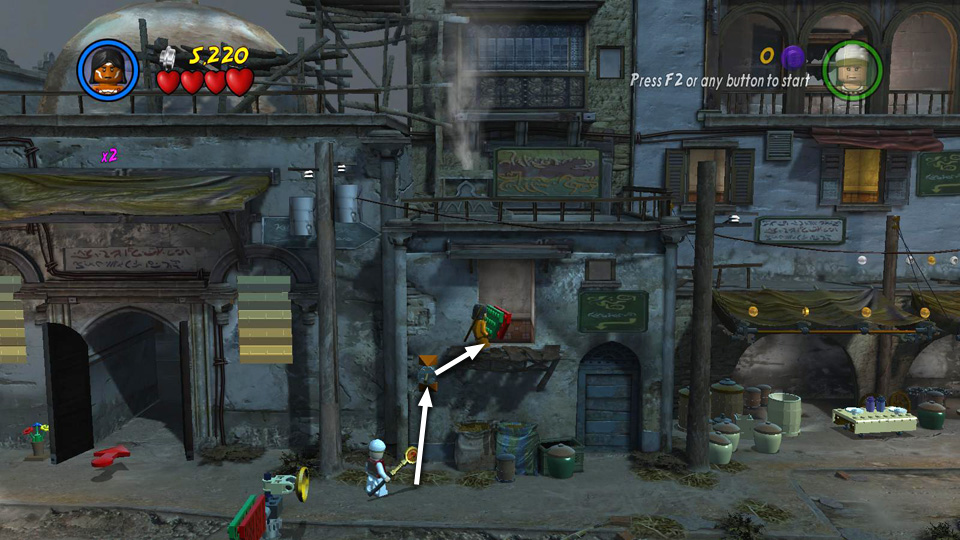 Climb up to get the handle on the ledge. |
|
 Attach it to the mirror near the well. |
 Break up the stacked crates to clear the way. |
|
 Smash the trunk in the foreground. |
 Use the bits to build another mirror. |
Now that you have 4 rotating mirrors, have Belloq stand in the spotlight near the entrance and use the Staff of Ra to shine a beam of light on the first mirror, just to the right. (The beam won't reflect off the mirror yet, since it's facing the wrong way.) Switch to the Hovitos Tribesman and have him push the green side of the nearby handle to rotate the mirror until it reflects the beam of light toward the second mirror on the right, near the well. Leave Belloq where he is have the Tribesman rotate the second mirror so it catches the beam from the first mirror and reflects it toward the third mirror, in the foreground below the glass case. Move to that mirror and rotate it so it reflects the beam to the fourth mirror, in the bottom left corner. Finally, move to the fourth mirror and turn it to shine the beam on the case, shattering the glass so you can retrieve the Artifact.
The level doesn't end until one of your characters actually touches the Artifact. So if you like, you can now run around smashing things and gathering the studs needed to achieve "True Adventurer." ![]()
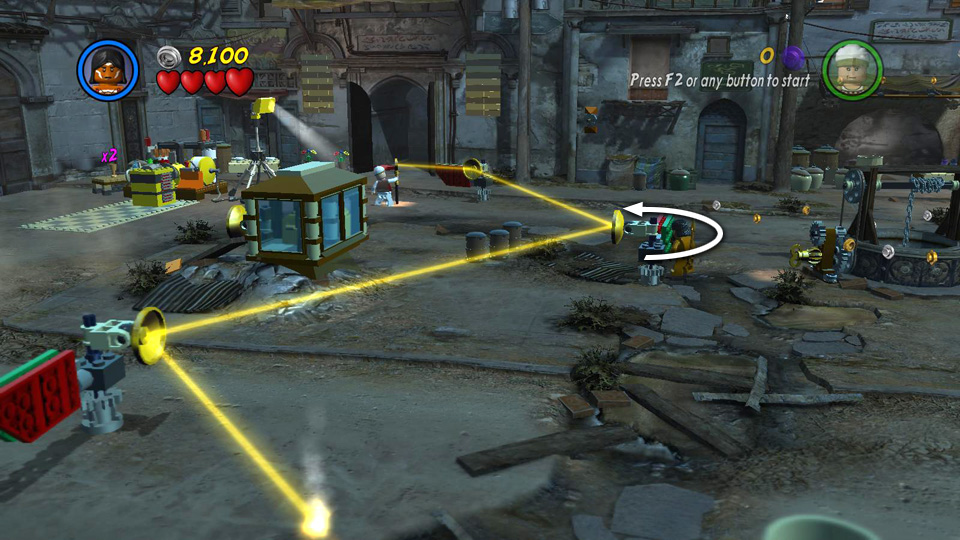
 Use Belloq's staff to focus the beam of light on the mirror to the right. |
 Switch to the Tribesman and rotate the mirror to reflect the beam at the mirror near the well. |
|
 Rotate this mirror to direct the beam toward the third mirror, in the foreground. |
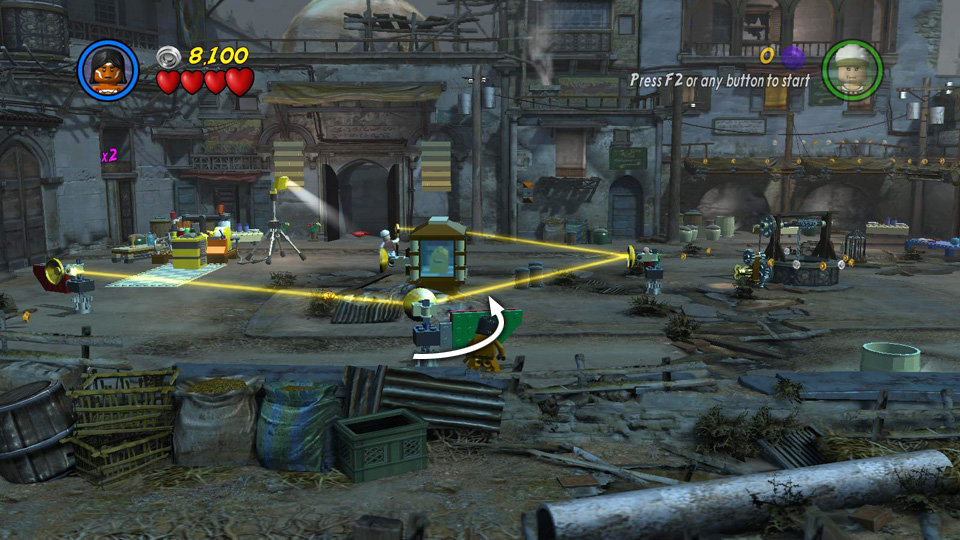 Turn the third mirror until the beam points at the fourth one. |
|
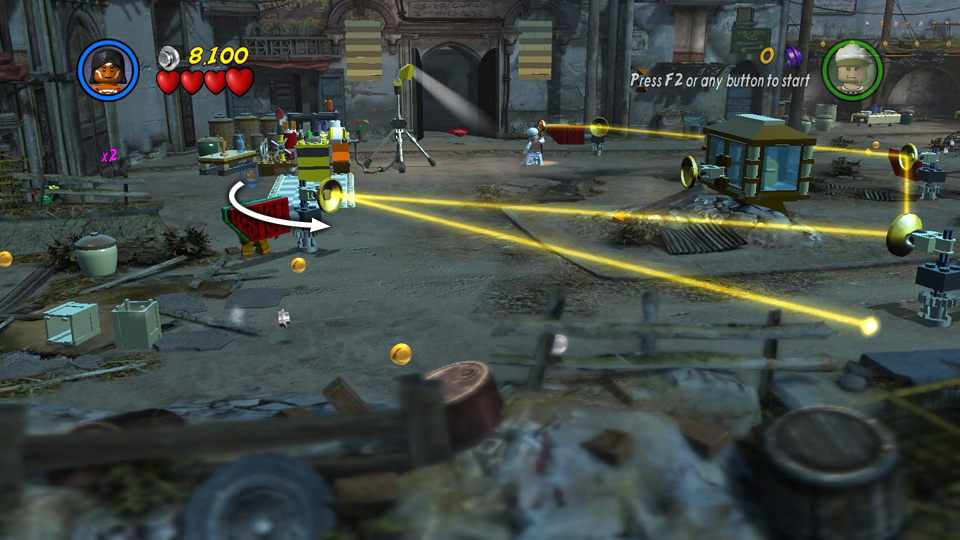 Finally, rotate the fourth mirror to reflect the beam onto the mirror on the glass case. |
 This breaks the glass. . . |
|
 . . . so you can get the Artifact inside. |
||
| < < < Treasure Level 1 | Return to the Hub | Treasure Level 3 > > > |