Raiders of the Lost Ark – Treasure Level 3: Cryptic Crypt
True Adventurer: 22,000 studs
Character types needed: Sword, Whip
Unlocks: Nothing
LEVEL ENTRANCE: The entrance to this Treasure Level is the same as its Story Level counterpart: the hole in the ground in the sandy excavation site on the big island. You'll need Indiana Jones (whip) and either the Masked Bandit or Bandit Swordsman (sword) to complete the level. (See the Characters, Hub Maps and Treasure Level Intro for details and screenshots.)
Map Room
(Click any of the screenshots below to enlarge.)
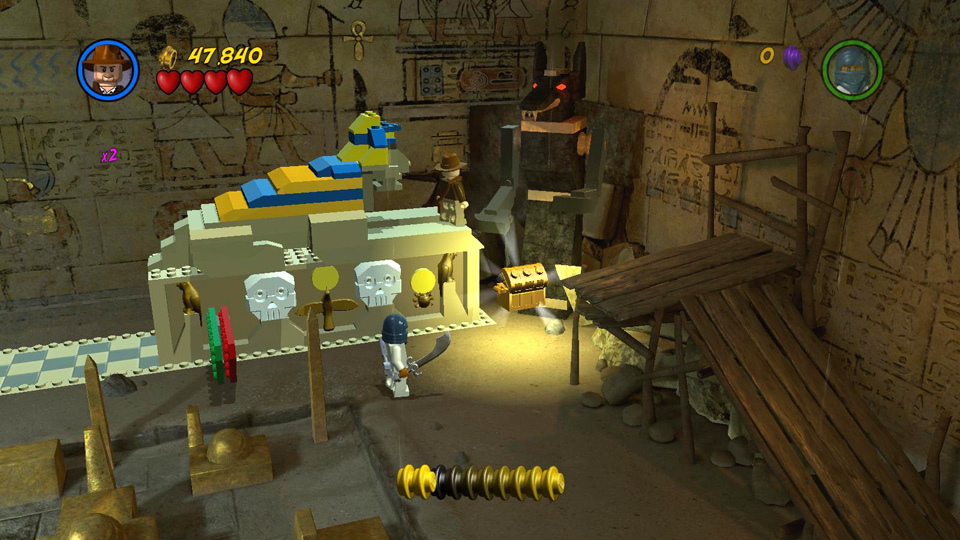
Gather the studs near the entrance, including the ones in the raised alcove on the left. Then move to the right, smashing the model buildings to get more studs. If you like, you can wreck the model sphinxes and use the leftover bits to build 2 little cars, which you can then drive around the map to destroy it. In the process, you'll reveal a black LEGO piece and a wrench.
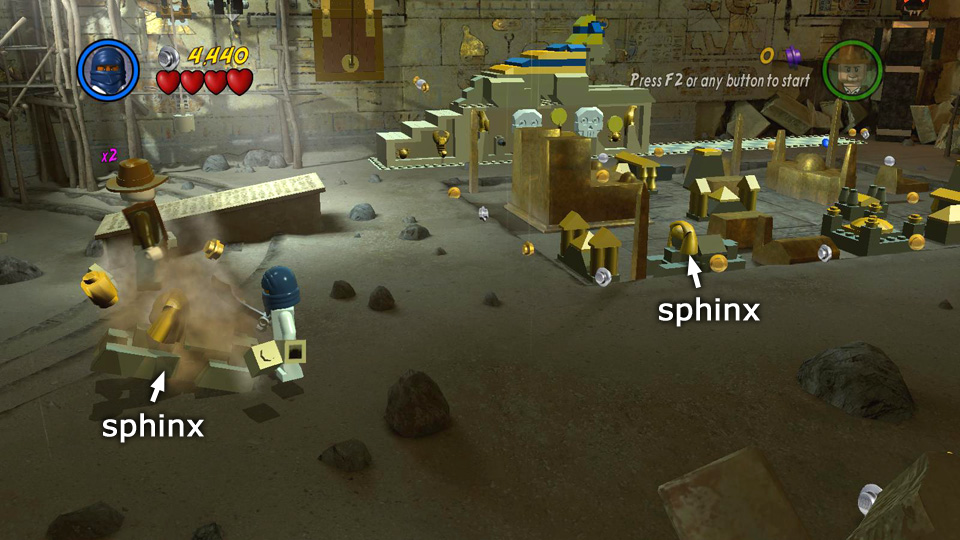 While gathering studs, you can break the model sphinxes. |
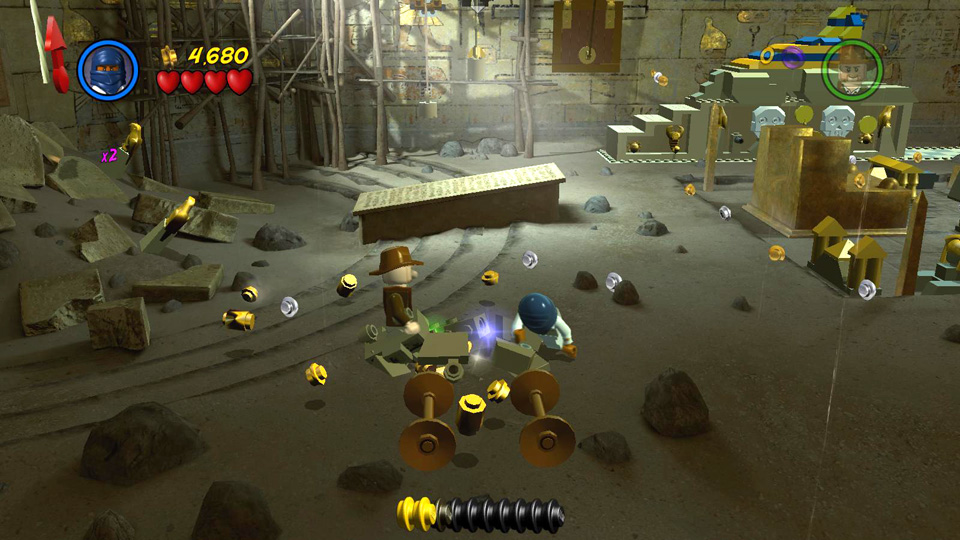 Use the bits to build little cars. |
|
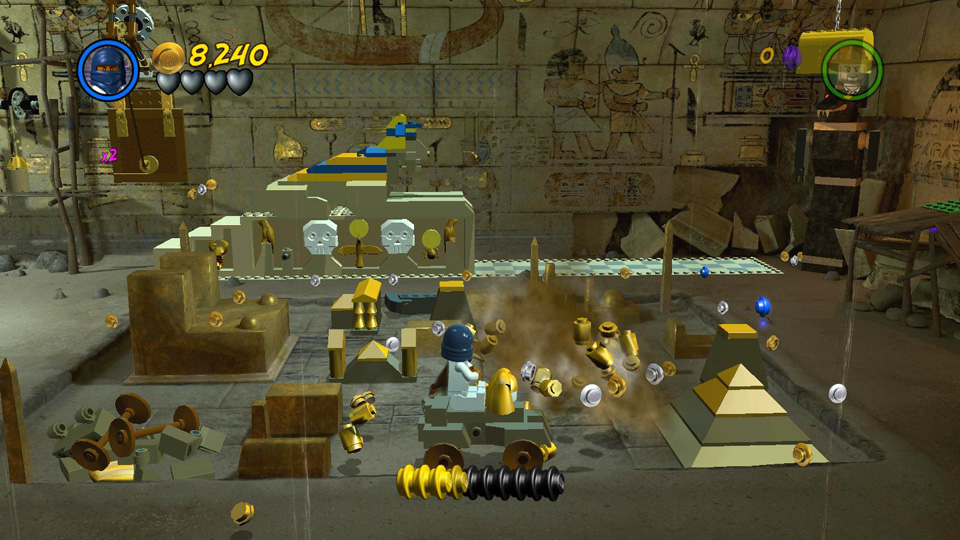 Then drive them around the map, smashing the model buildings. |
 Clearing away the map reveals a black LEGO piece and a wrench. |
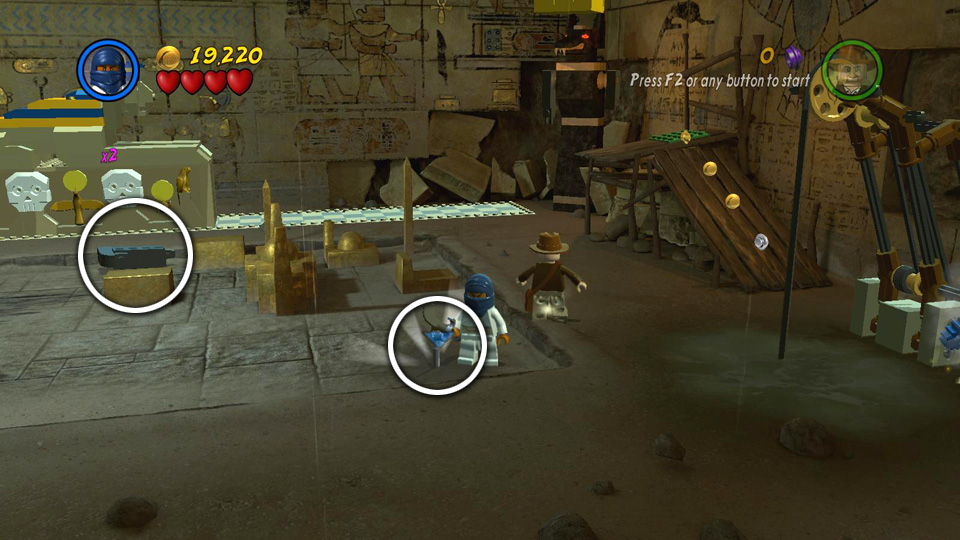
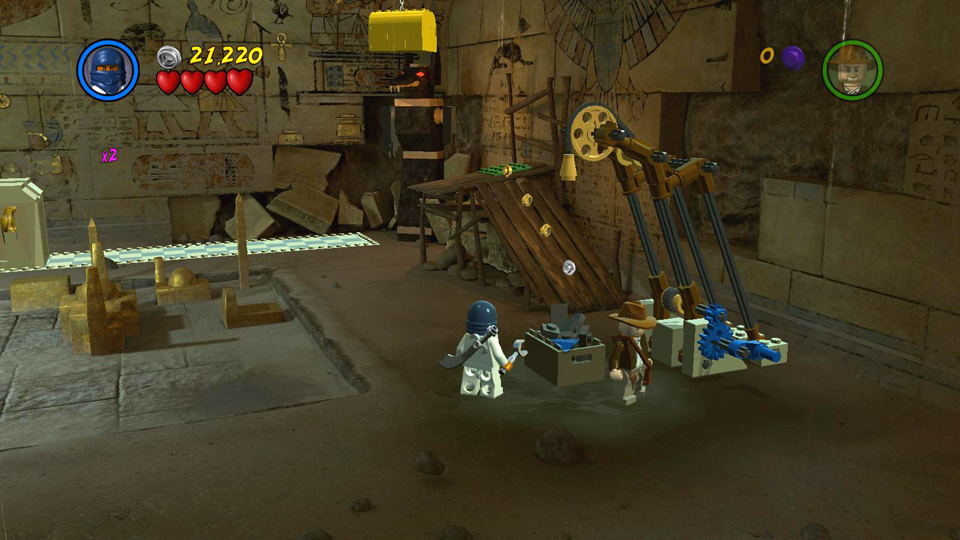
Leave the black bit where it is for now. Grab the wrench and use it to fix the motor in the near right corner and pull a box of bits up out of the puddle on the floor. Carry the box up the wooden ramp and drop it on the green plate. Then use the bits to add an arm to the statue in the back corner. If you're going for "True Adventurer" be sure to get the purple stud on the ledge between the statue and the flat spot where the green plate was.
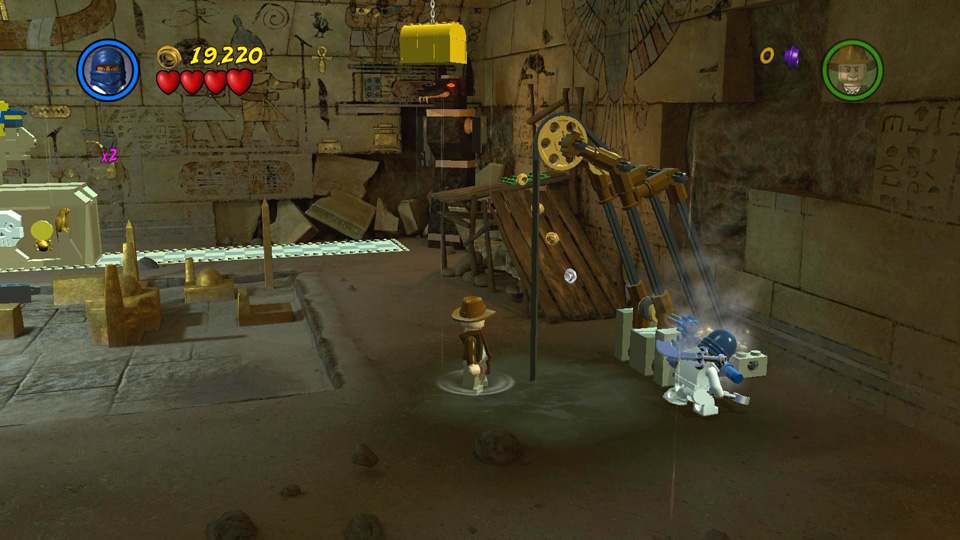 Use the wrench to fix the motor on the right. |
 Take the box of LEGO bits. . . |
|
 . . . carry it up the wooden ramp and drop it on the green plate. |
 Use the bits to build an arm for the statue. |
|
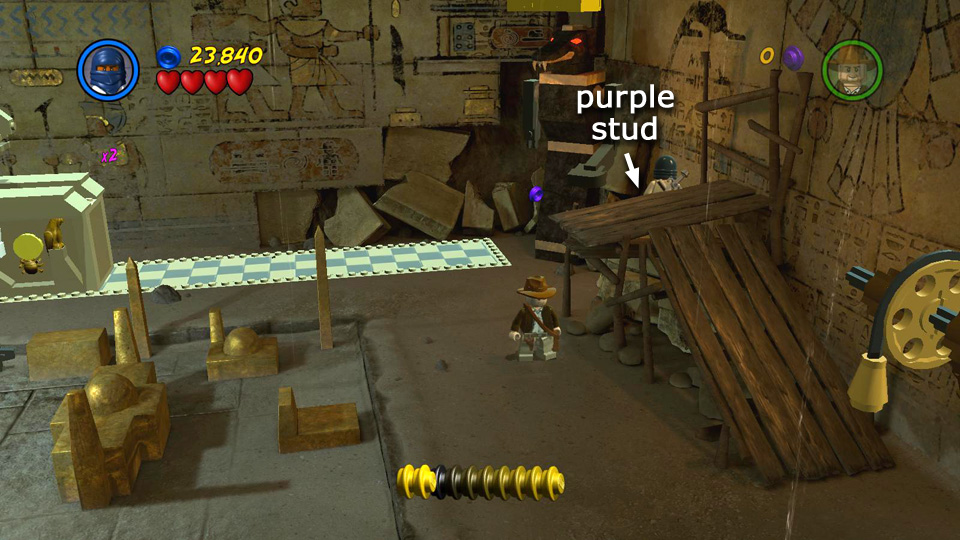 While you're up there, be sure to get the purple stud at the back of the ledge. |
||
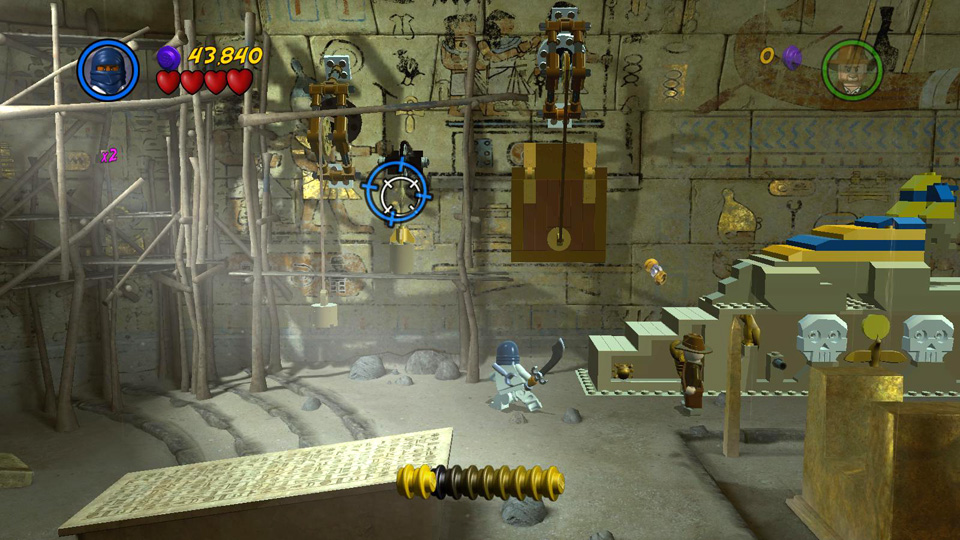
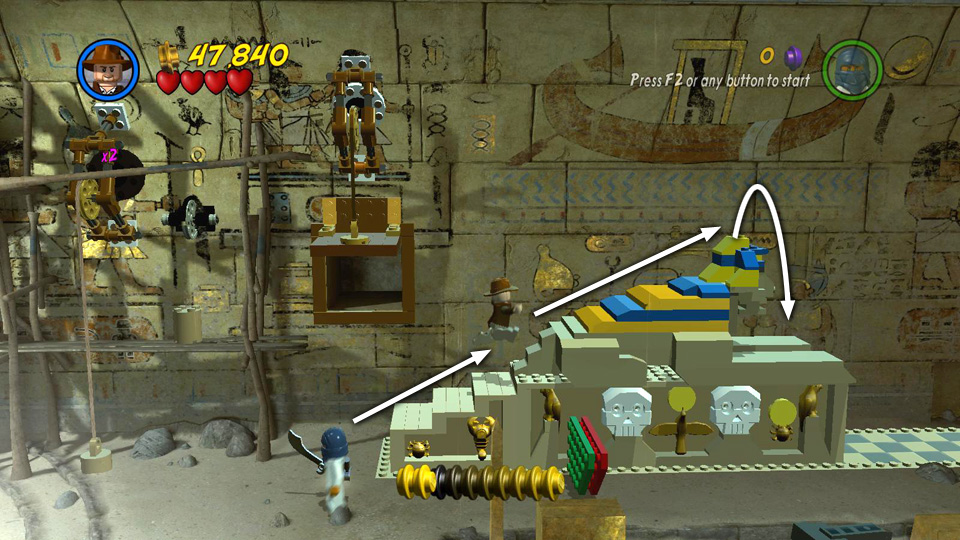
Now head for the left side of the room and use the Bandit character's sword to cut the cable on the scaffolding against the back wall. This opens a chute depositing a pile of LEGO bits on the floor. Use them to build a handle on the stair-shaped structure sitting on the checkerboard floor.
Switch to Indy and have him climb up the back of this staircase, cross over the blue-and-yellow sphinx on top, and then hop down onto the ledge on the right side of the structure. From here he can use his whip to grab the black LEGO piece sitting on the floor.
Leave Indy where he is and switch to the Bandit. Have him push the handle to move the staircase to the right—with Indy still standing on it holding the black LEGO piece—as far as it will go. Then switch back to Indy so he can place the black piece on the statue where it belongs. This causes the treasure chest to drop from above, revealing the Artifact inside. ![]()
 Use the Bandit's sword to cut the cable amid the scaffolding on left. |
 The chute spits out a pile of bits, which you can use to build a handle. |
|
 Have Indy climb over the stepped structure to the ledge on the right side of it. |
 From there he can use his whip to grab the black LEGO piece from the floor. |
|
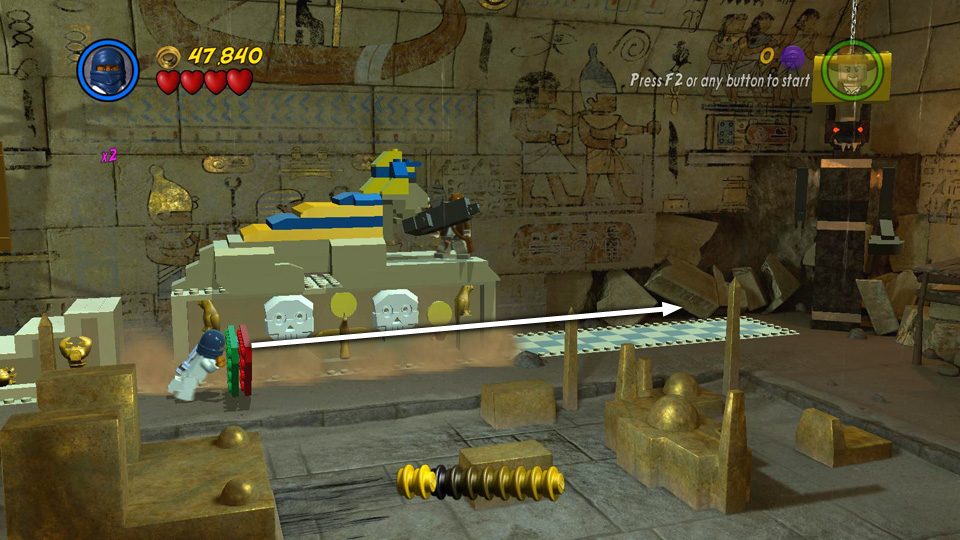 Switch to the Bandit and push the stairs to the right with Indy still on top. |
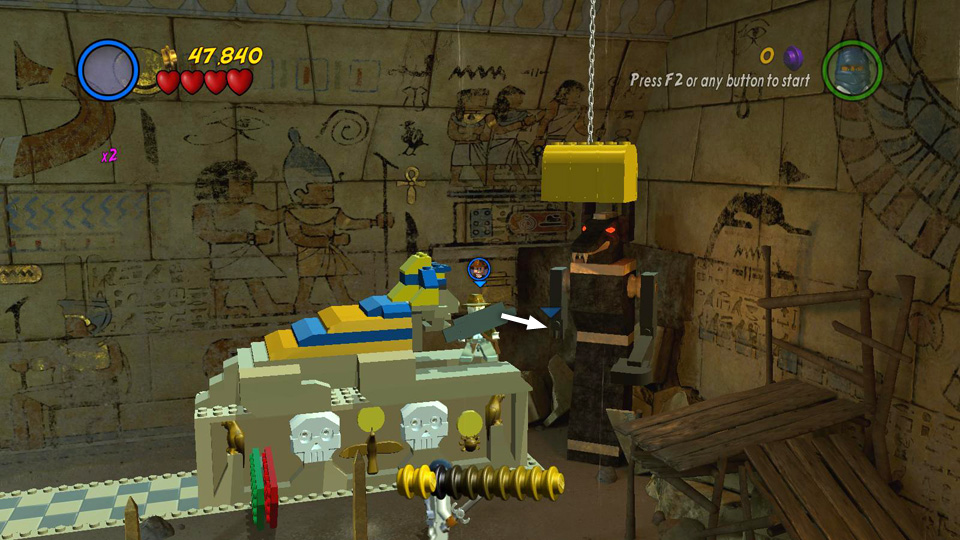 Switch back to Indy so he can place the statue's arm where it belongs. |
|
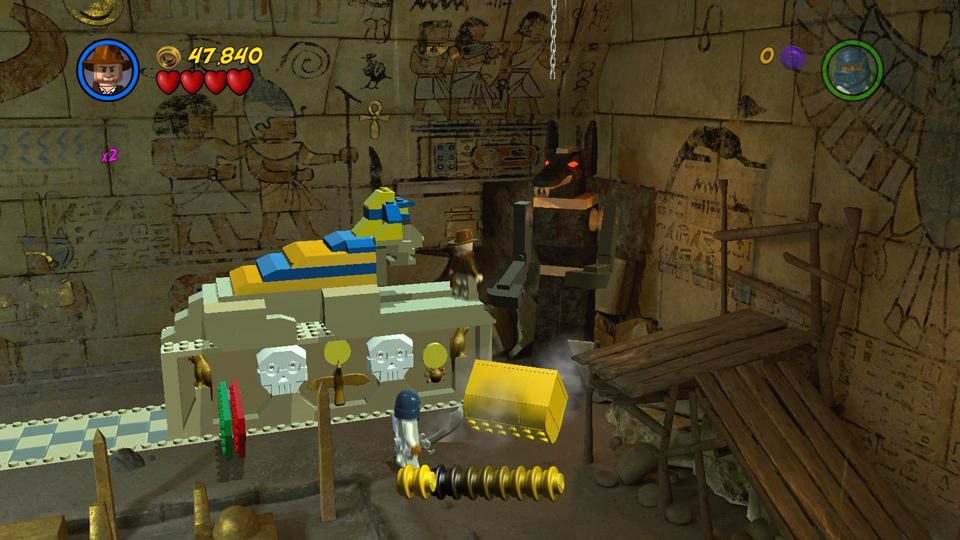 This causes the treasure chest to fall to the floor. . . |
 . . . revealing the Artifact inside. |
| < < < Treasure Level 2 | Return to the Hub | Treasure Level 4 > > > |