Raiders of the Lost Ark – Story Level 1: Raven Rescue
True Adventurer: 25,000 studs
Characters: Indiana Jones, Marion
Unlocks: Marion, Sherpa Brawler
LEVEL ENTRANCE: The entrance to this level is directly in front of you when you start the Raiders hub. Just enter Marion's bar, The Raven, through the front door to begin. Check the Hub Maps and Story Level Intro for screenshots.
Inside Marion's Bar
(Click any of the screenshots below to enlarge.)
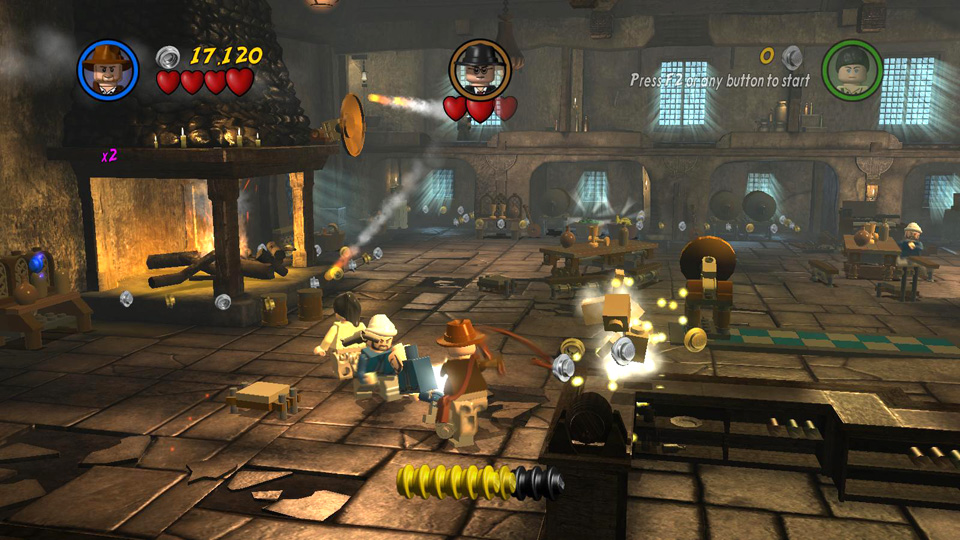
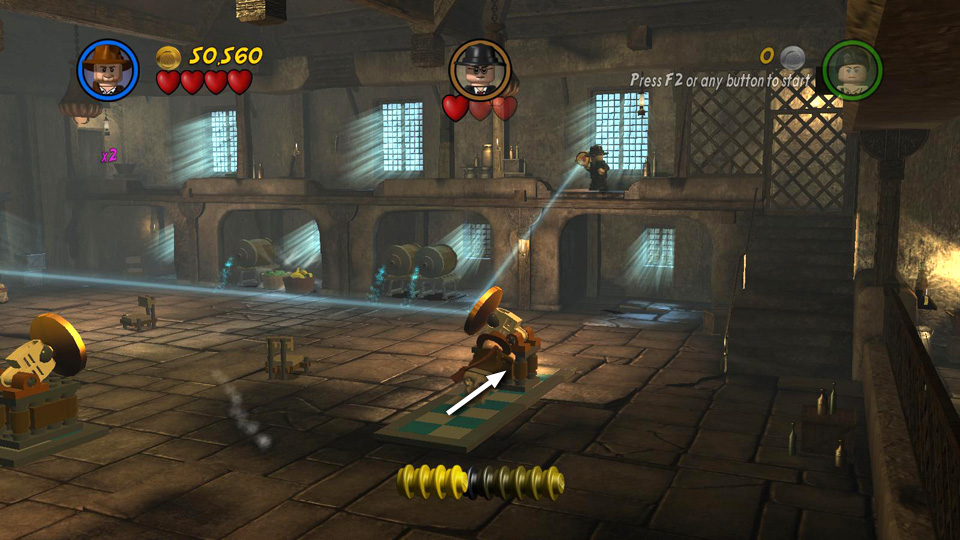
After the cut scene, Major Toht takes up a position on the balcony and uses the Staff of Ra headpiece to aim a light beam at your characters. Try to avoid it as you smash the table in front of the bar and use the leftover bits to build a checkerboard tile floor and a reflector on a pedestal. Push the reflector to the left onto the area with the spotlight shining on it. The reflector then bounces the major's light beam back at him, causing him to lose one heart.
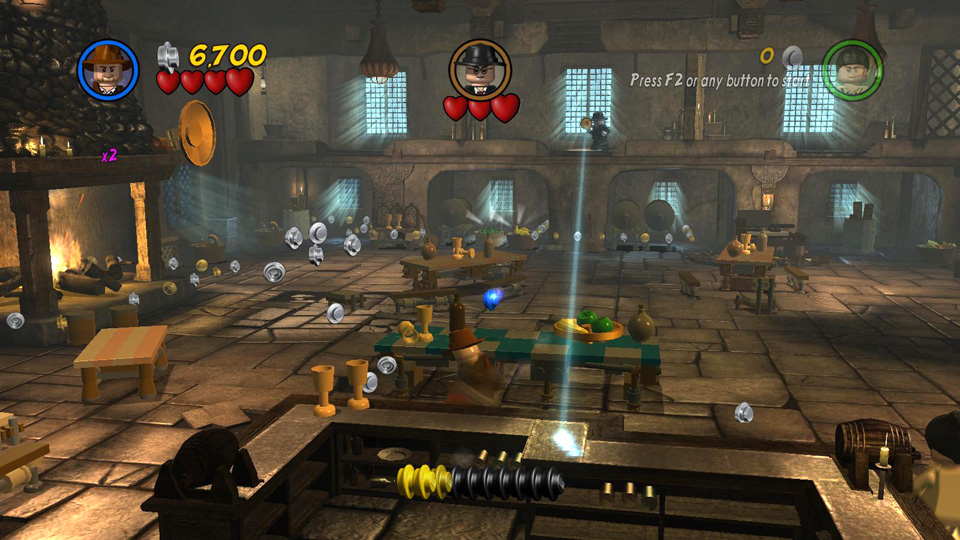 Smash the table in front of the bar. |
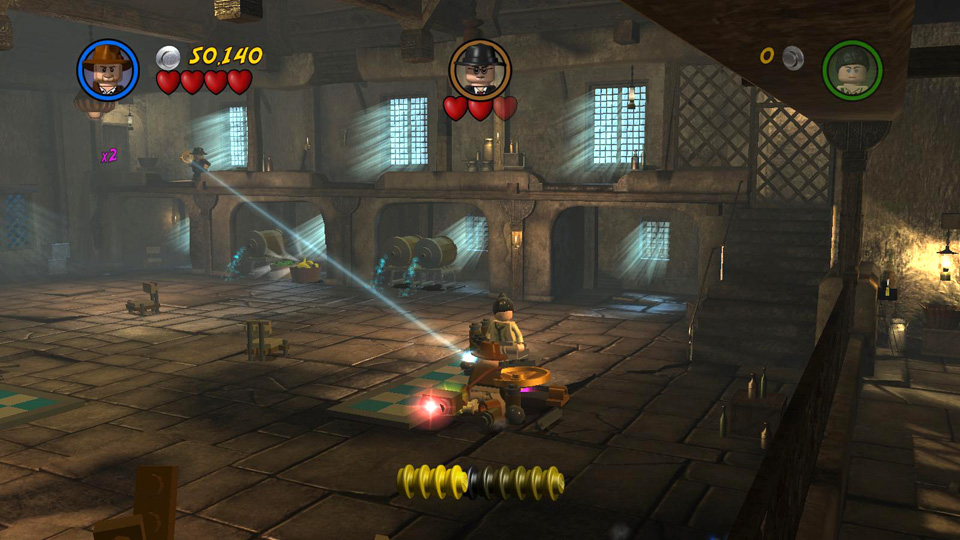
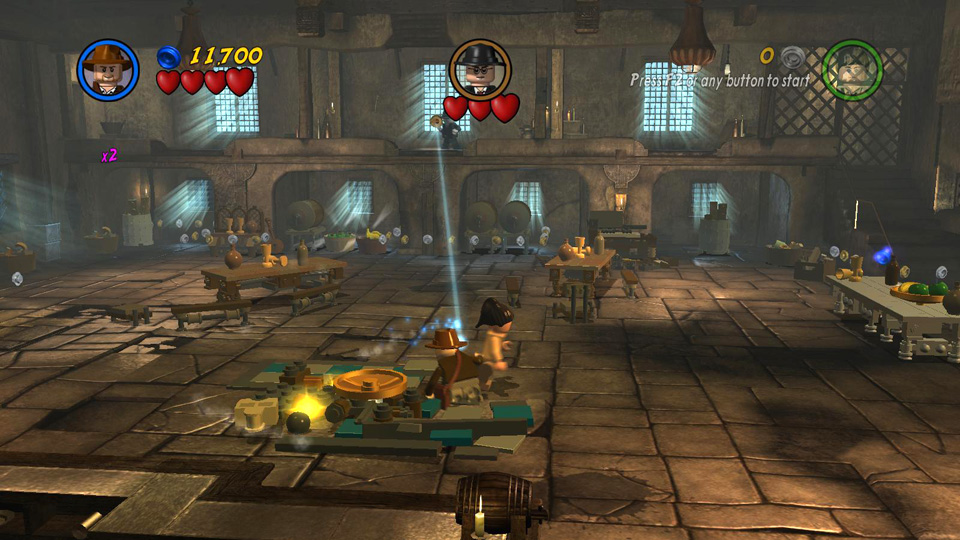 Use the bits to build a checkerboard floor and a reflector. |
|
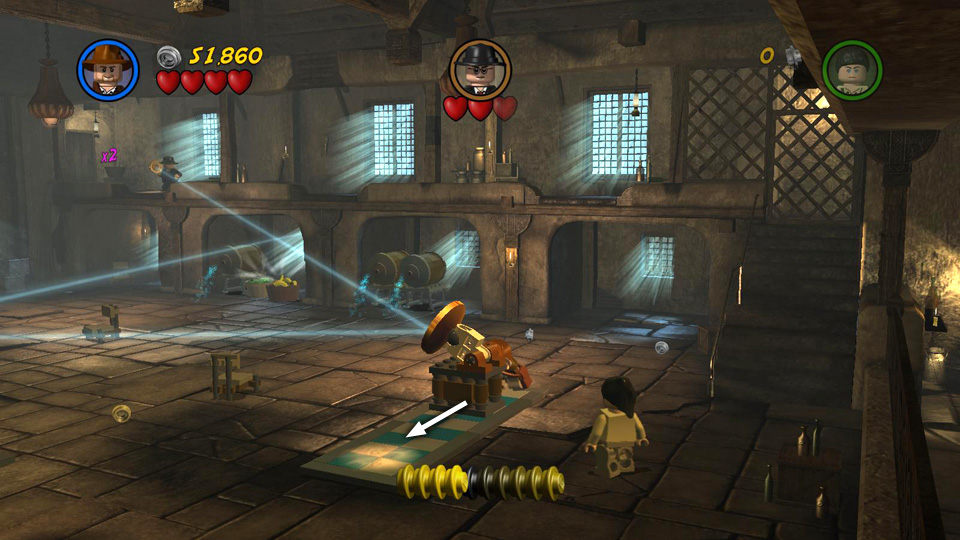
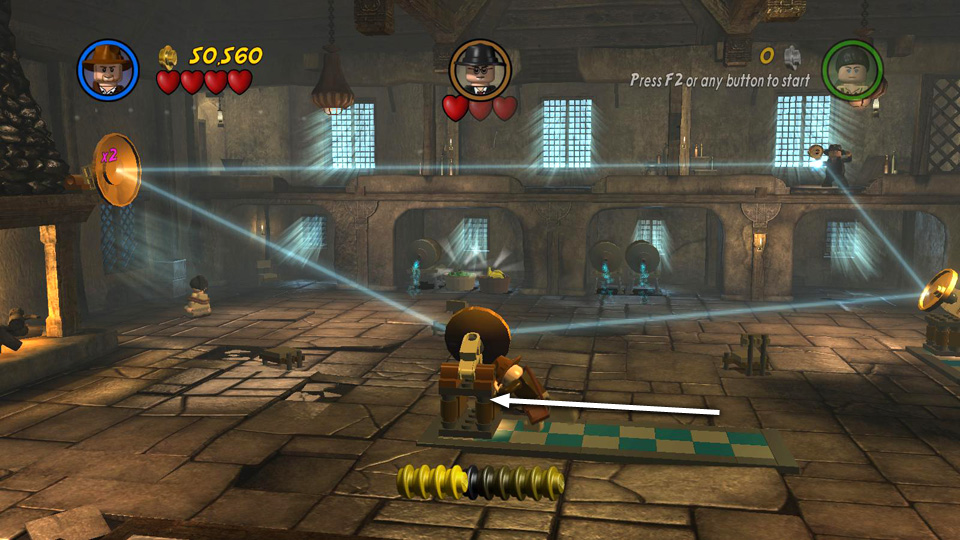
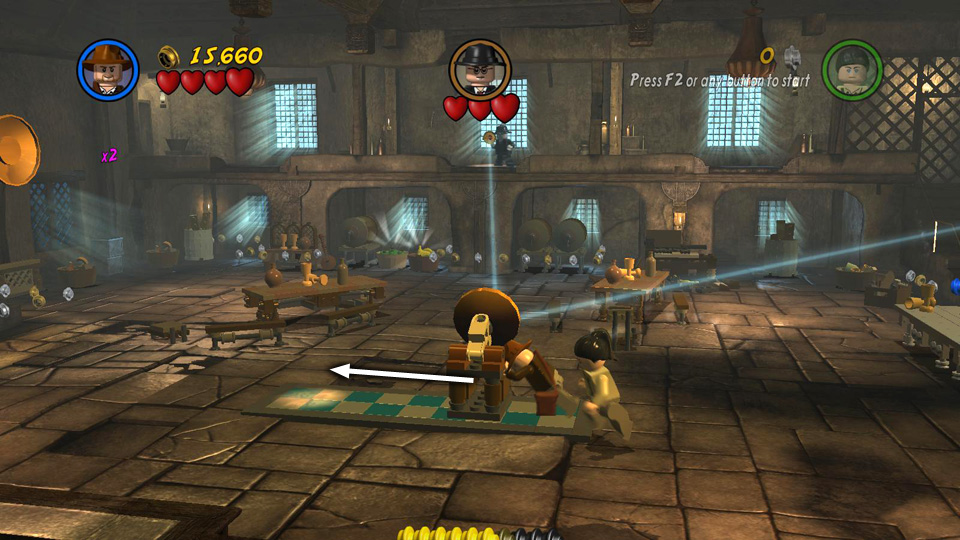 Push the reflector to the left. . . |
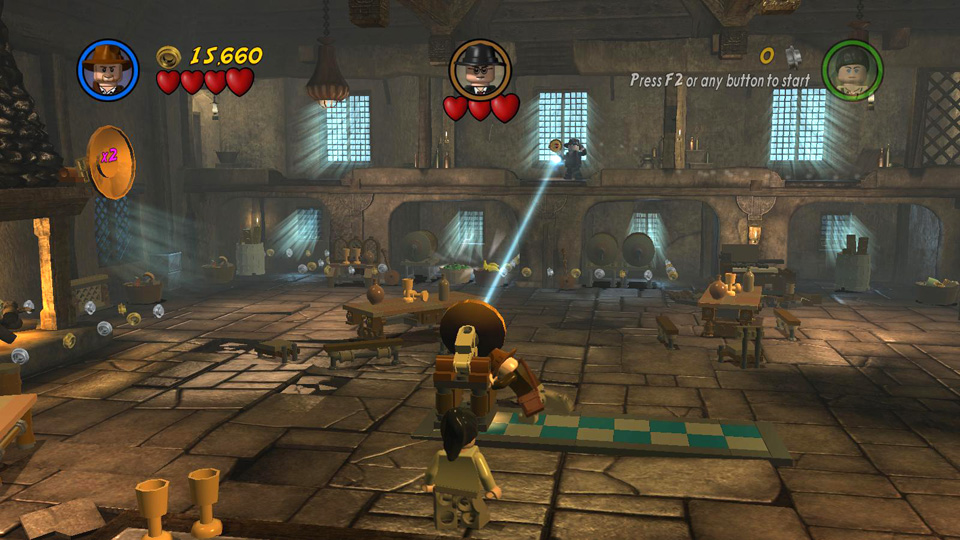 . . . to bounce the light beam back at Major Toht. |
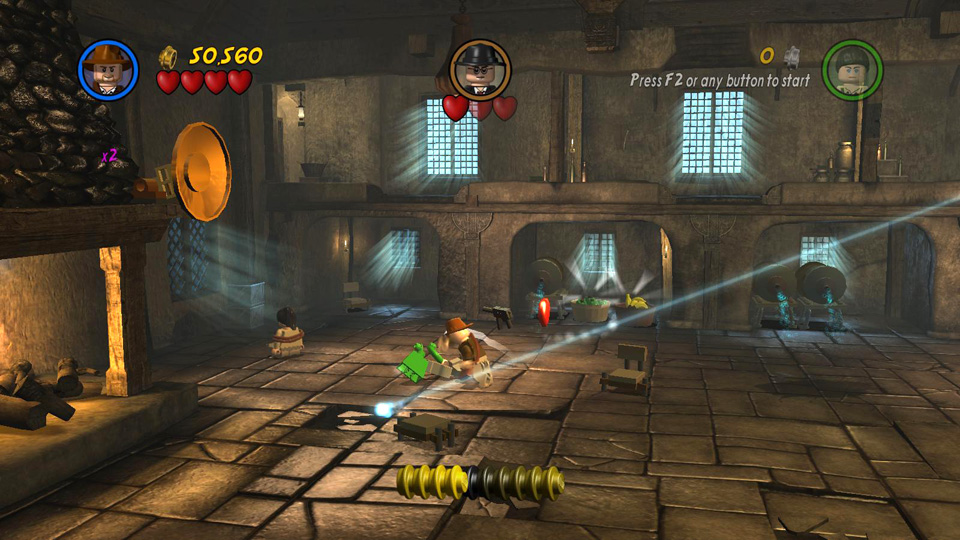
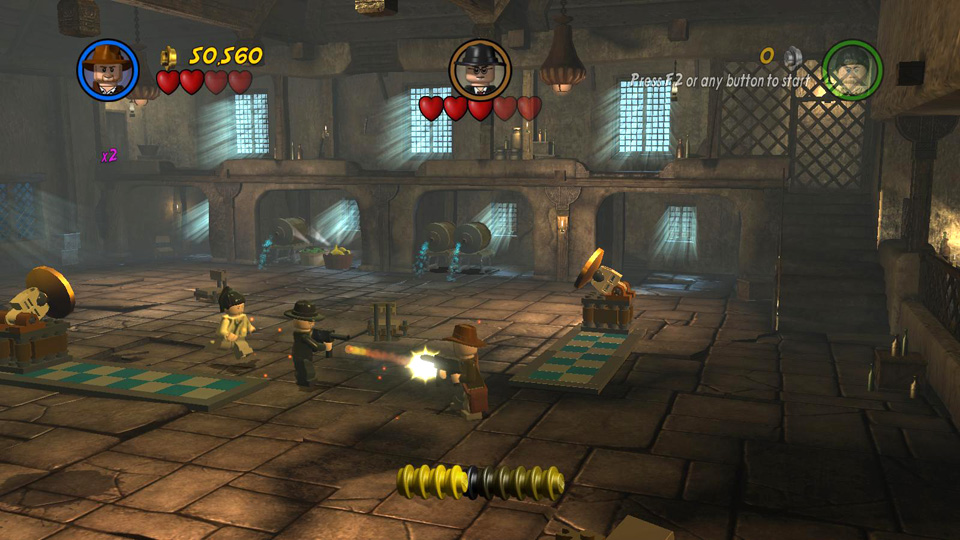
At this point, Toht puts the headpiece away for a little while and starts throwing dynamite then shooting with his machine gun. Avoid these attacks while moving around the room smashing furniture for studs. Several Sherpa brawlers also appear. Some of them drop pistols when you defeat them, which you can pick up and use if you like.
After a little while, the major starts shining his laser beam at you once again. Deal with the rest of the Sherpas. Then move to the right side of the room and smash the table there (if the major didn't already blow it up). Use the bits to build another checkerboard floor and reflector. Push the reflector downscreen onto the spotlit area. Then move back to the first reflector and push it onto the spotlit area to the right. With the reflectors arranged this way, the light beam will again be reflected back at the major, causing him to lose a second heart.
 Fight the Sherpas and collect studs as you avoid the major's dynamite and machine gun fire. |
 Smash the table on the right and build another reflector. |
|
 Push the new reflector onto the spotlight to catch the beam from the headpiece. |
 Push the first reflector to the right to bounce the beam back at the major. |
Toht once again starts throwing dynamite then firing his machine gun. More Sherpa brawlers and Sherpa machine gunners appear as well. The gunners, who wear green shirts, can be hard to beat. Try grabbing one of the pistols the brawlers drop and use it to shoot the machine gunners. Or, lasso the gunners with Indy's whip and then hit them.
 To defeat the gunners with the green shirts, tie them up with Indy's whip. |
 One punch will then smash them to bits. Try not to tie up Marion like I did. ;) |
When the spotlights start to shine on the checkerboard tiles and Major Toht begins pointing his light beam at your characters again, rearrange the 2 reflectors so they once again cover the spotlit areas. Again, this reflects the beam back at the major, taking away his third heart.
But in true mini-boss form, that's not the end of the bad guy. He drops down to the floor restored to 5 full hearts. Boo! This time all you have to do is hit him 5 times with fists, whip or stolen gun. Once he's lost those 5 hearts, he's finished and the level ends. ![]()
 Push the 2 reflectors onto the spotlights again. |
 Once more the beam bounces back at the major and he loses a third heart. |
|
 When he jumps down to the floor, hit, whip or shoot him 5 times and he's done. |
||
| < < < Return to the Hub | Story Level 2 > > > |